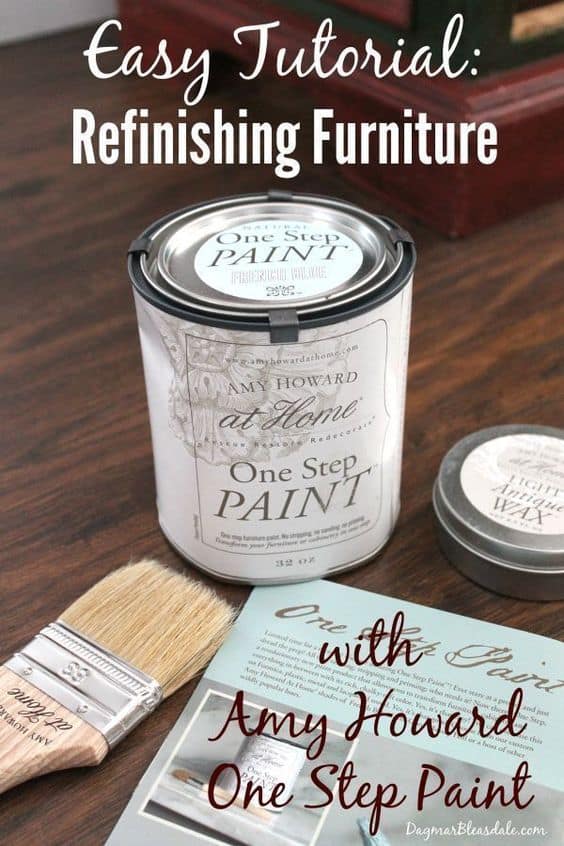
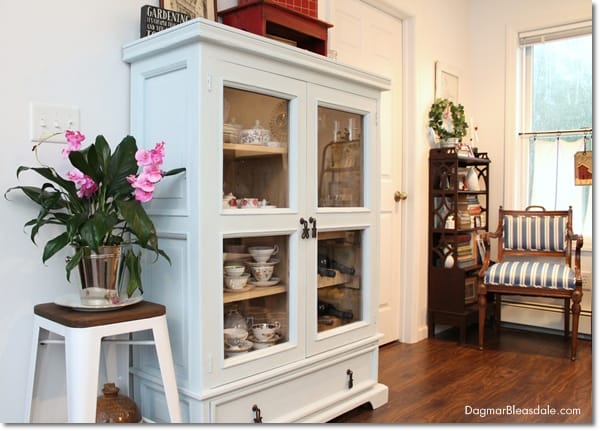
Refinishing furniture with Amy Howard One Step Paint is so easy, and here is the detailed tutorial. You don’t need to strip or sand beforehand, and this paint sticks to any surface.
Welcome to Dagmar’s Home!
- Do you wanted to repaint one of your furniture pieces because your decorating taste has changed?
- Do you have a rescued piece of furniture that could use a coat of new paint?
- Or are you on a budget and want to make over your existing furniture instead of buying a new piece?
I’m thrilled to show you how easy it is to rescue, refinish, and transform your furniture!
All you need is Amy Howard One Step paint and a little bit of time.
 Do you remember my trip to Memphis to learn from the lovely Amy Howard herself how to use all of her awesome paint products?
I wrote a whole blog post about the tour of her stunning home, which is full of furniture she rescued and made over with her paint products.
As if that wasn’t exciting enough, the next day we spent in her workshop to learn how to use all of her products.
You can transform plastic, glass, metal, even fabric with her paint products and waxes, antique furniture and home decor, and create faux mirrors, etc.

When I came home, I looked around, and there were so many furniture pieces in our Blue Cottage I wanted to make over!
A lot of them I rescued from the curb or scored in thrift stores or tag sales, so many of them could use a makeover.
I knew right away which one was first in line: our dark green cabinet with glass doors in the living room that holds my vintage tea cups collection, glasses, and wine bottles.
I have been wanting to paint this for years!
I never liked how dark it was, but what I really couldn’t stand were those hand-painted grapes.
So when I repainted our hutch, I whitewashed those parts a little bit with the extra paint that was on the brush. You can see what that looked like in this picture:
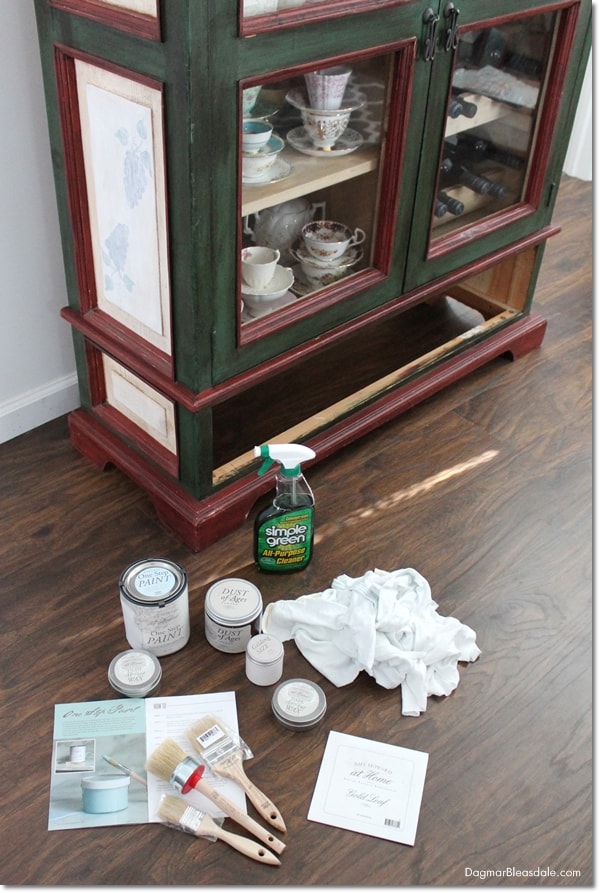
Amy sent me a ton of her products after the event — even gold leaf. We even learned to gild furniture during the workshop. You can find her products online and at Ace Hardware stores.
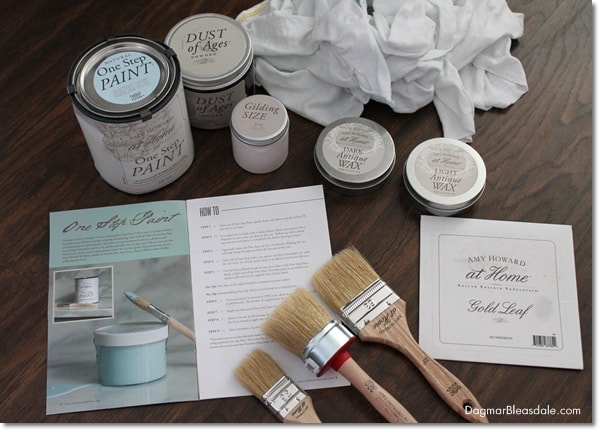 As an Amazon Associate, I earn from qualifying purchases.
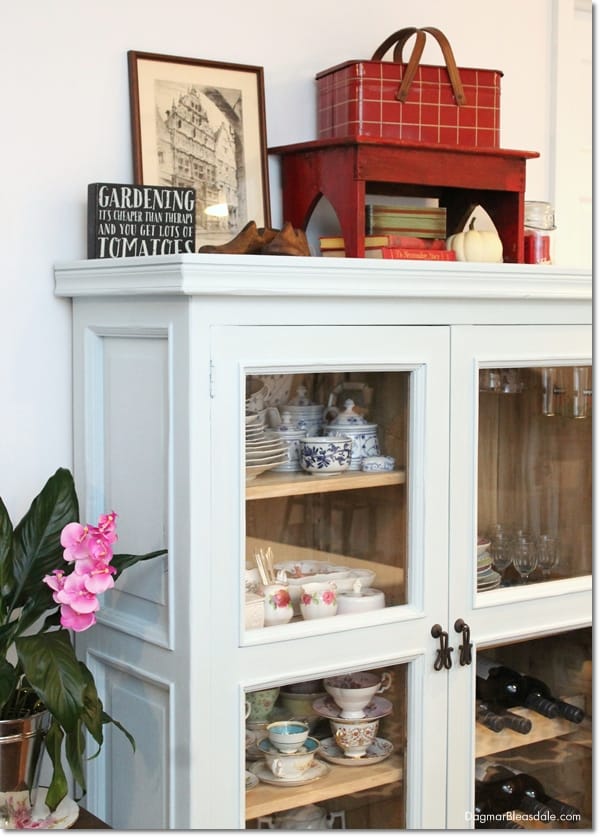
Here is the paint color I decided on for this cabinet: French Blue!
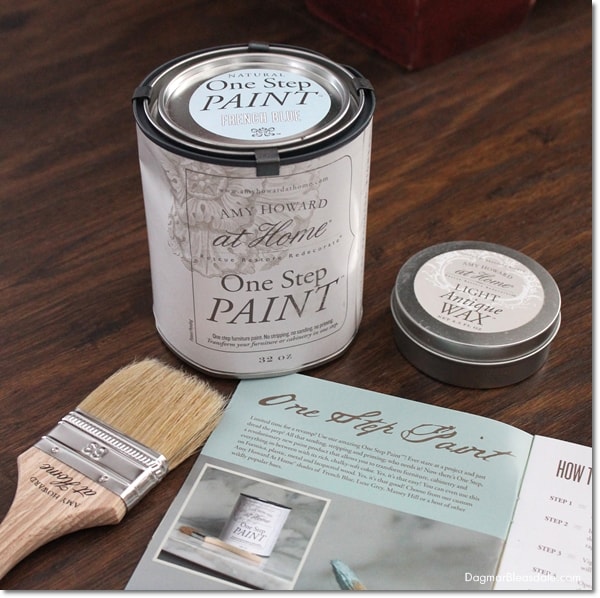
I didn’t want to paint the cabinet white, I already did that with our hutch across the room from it, so I went with this very light robin’s egg blue.
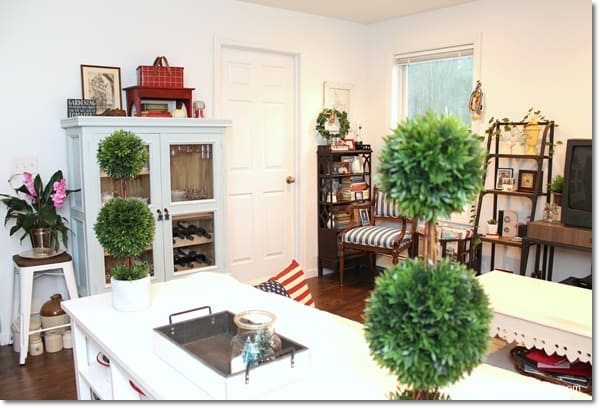
I wanted it to blend into our white wall but stand out just a little bit to add to our cottage look.
Refinishing Furniture With Amy Howard Paint
I’ll show you how easy it is to use Amy’s One Step paint to update your furniture.
Amy Howard Paint Supplies you’ll need:
- Amy Howard One Step Paint
- Amy Howard Light Antique Wax
- Simple Green All-Purpose Cleaner
- paint brush
- wax brush
- recycled plastic container
- rags
- Frog Tape painter’s tape if you want to tape off a certain part (affiliate link)
- newspapers and or shower curtains or old bed sheets, or similar for the floor
Refinishing Furniture Tutorial:
First, I turned the can of paint upside down for half an hour so all the pigments from the bottom float to the top of the can.
The quality of the pigments are the secret of why Amy’s paint is so wonderful and versatile.
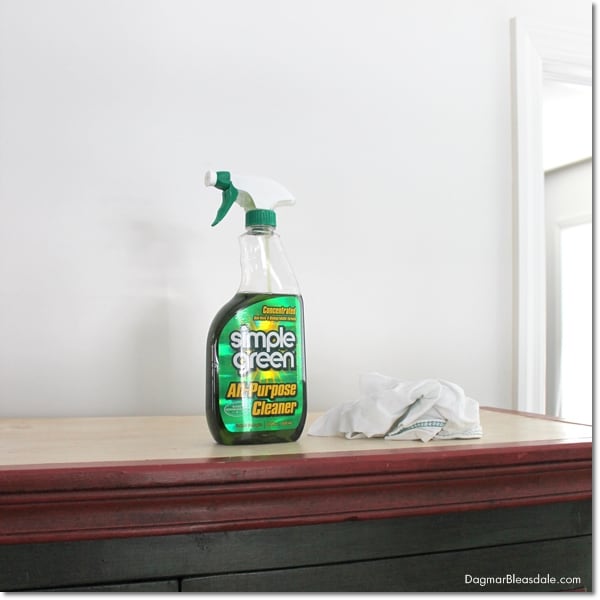
While that was happening, I took off the four cabinet door handles, diluted some Simple Green All-Purpose Cleaner with water, sprayed it on the cabinet and wiped down the whole piece with a rag.
You want to make sure there is no grease on it to come through the paint. After you clean it with the cleaner, wipe it down with some water on a rag to make sure the cleaner is removed as well.
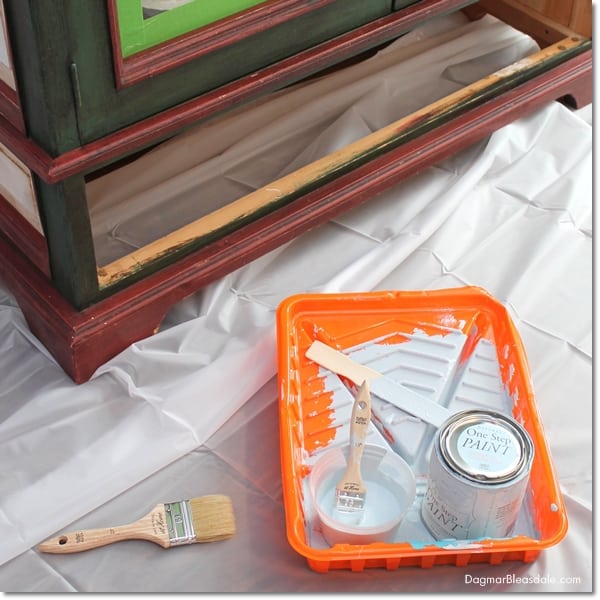
I put an old shower curtain under and around the cabinet. I like using them to make sure nothing gets on our floors, but with this kind of chalky paint, the nice thing is that it really doesn’t drip and usually doesn’t gets on anything.
I buy the shower curtains in bulk when I have a 30% off coupon from Kohl’s and reuse them. You could also just use newspaper or an old bed sheet, or find shower curtains or a plastic table cloth at the dollar store.
If you get the paint on your clothes, you can wash it out with water, but I’d recommend wearing something you don’t mind getting dirty.
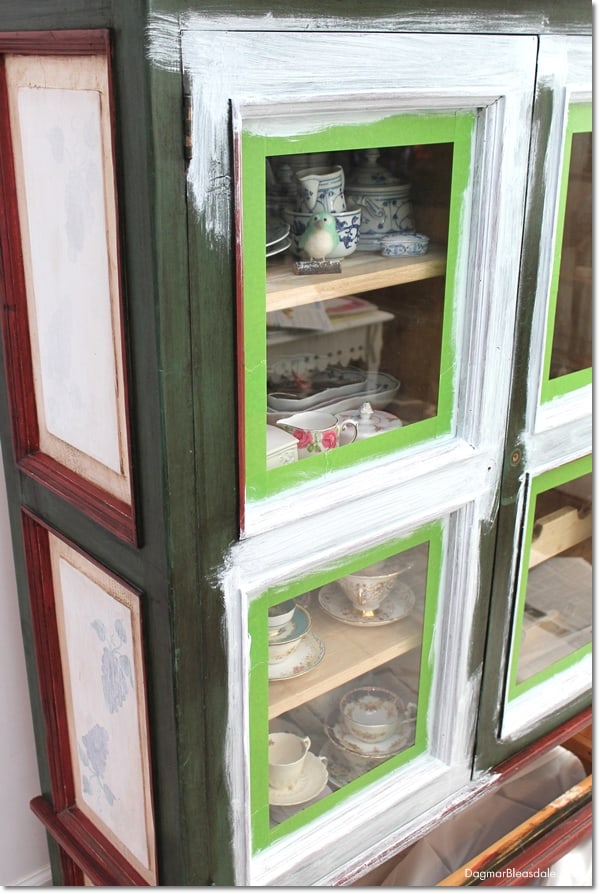
Then I put Frog Tape around the glass to make painting the frames easier.
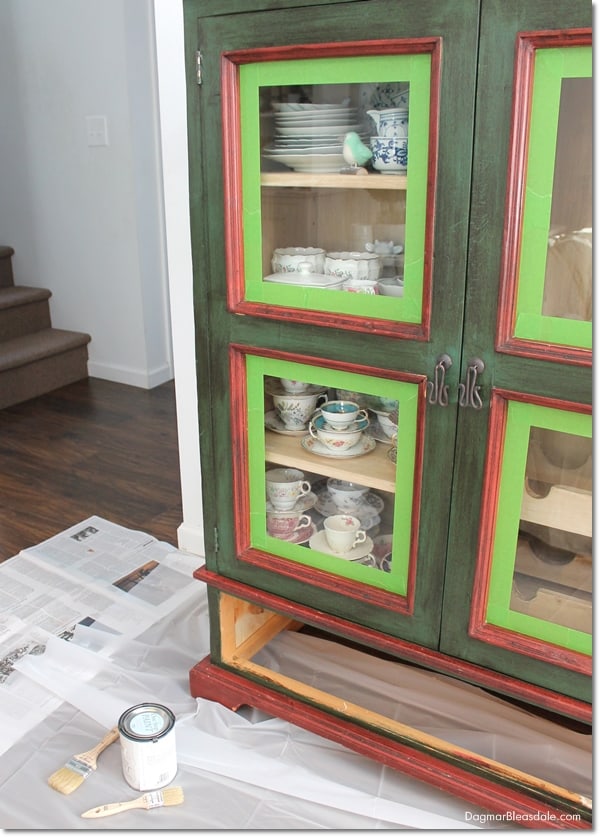
I shook the paint can for a couple of minutes, opened it, and stirred it with a paint stick really well.
I placed the paint onto a painters tray, just as a precaution. I grabbed a plastic container — I recycle the ones from to-go soup — poured about half a cup of paint into it, and diluted it with about a teaspoon of water.
After I mixed it well with my paint brush, I started to paint.
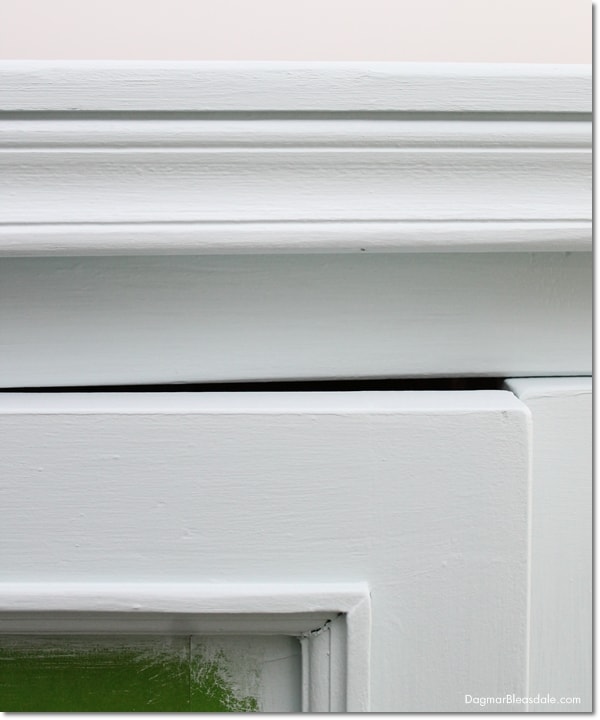
This is what it looked like after two coats.
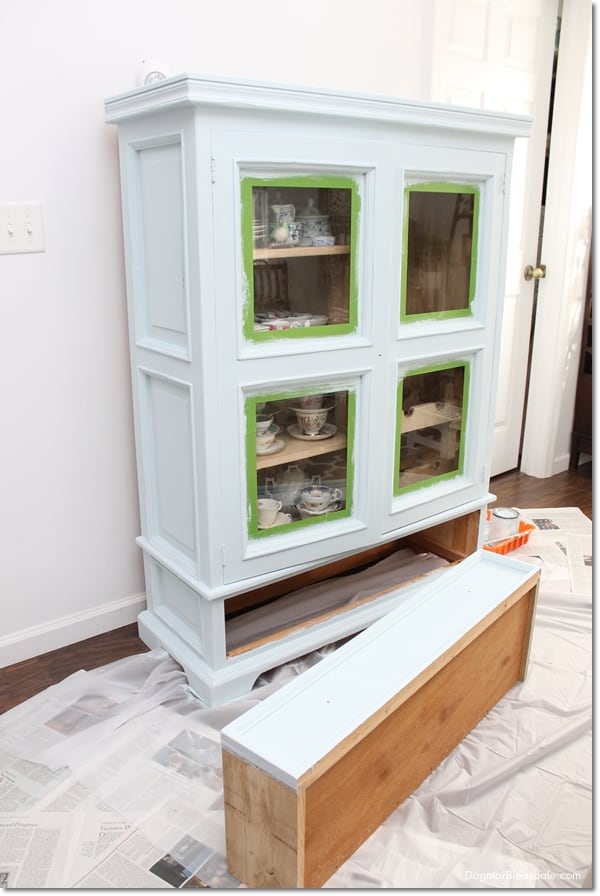
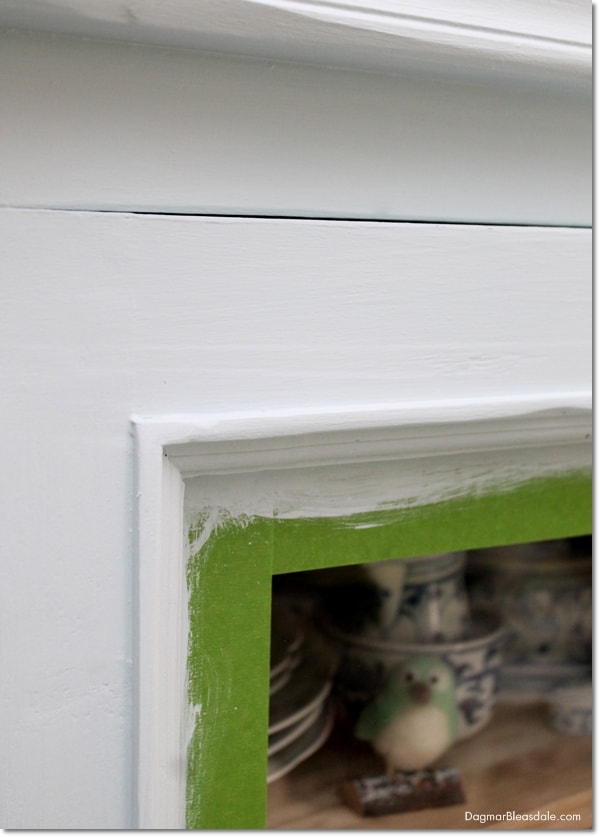 If you don’t want to see brush strokes, you can spray the paint on the piece — some of my blogging friends are using a paint sprayer — but that doesn’t work inside our house.
It took three coats to get really great coverage, but that’s because I went from a very dark color to an almost white color.
I’m sure two coats will do in most cases. It didn’t take long to do one coat, and you only need to wait 30 minutes between coats, so you can literally finish a piece in one day if you want to.
After the last coat was dry, I waxed it with Amy’s light antique wax.
She also sent me the dark wax, but I didn’t want the brush strokes to be highlighted and opted to play it safe and just went with the light wax.
It actually smoothed out the brush strokes a bit, and after it dried, I buffed the whole piece, which leaves it with a really nice light sheen.
If you prefer the chalky paint look, you can skip waxing your piece.
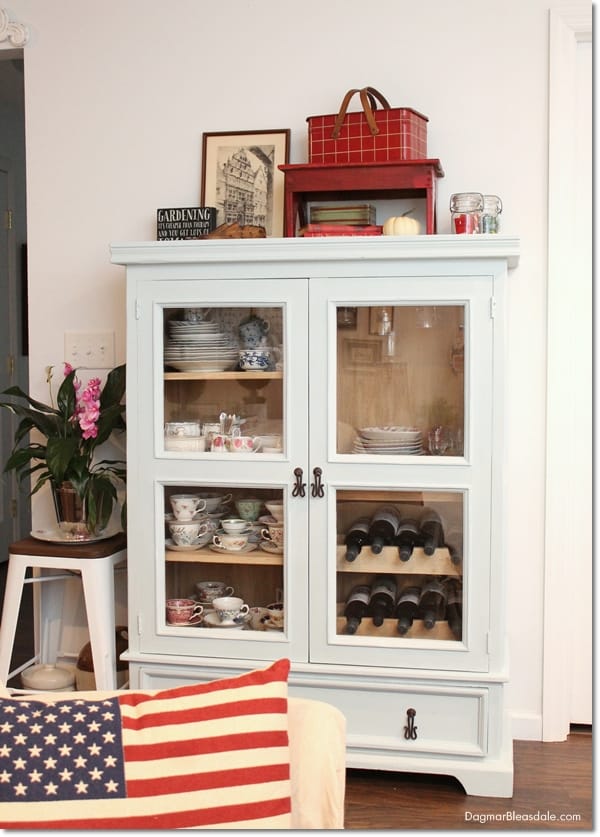
All I had to do is take off the painters tape, clean up the bit of paint that got on the glass, screw the handles back, and voila — we are now enjoying this transformed beauty!
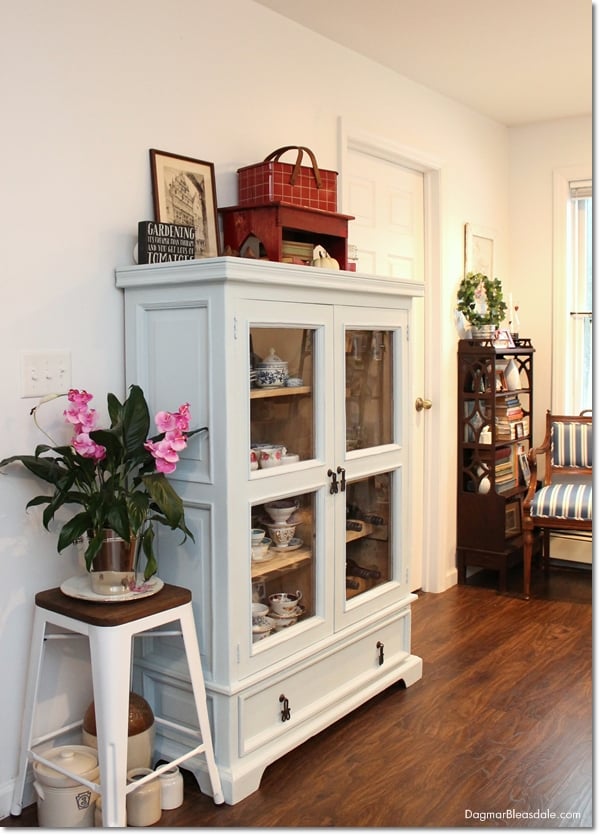
I absolutely love how it turned out, and I’m not even done with it: I’m thinking of painting the raised part around the glass white, and maybe I’d add a little stencil on the drawer and even on the side panels.
I could also add gold leaf around the glass.
What do you think — would you paint those raised parts white or gold?
Refinishing furniture with chalk paint
It took me a few days to finish this piece because I took my time, but all in all transforming it was easy with Amy’s One Step paint and wax.
I hope you’ll try it out — and let me know what you think after you do!
I can’t wait to tackle the next project with Amy’s paint.
Like this post? Pin it for later!
