
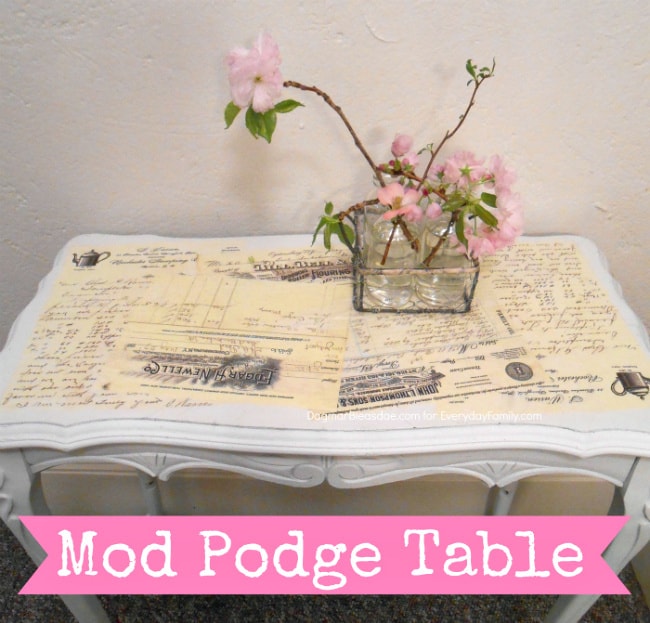
I love how this decoupaged Mod Podge table turned out — I simply added vintage invoices to the top of it!
It was my first time using Mod Podge glue, the versatile glue you can use for so many different DIY projects. I’ll show you how easy this project is.
You can embellish boxes or frames or furniture with photographs or movie tickets, sheet music or stamps, old letters or postcards, scrapbook paper or stickers with the use of Mod Podge. Even fabric works.

I glued copies of these vintage invoices I bought at an antique show to the table.
It was my mother-in-law’s table she didn’t want anymore, and I took it home and painted it white. It was perfect for our little apartment.

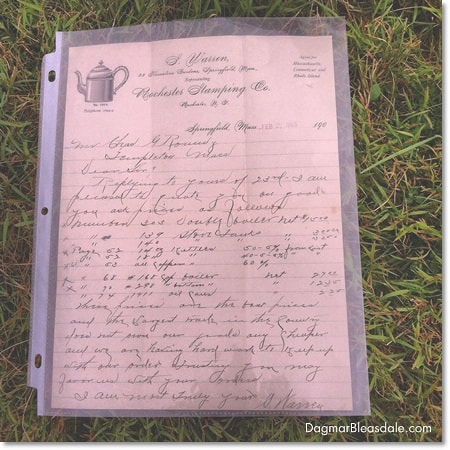
The letter and invoices feature beautiful old-fashioned handwriting that you just don’t find anymore – I love to buy them because I feel like I’m preserving piece of history.
I didn’t want to ruin the letters, so I just made photo copies of them first.
If you have just one item you really love, you could make many photo copies of it and use that to cover an item.
For ideas, take a look of many free printables I’ve collected on my “printables” Pinterest board.
This post includes includes affiliate links. See my disclosure policy here.
Supplies for the Mod Podge Table:
- little side table (or other furniture piece)
- Mod Podge glue

![]()
- (foam) brush
- scissors
- vintage letters, book pages, sheet music, scrapbook pages, or similar like these:

![]()


![]()
- optional: X-Acto knife or needle

![]()

Mod Podge Table Tutorial:
- Put down what you want to glue on your furniture piece and decide on the final design. It might help to take a quick picture with your iPhone for reference so you can remember your final design while you work on the table.
- Apply the first coat of Mod Podge to the top of the table and add your first piece of paper, making sure to avoid bubbles. Cover it with more glue. The glue might change the color of the pages a bit, as you can see in my case.
- I dipped my index finger into a little bit of glue and gently push out any air bubbles. After a couple of layers of paper, there were some trapped bubbles in the middle of my table, and I tried to release them by making small holes in the bubbles with the X-Acto knife. That worked for some bubbles, but not all. Next time I would put more glue onto the surface initially.
- Try not to push the glued-down items too much to avoid holes, or discolored or torn pieces.
- Once you glue everything you want to add to the table, let the first layer of Mod Podge dry for 20 minutes or more.
- Add additional layers of Mod Podge to the table — I added one more. To make sure the top of the table is durable for years, finish your project by applying clear spray paint.
I really like how this table turned out, and as you could see in my Blue Cottage House Tour, it gets a lot of use next to our sofa.
 I’m glad those 100-year old invoices have been preserved for a bit longer. They are certainly a nice conversation piece, and an unexpected accent on a table.
This table is certainly one of a kind.
Have you used Mod Podge for DIY projects?
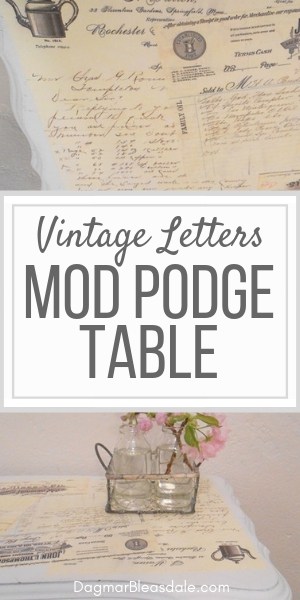
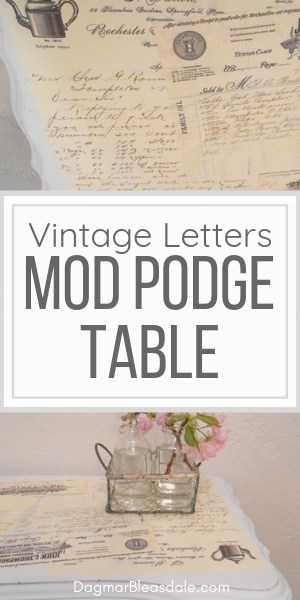
Pin this for later!
Alexandra says
Such a beautiful idea! I love the upcycle. I have been wanting to try something like this. Being limited on space myself, a side table might just be the perfect place to start. Thanks for the inspiration!
PS I have decoupaged ceramic tiles before, and I used a gift card to smooth my paper out so I didn’t end up with bubbles. It was with scrapbook paper, so a little more durable, but maybe that could have worked here too?
Dagmar Bleasdale says
Thank you for the tip, Alexandra!
Florence says
I totally love your table Dagmar! I have always wanted to try the vintage paper & Mod Podge application, so I think that’s in my future!
Dagmar Bleasdale says
It’s a really easy project to do – have fun!
Diane Weeks says
I love how your table turned out! I think I’ll try that soon. I have copies of handwritten letters by my grandmother that looks like ephemera, along with photos of my grandparents, that would be a fun and sentimental project. I just completed a project with Mod Podge by creating a framed cow print. Blessings, Diane
Tammy says
Very cute! Thank you for sharing at share it One More Time … Tammy
Cathy says
I love this! I love using book pages and other pages on my projects and this table is stunning. Thank you so much for sharing at Share It One More Time. Cathy
Dagmar Bleasdale says
Thanks, Cathy!
lorraine williamson says
love it I do mixed media art and furniture is something I’ve wanted to try painting thanks for sharing this tutorial visiting from weekend retreat have a great weekend
Dagmar Bleasdale says
Thanks for coming by, Lorraine!
Quentin L. Obrien says
Isn’t this vintage table top beautiful? I love the paper that was used for the top, it really adds a romantic element to the whole piece. It kind of makes me want to run out and find a pretty side table so I can duplicate this entire project. Oh, and they mention a great idea – using photocopies if you don’t want to use any of your older documents. So smart!
Ellen C says
What a great idea, I love how your table turned out!
Dagmar Bleasdale says
And it’s so easy to update a table with Mod Podge. Thanks for coming by!