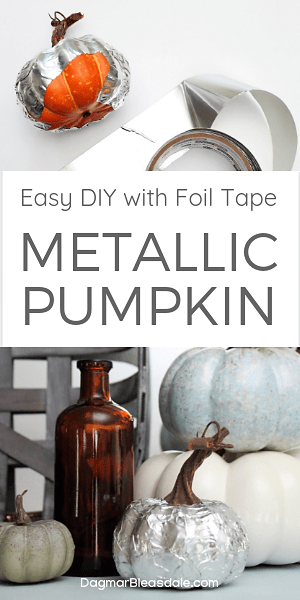
This is such an easy 5-minute fall project: make instant DIY metallic pumpkins with sticky aluminum foil tape.
You don’t have to go to the store and buy new fall decor – just update the pumpkins you already have.

Easy DIY Metallic Pumpkins
Yes, it’s that time of year: to think about fall decor.
I love to recycle and reuse items, and I love super easy, fast DIY projects, so this is my kind of project.
It’s SOO easy, and so much fun to update your fall decor! The kids can help you with it — that easy.
Do you
- have fake pumpkins in a color you don’t like any longer
- have plastic pumpkins that look cheap that could use an upgrade
- or do you want to try something new?
Then listen up, my friend.
When we were organizing our shed in the spring and going through the 20 tool bags my Don owns stuffed full of of drills, nails, and odds and ends from his carpentry and construction jobs, he was throwing a half-used roll of metallic tape into the garbage pile.
Uh, not so fast!
I was attracted to it like those birds that steal shiny objects and picked it up to check it out. I had never seen this kind of tape before, but I immediately fell in love.
If there is such a thing — to fall in love with tape.
It’s actually aluminum tape for HVAC jobs.
Where was this all my life?
I instantly thought of so many ways I could use it for DIY projects!
I mean, it’s metallic, and it has glue on the back of it. There isn’t a surface that’s safe from me now.
Oh, the possibilities! Frames, candle holders, trays, glassware…
As an Amazon Associate I earn from qualifying purchases.
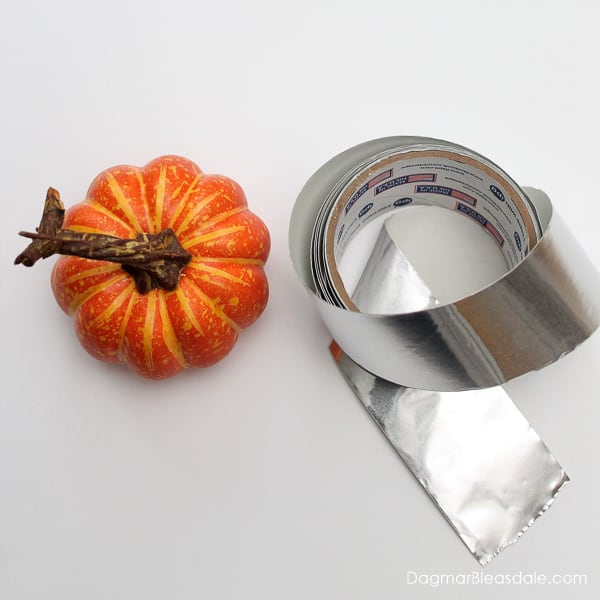
Here is what the aluminum tape looks like:
Because it has the sticky backing, it works better than regular aluminum foil for this project.
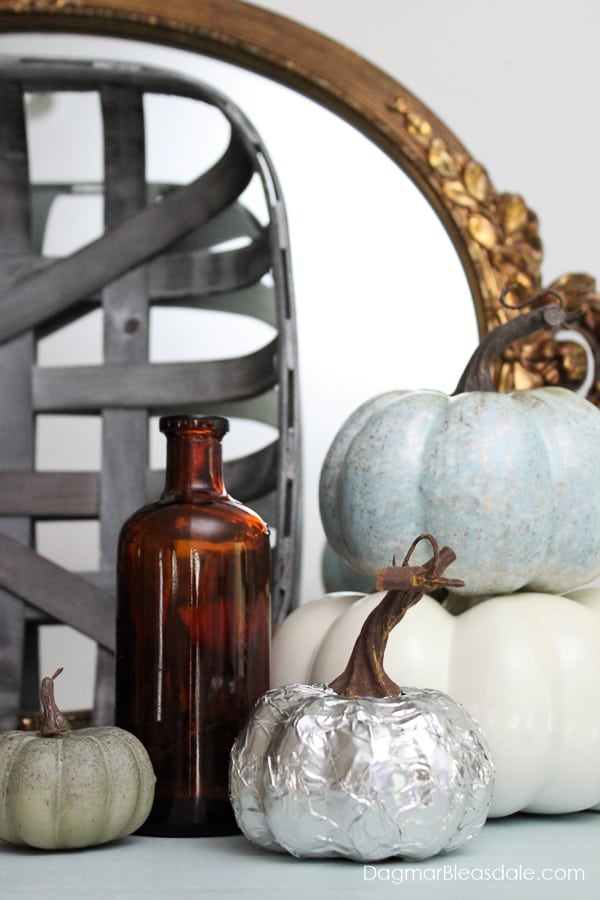
For my first project, I used the tape to update plastic pumpkins to make metallic pumpkins.
Supplies for DIY Metallic Pumpkins
- Plastic pumpkin (or any fake pumpkin, this works on any surface)
Got 5 minutes? Then you can make this.
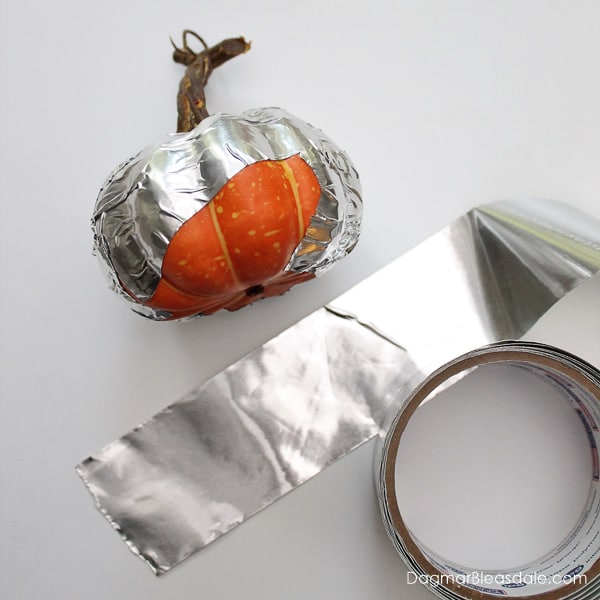
All you need to do is rip off a piece of aluminum tape, take off the backing, and apply it piece by piece to the outside of the pumpkin.
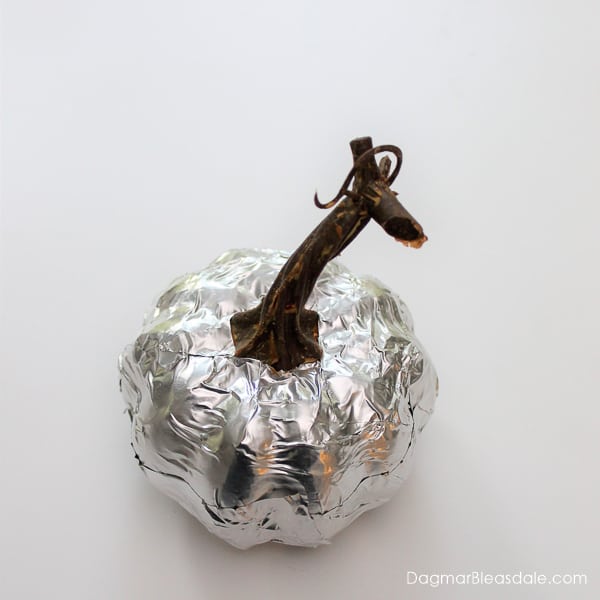
Smooth down the tape after every strip, and continue until the whole pumpkin is covered.
My pumpkin was small, so this didn’t take me longer than a couple of minutes.
If you are covering a large pumpkin that’s the size of a basket ball, it’s obviously going to take a little bit longer.
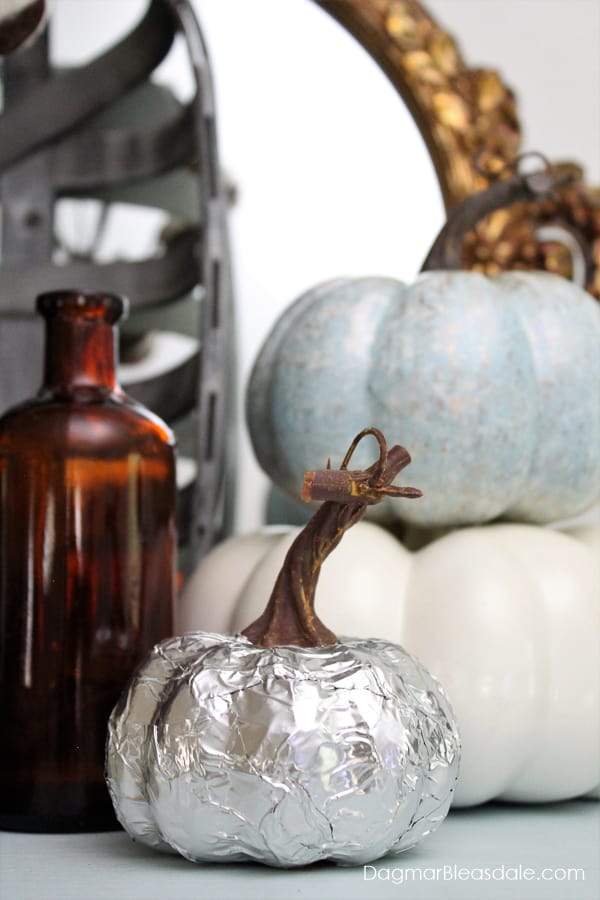
I love the result! Instant metallic pumpkin.
In theory you can obviously also cover real pumpkins with the tape – just remember that to throw them out before they get moldy.
If you don’t want to be wasteful, making these with plastic or ceramic pumpkins you’ll reuse for decor year after year.
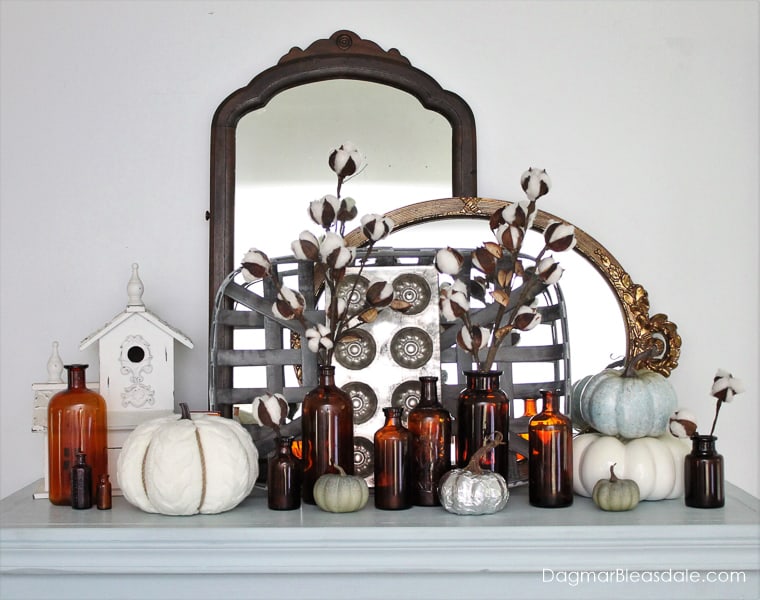
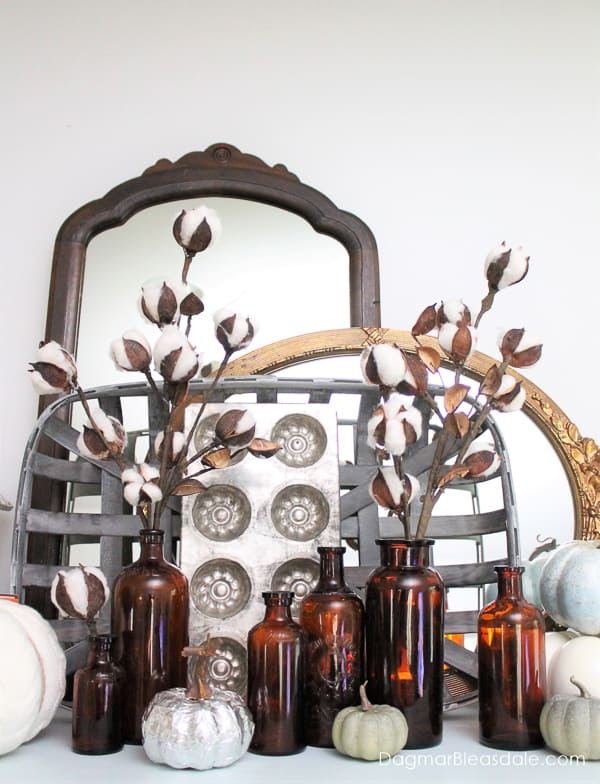
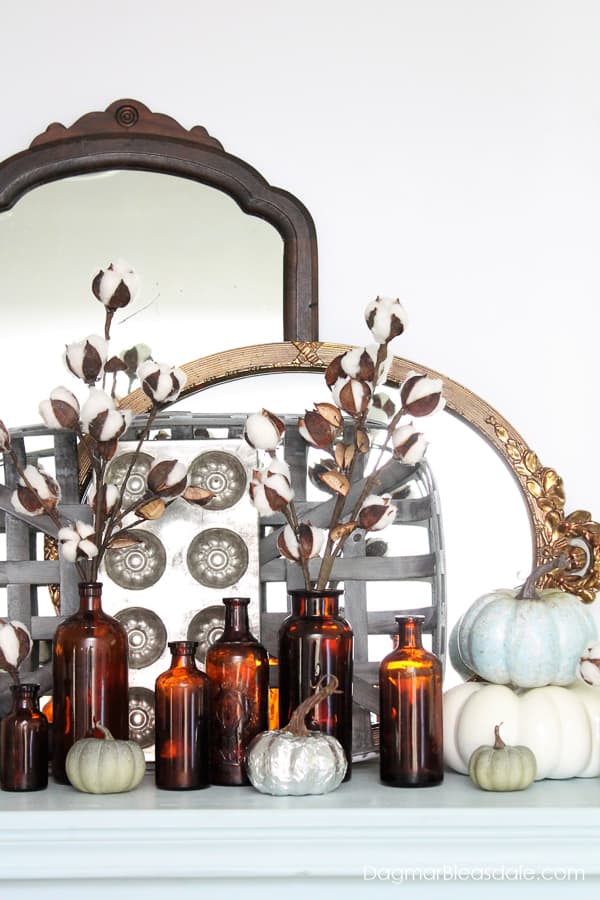
I mixed it the pumpkin with my other pumpkins and fall decor on top of my wine cabinet. It fits right in!
What do you think of my updated, metallic pumpkin?
What would you cover with aluminum foil tape? Once you have a roll, the possibilities are endless.
Pin this for later!
You would also enjoy these easy DIY fall decor posts:

