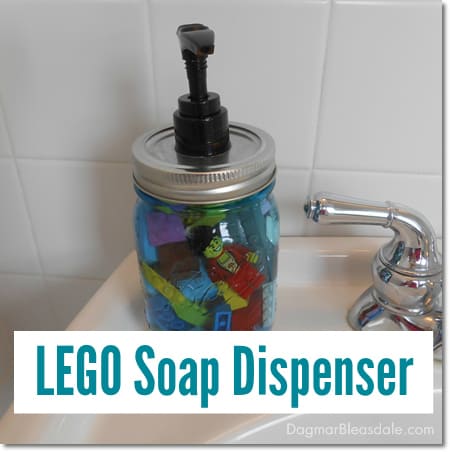
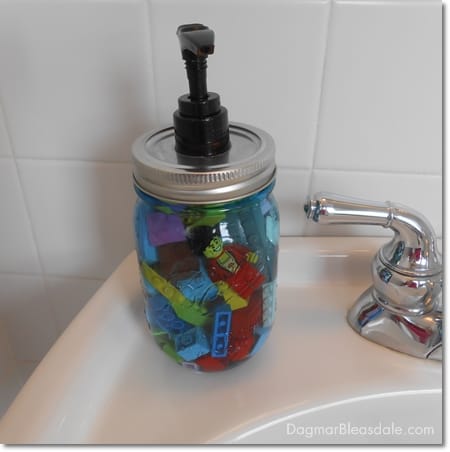
Now with this virus around, we need to get the kids to wash their hands more often. They are going to want to wash their hands with this DIY LEGO soap dispenser you can make in minutes!
Lego Soap Dispenser
Washing your hands is still the best way to get rid of the virus if you have it on your hand – the soap is able to get rid of it if you wash your hands for 20 seconds.
Let’s make it easier for all of us to get the kids to wash their hands with this fun soap dispenser!
LEGO is king in our house — I bet you also know a child that loves LEGOs.
If you don’t have LEGO around, I bet you your kids have small plastic toys you could use.
You could recycle or buy a see-through plastic soap dispenser and simply add LEGO pieces to it — that’s all!
If you like the look of mason jars, here is my tutorial for a LEGO soap dispenser I made from a mason jar for Landon a couple of years ago.
LEGO Soap Dispenser Made out of a Mason Jar
This post contains affiliate links. If you make a purchase, we receive a small commission at no extra cost to you. Click here for details.
Now that we’re all shopping online more, sign up for Amazon Prime to get the best selection, faster shipping, and the most bang for your buck!
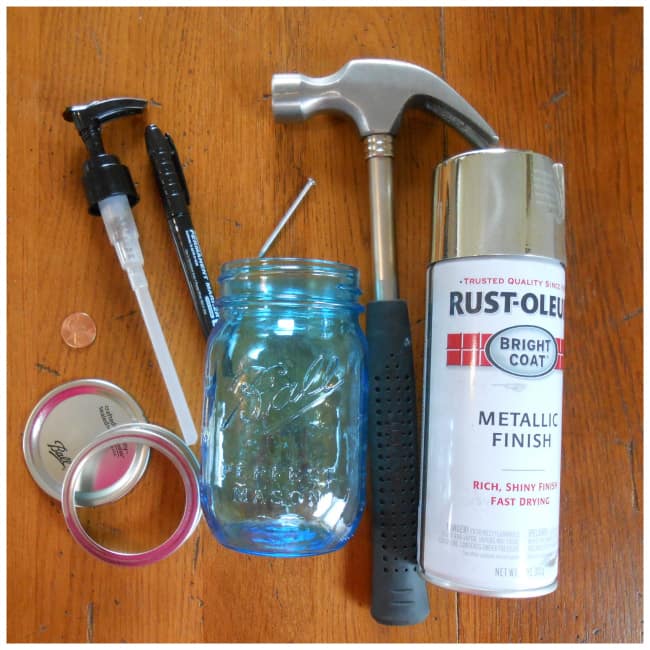
Supplies:
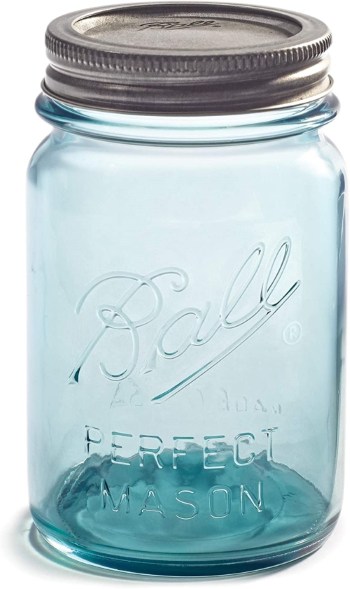
I love the look of these vintage Ball jars:
- clear liquid soap
- LEGO pieces (or Playmobil or similar little plastic toys)
- nail
- hammer
- permanent marker
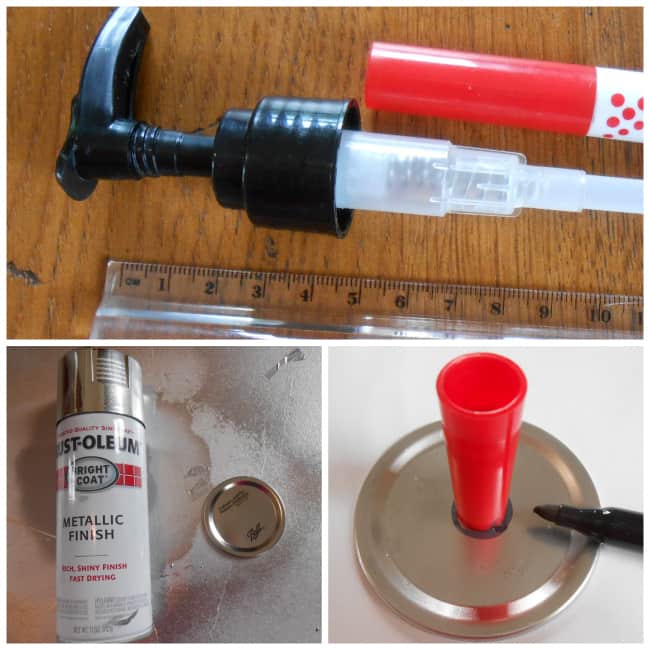
- pump dispenser (I recycled one but you can also buy it)
- optional: hot gun with glue
- optional: spray paint (I used silver metallic to cover the writing on my lid)
- ruler
- heavy-duty scissors or pliers
LEGO Soap Dispenser Tutorial
- If the lid has writing on it, remove the ring and the lid top from the glass and separate the two pieces. Spray paint only the top of the mason jar lid. I wouldn’t recommend brushing on paint. I guess you could also put a water-proof sticker on top of the lid.
- Spray paint one to two coats of paint on your lid. Be certain you allow for proper drying time before handling or you will end up with fingerprints or smudges.
- Look at the size of the base of your pump dispenser. Eye-ball the size or measuring the thickness of it with a ruler, then find something like a penny or the top of a marker that matches the same size. I used a marker top.
- Trace around the item with your permanent marker to create a circle that will be cut out for the pump.
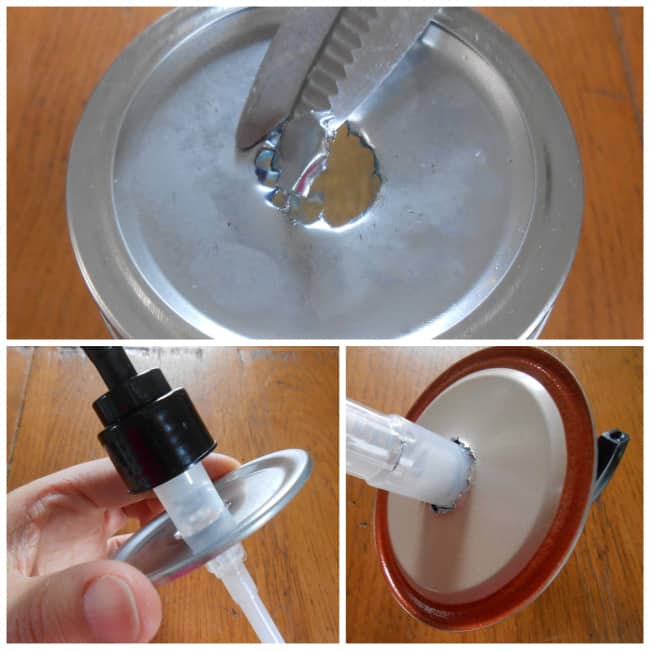
- Put the top of the lid back on the jar and secure it with the lid ring. Then use the nail and hammer to punch holes along the circle. Leave some space between the first round of holes so that you don’t have one side totally punched out – that will make making holes around the circle very hard. You want just enough of the circle intact that the middle of the lid doesn’t pop out until you are ready.
- When you can’t make more holes because the nail slips to the side into the holes you made, use your scissors to cut out the rest of the lid center. I used my flower scissors. If you don’t have heavy-duty scissors, you could also use pliers to remove the center.
- It’s better to make the hole a little too small than too big so you don’t have to start over. Ideally, you want the little sharp edges that result from the nail punctures to grab around the pump when you insert it into the hole in the top. You could seal the pump to the jar lid top by adding hot glue to the underside of the lid where it meets the pump.
- Add the liquid soap and LEGO pieces to the mason jar and screw the pump top to the jar. I had to cut my pump straw a little shorter to make it fit the height of my jar.
You could also add other small toys to the soap dispenser, just make sure they are made out of plastic that doesn’t dissolve in the soap over time.
You could also decorate the outside of the mason jar with a Sharpie.
This LEGO soap dispenser will be a hit with any kid!
You would also like these easy DIY posts:
DIY Porch Curtains Made With $10 Shower Curtain Liners
DIY She She Kits You Can Buy Online
Pin this for later!

