Candle making for beginners — it’s so much easier to make your own candles than you think. And handmade container candles also make wonderful, inexpensive gifts for any occasion.
In this post I’ll tell you
- all my tips of how to get the best results (smooth finish on top of the candle)
- step-by-step instructions
- the supplies you’ll need and might already have
- how I find pretty vintage teacups and containers for less
- how I started to make my own candles and even sold them in stores
DIY Candle Making for Beginners
I love the shabby chic decorating style and find myself drawn to vintage china in thrift stores or at tag sales all the time. I have quite the collection.
Years ago I saw candles in vintage teacups for sale — but they were so expensive. One candle can cost $30!
I decided that I wanted to make them myself. How hard could it be?
So I raided the local thrift stores for beautiful, inexpensive containers and finally poured my first batch of candles.
Here is my step-by-step, how-to tutorial of how I make my soy wax candles in vintage teacups and other containers.
DIY Container Candle Making at Home
I started making my own candles when I learned how toxic most store-bought candles are. Most commercial candle makers use toxic fragrances that contain phthalates, which can lead to allergic reactions, asthma, and disrupted hormones.
I also loved the idea of repurposing teacups and glassware, and after the candle has been finished, you can reuse the container again.
I had so much fun making them that I even sold them for a while in local stores and in my Etsy store. I still give them away as gifts all the time.
As you can imagine, people are so impressed and grateful to get a candle you made yourself.
Candle making is so much easier than you think! And it’s very inexpensive.
I find the containers in thrift stores and at tag sales, and they usually cost me not more than a $1 each.
You don’t even have buy pounds of soy wax like I do — you could save burned-down candles for a while that you can melt down to make new candles in containers you already have at home.
I like reusing vintage containers and bone china teacups from England for my candles, but any tea cups or glasses, mason jars or little bowls will work to make DIY candles.
One tip: don’t use large containers as they will use up too much wax. I also stay away from tall cups because you can’t really see the flame once the candle has burned down a bit. I prefer glass containers and teacups for that reason.
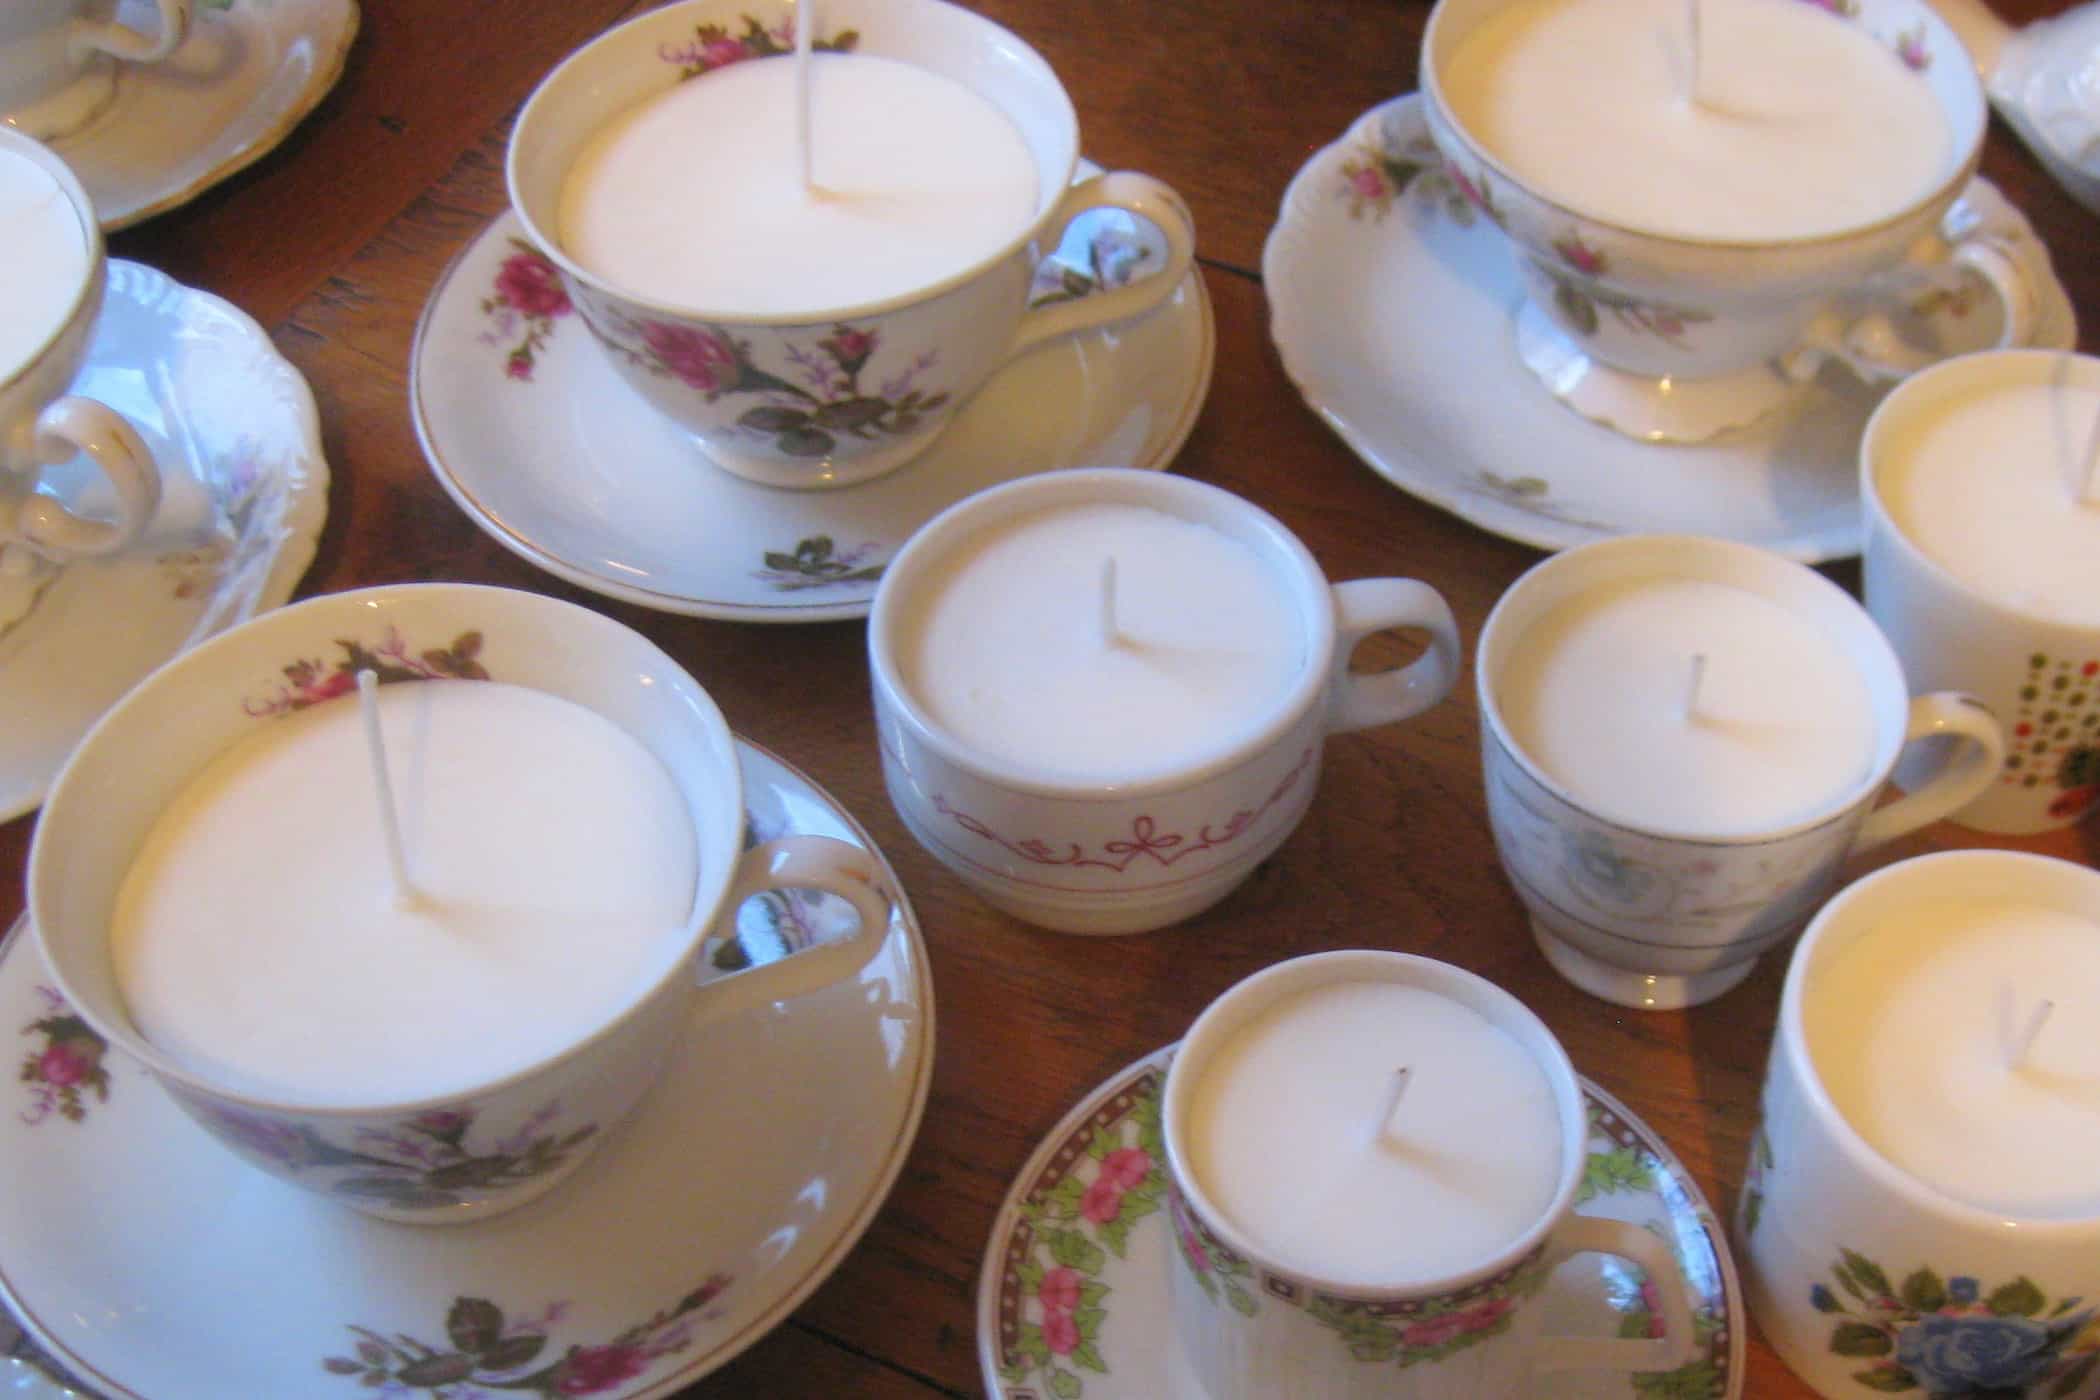
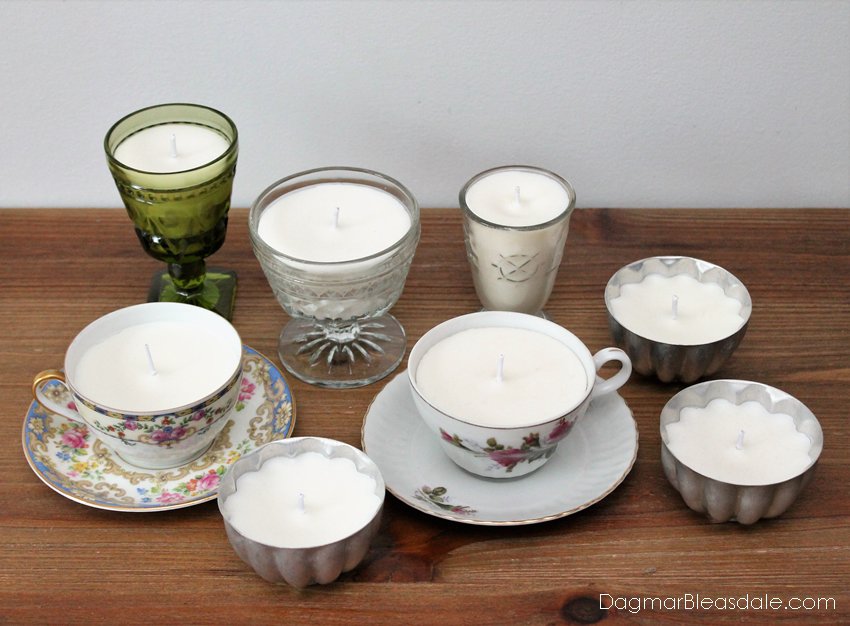
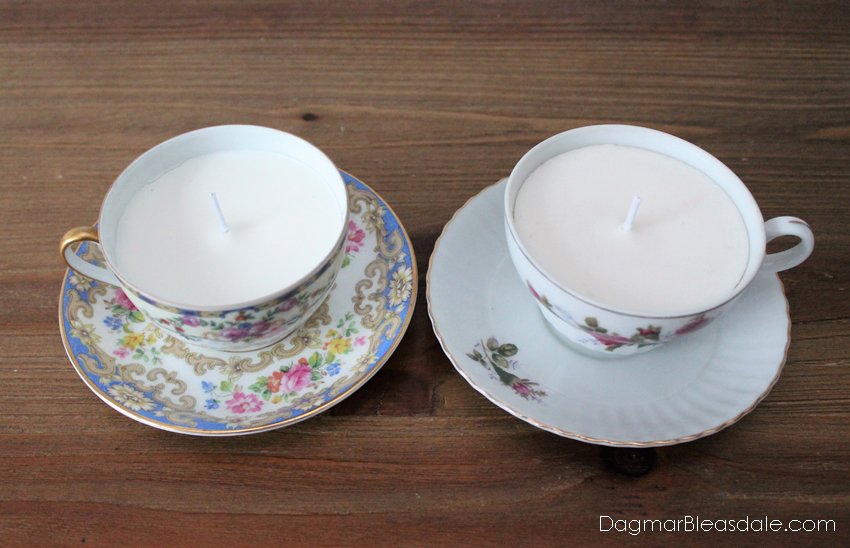
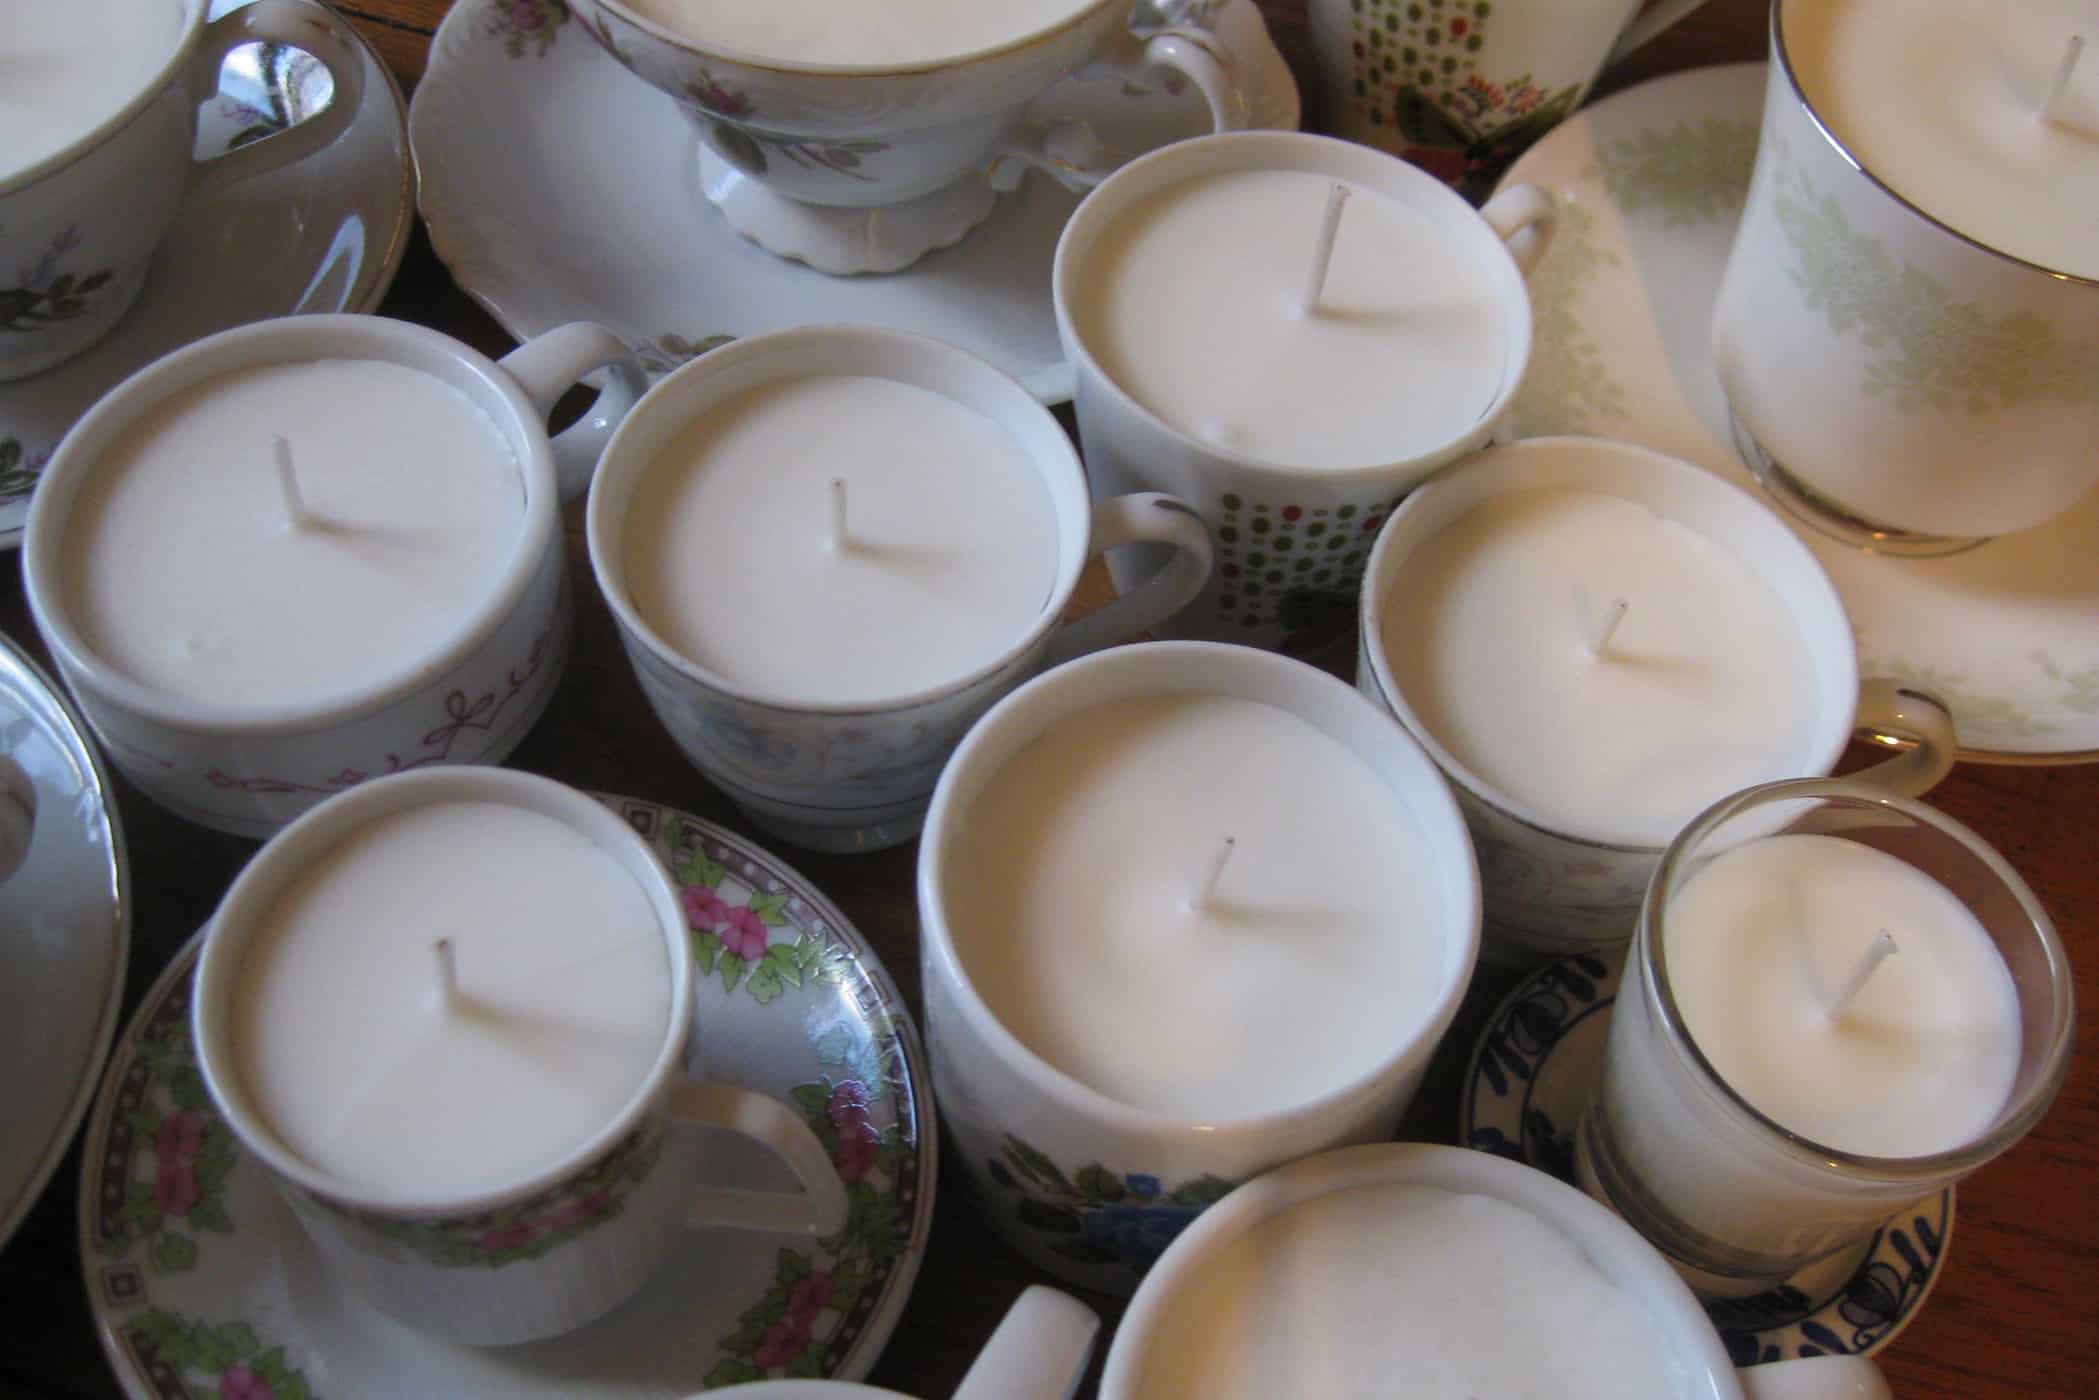
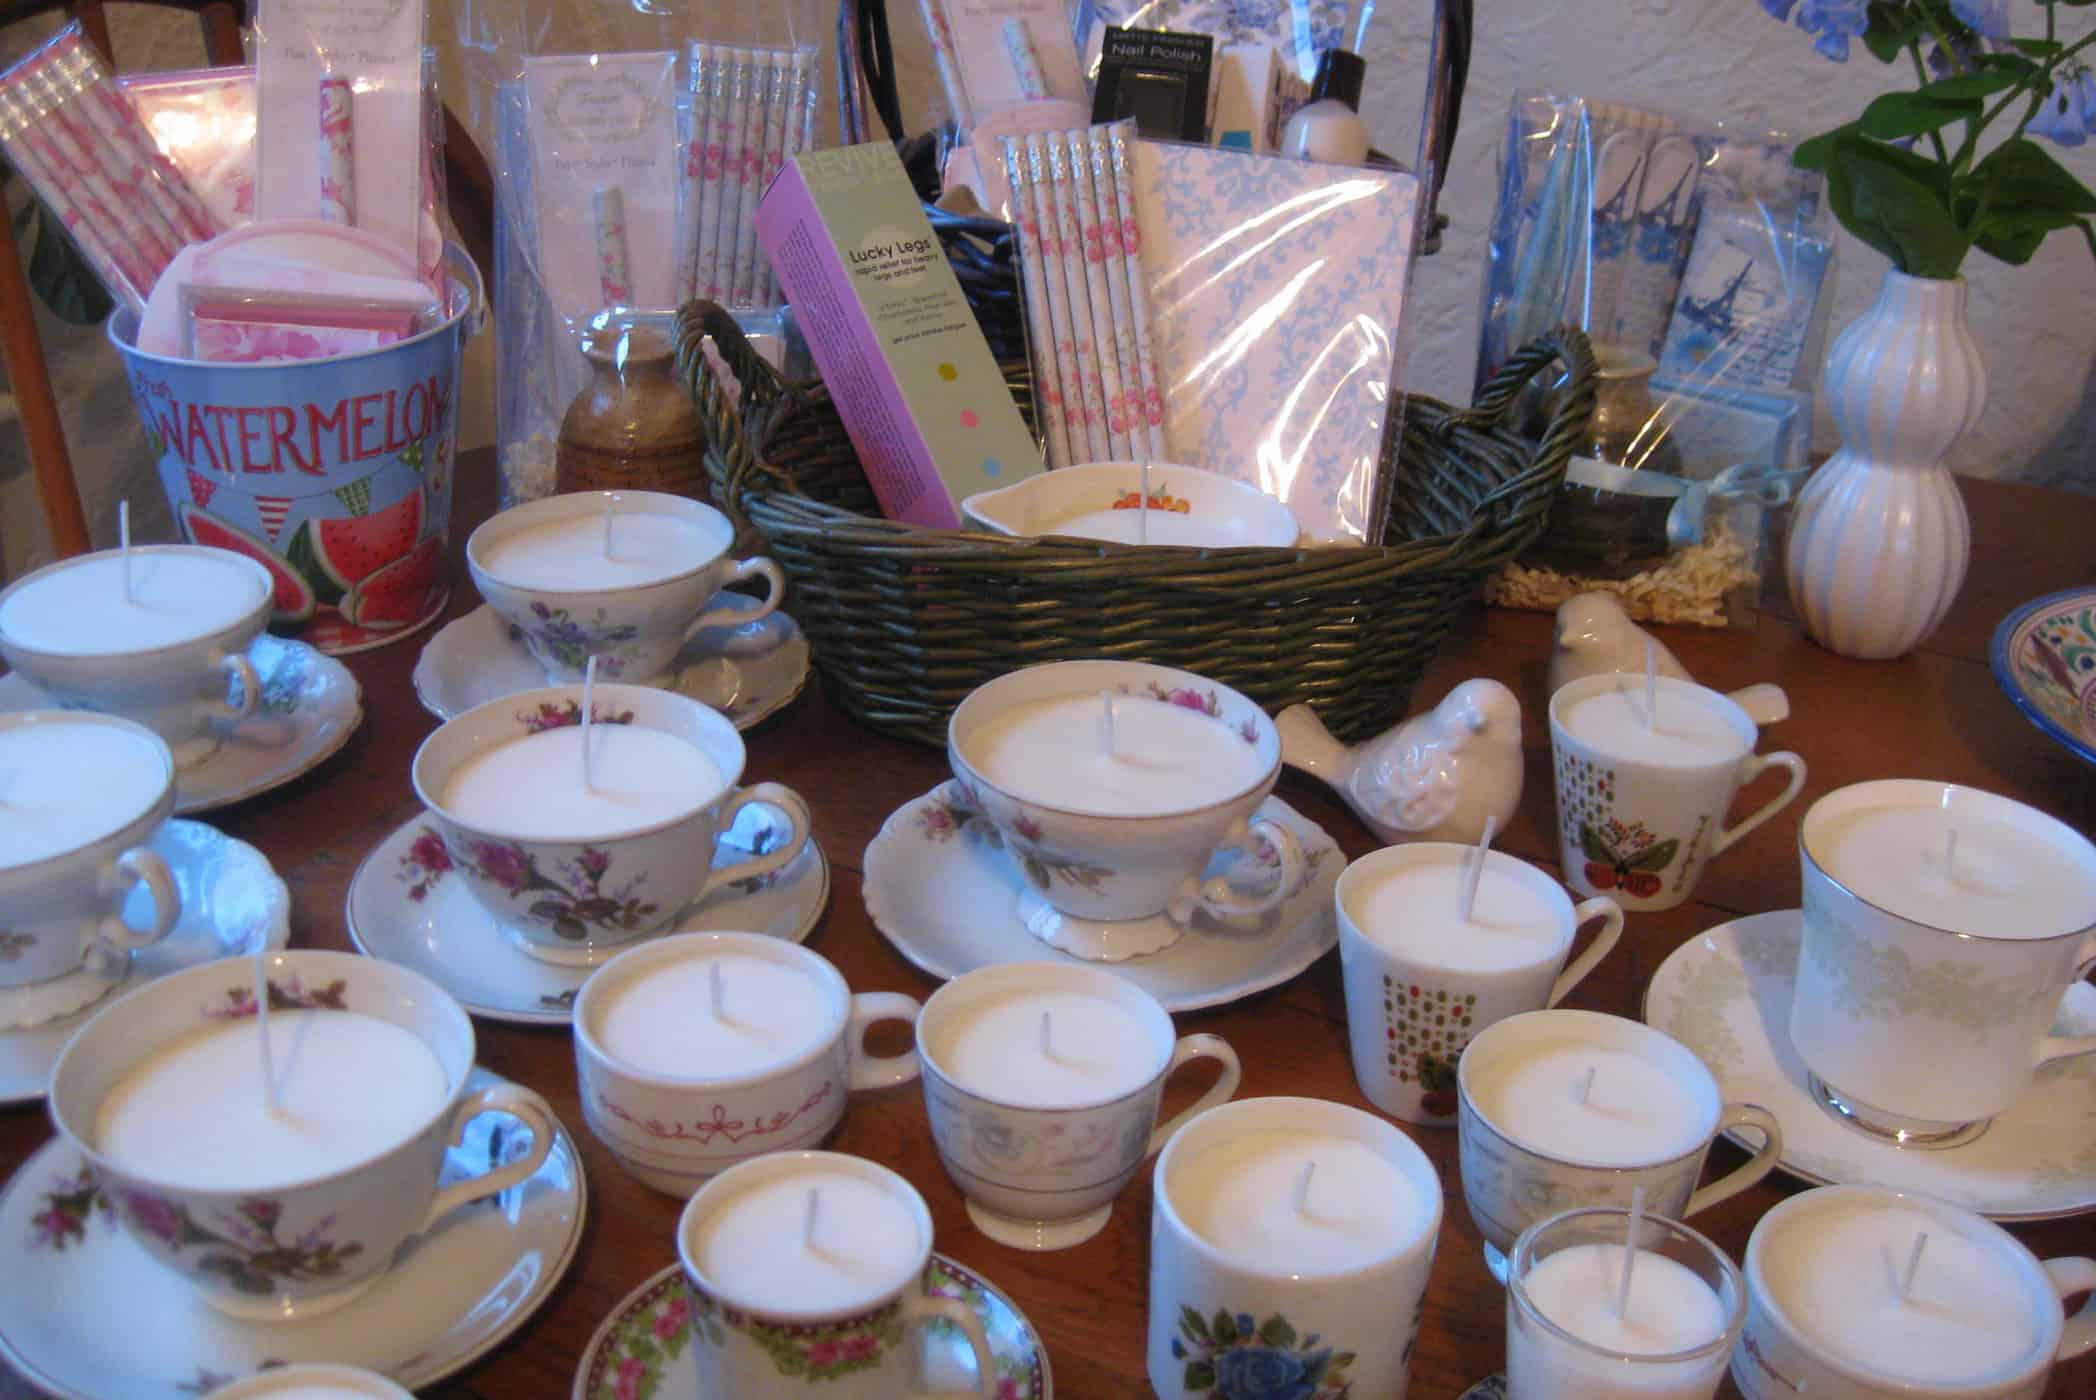
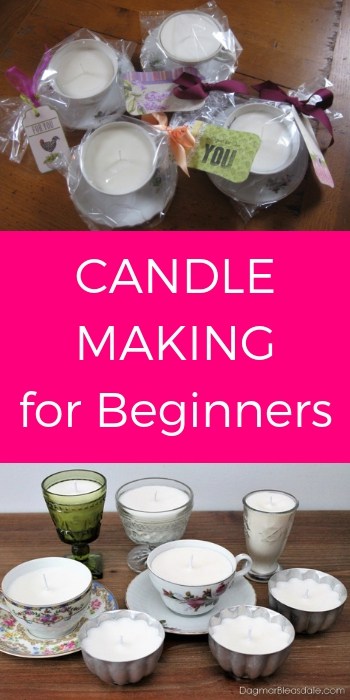
Here is a sample of candles I’ve made. Aren’t these sweet?
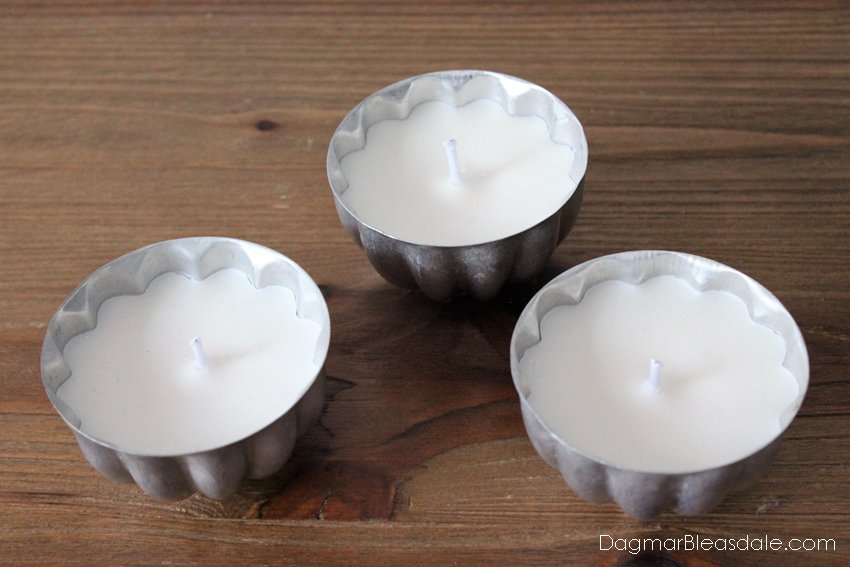
I especially love these jello mold candles I made during my latest batch.
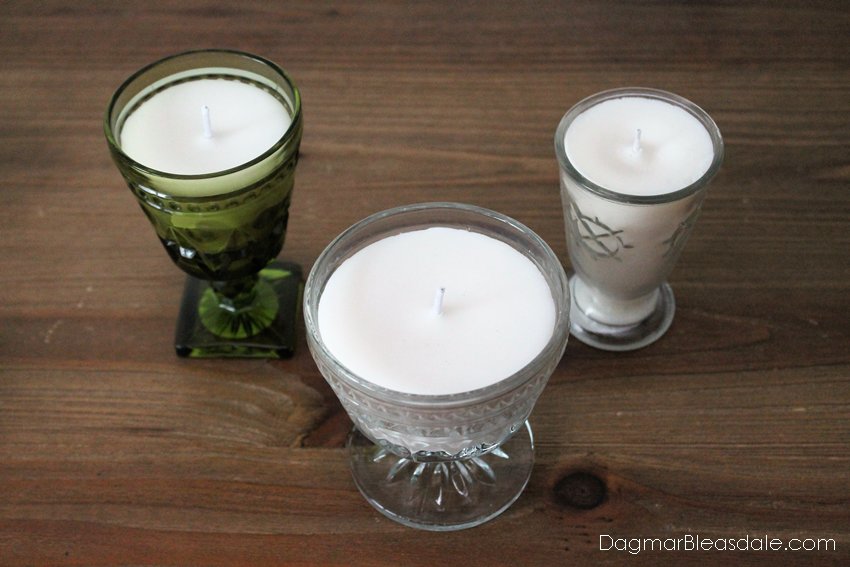
And here is a selection of glasses I turned into candles:
You can see my mason jar candles in this post.
It’s so much fun to source candle containers and to make your own handmade candles.
Handmade candles make wonderful gifts and can be customized to any person’s taste.
Do you want to try making your own candles? Here are all the supplies you need, and the full tutorial:
Candle Making Supplies to make your own candles:

- Teacups or other containers: use Grandma’s vintage teacups or buy any cups or mason jars you like. I love everything vintage or shabby chic, so I always look for cute teacups with flowers on them when I visit thrift stores or a yard sale. These are also really inexpensive!
- Waxed wicks with metal tabs: Make sure you buy them thick and long enough — you can always cut them shorter. Don’t buy the ones you have to assemble yourself! I like this kit that comes with soy wax, waxed wicks, and centering pieces. I don’t use centering pieces for the wicks, but I guess it doesn’t hurt to have them.
- A pouring pot to melt the wax in: I bought an aluminum measuring cup for $2.99 at Home Goods, but you can buy one specifically made for candle making. This set includes the kind I’m talking about.
- A big pot: you’ll fill this with water and melt the wax in the smaller pot in it.
- A thermometer: I had a new meat thermometer from the dollar store I used for my first batch. I kind of figured out the right temperature just by waiting for a certain consistency of the wax, but you can also buy a candle-making thermometer with a hook that secures it to the pot.
- Soy wax: I only buy high-quality soy wax because other wax gives off unhealthy fumes.
- Fragrances (optional): they let you make candles with your favorite smell, like gardenia or lilac. I don’t add them because I’m very sensitive to smells and not a fan of fragrances, but you can buy all kind of fragrance oils you can add.
- Essential oils (optional): You can also add essential oils! The trick to using essential oils is adding the oils when the wax is hot, but not so hot that they evaporate.
Note: Only use fragrances and essential oils that are designed for use in candles.
- Heavy glass dish: I needed this to weigh down the small pot with the wax because it kept floating up in the water and turning sideways even with the wax in it.
- Two pot holders: the water, the wax, and the pots get very hot, so be careful.
- Wax paper: I line my kitchen counter with wax paper and put the teacups on top of it just in case some wax drips on it.
Make sure there are no kids or pets in the kitchen when you are making candles so they don’t accidentally get burned by the hot water or the hot wax.
Instructions for Container Candle Making for Beginners
My friend Viktoria, who makes and sells candles and fragrances for a living, gave me three great tips for candle making:
- don’t cut the wicks too short
- glue the wicks to the bottom of the cups with a little bit of wax before you pour the wax, no extra stickers needed
- the more you let the wax cool before you pour it, the nicer the candles will be
Start by melting the wax. Put a few cups of wax into the aluminum pouring pot, and put that one into another, bigger pot filled with water.
NEVER put the pouring pot directly onto a burner.
Heat up the water, but don’t let it boil. You might have to put a heavy plate on the top of the pot to keep it from floating up — that’s what I do.
While the wax melts, wash your containers and dry them.
Line your countertop with wax paper or paper or placemats that can get ruined.
After the soy wax melts, which takes a while, I put the wax pot on a plate on the counter to let it cool down.
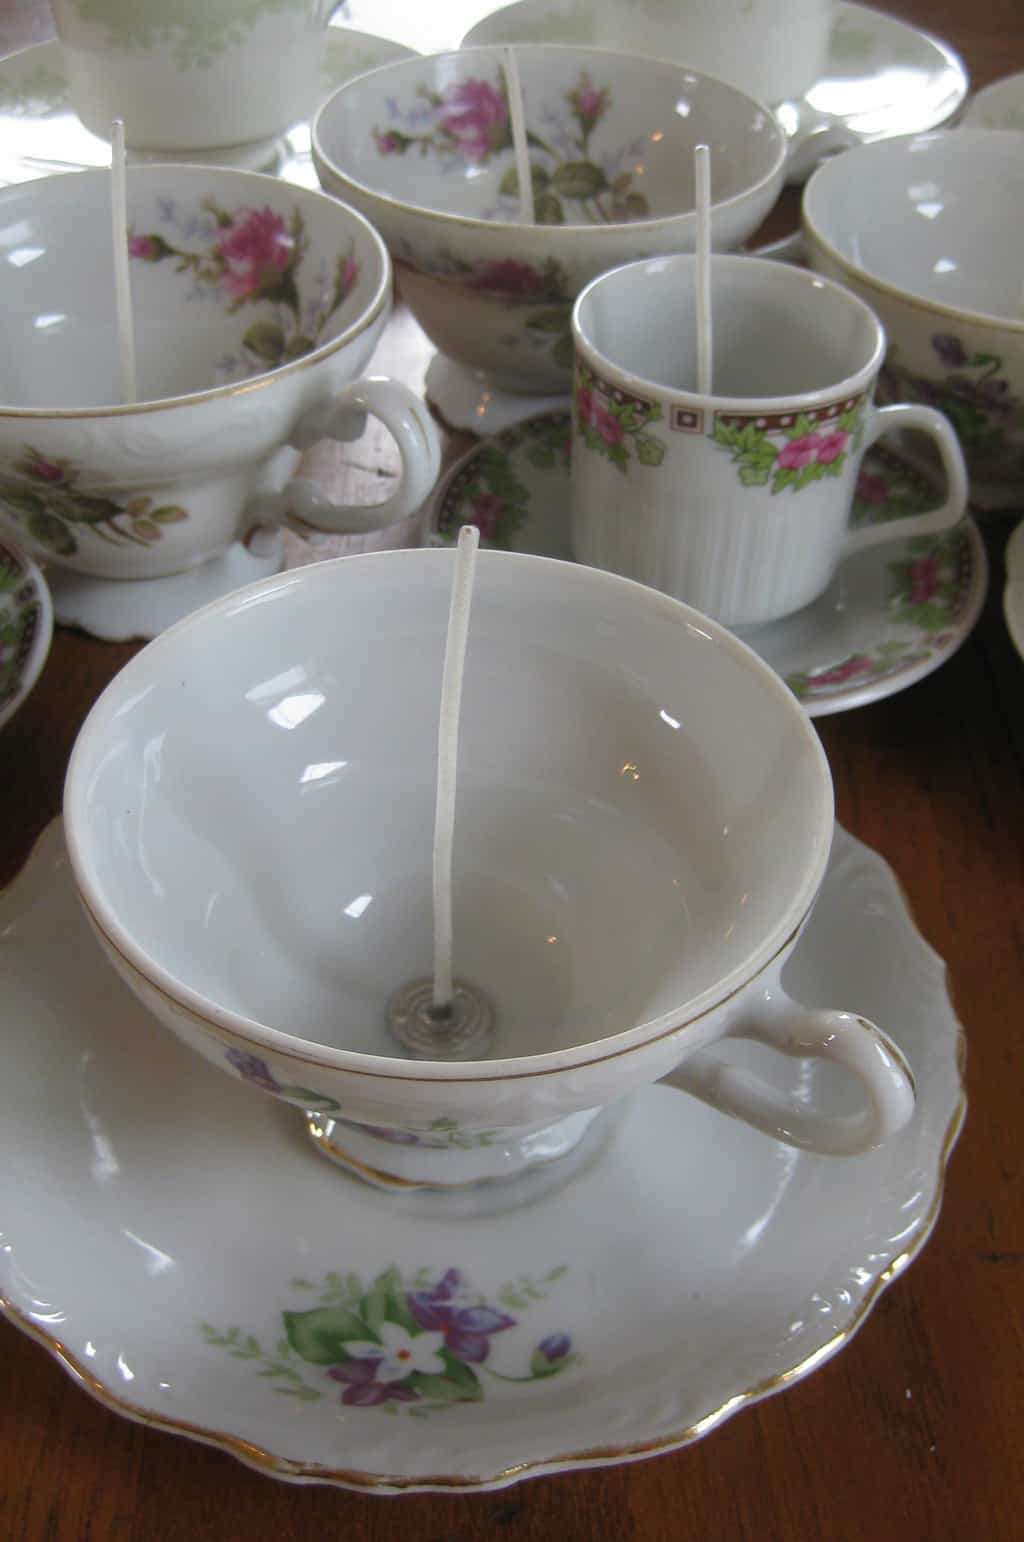
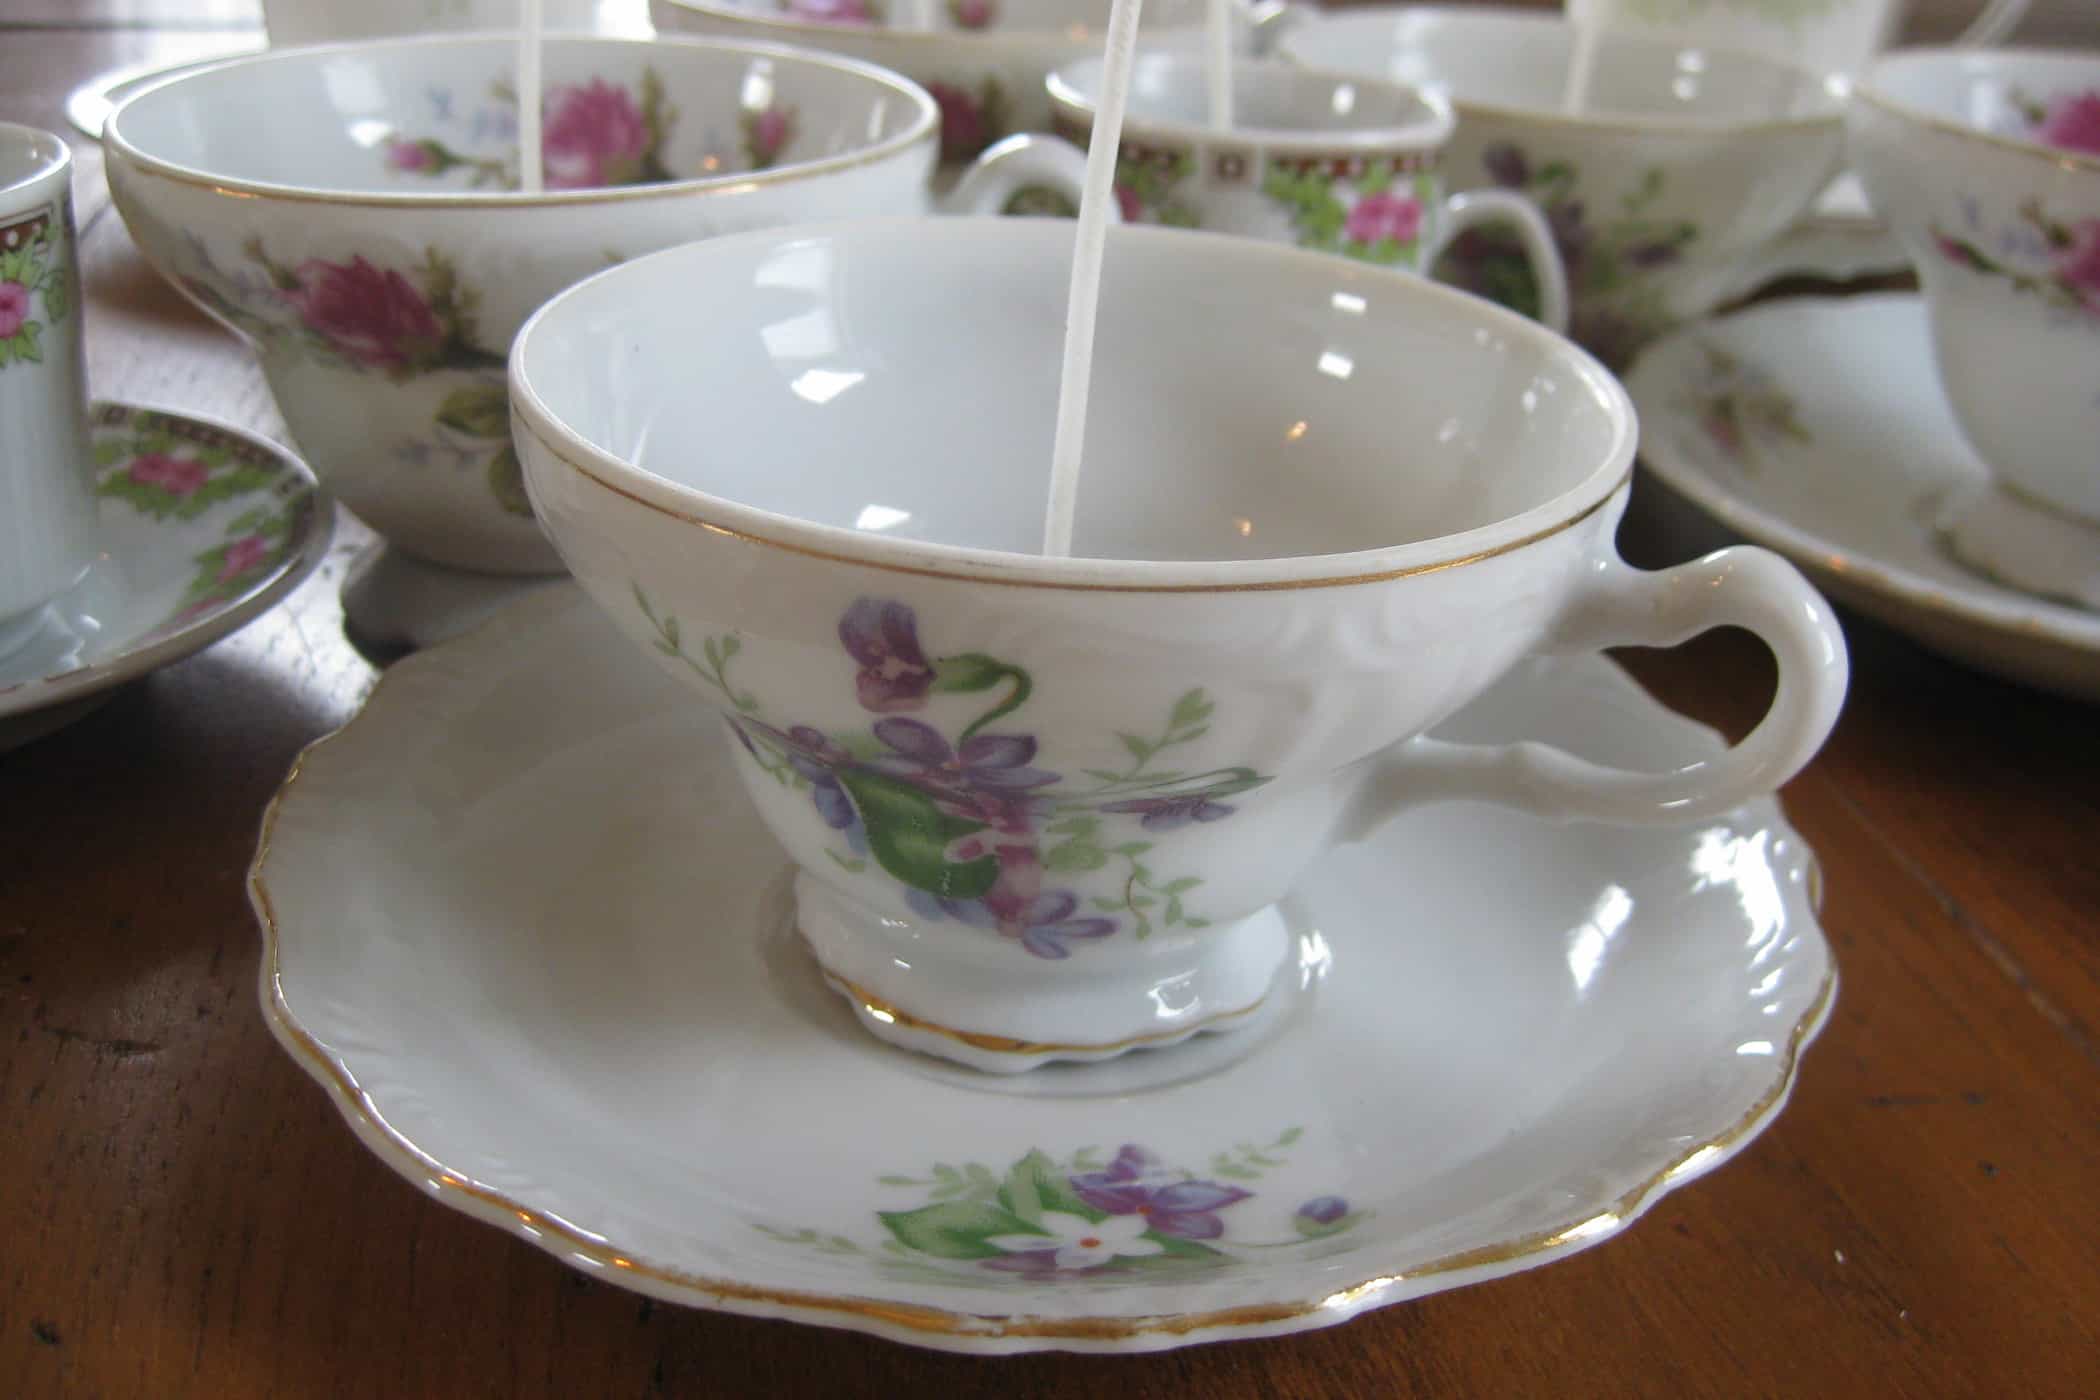
While the wax cools down a bit, take the first wick and dunk the tab into the wax and then place it in the bottom of the first cup or jar. That will glue down the wick and keep it in place. Repeat until you did this for every container you want to use.
You don’t need a thermometer to know when you have the ideal temperature for pouring the candles. When you stir the wax, you want it to look like thick maple syrup, at least with the kind of wax I use.
When the wax is cooled down and looks thicker when you stir it, slowly pour the wax into the cups or mason jars, but not all the way to the top.
I pour my candles in two stages – the surface layer looks smoother that way. Since you will pour another layer on this one, the first one doesn’t have to be perfect.
When the first wax layer hardens, double-check that the wicks are centered before you pour the last layer.
If there are any bubbles in the top of the wax, pop them.
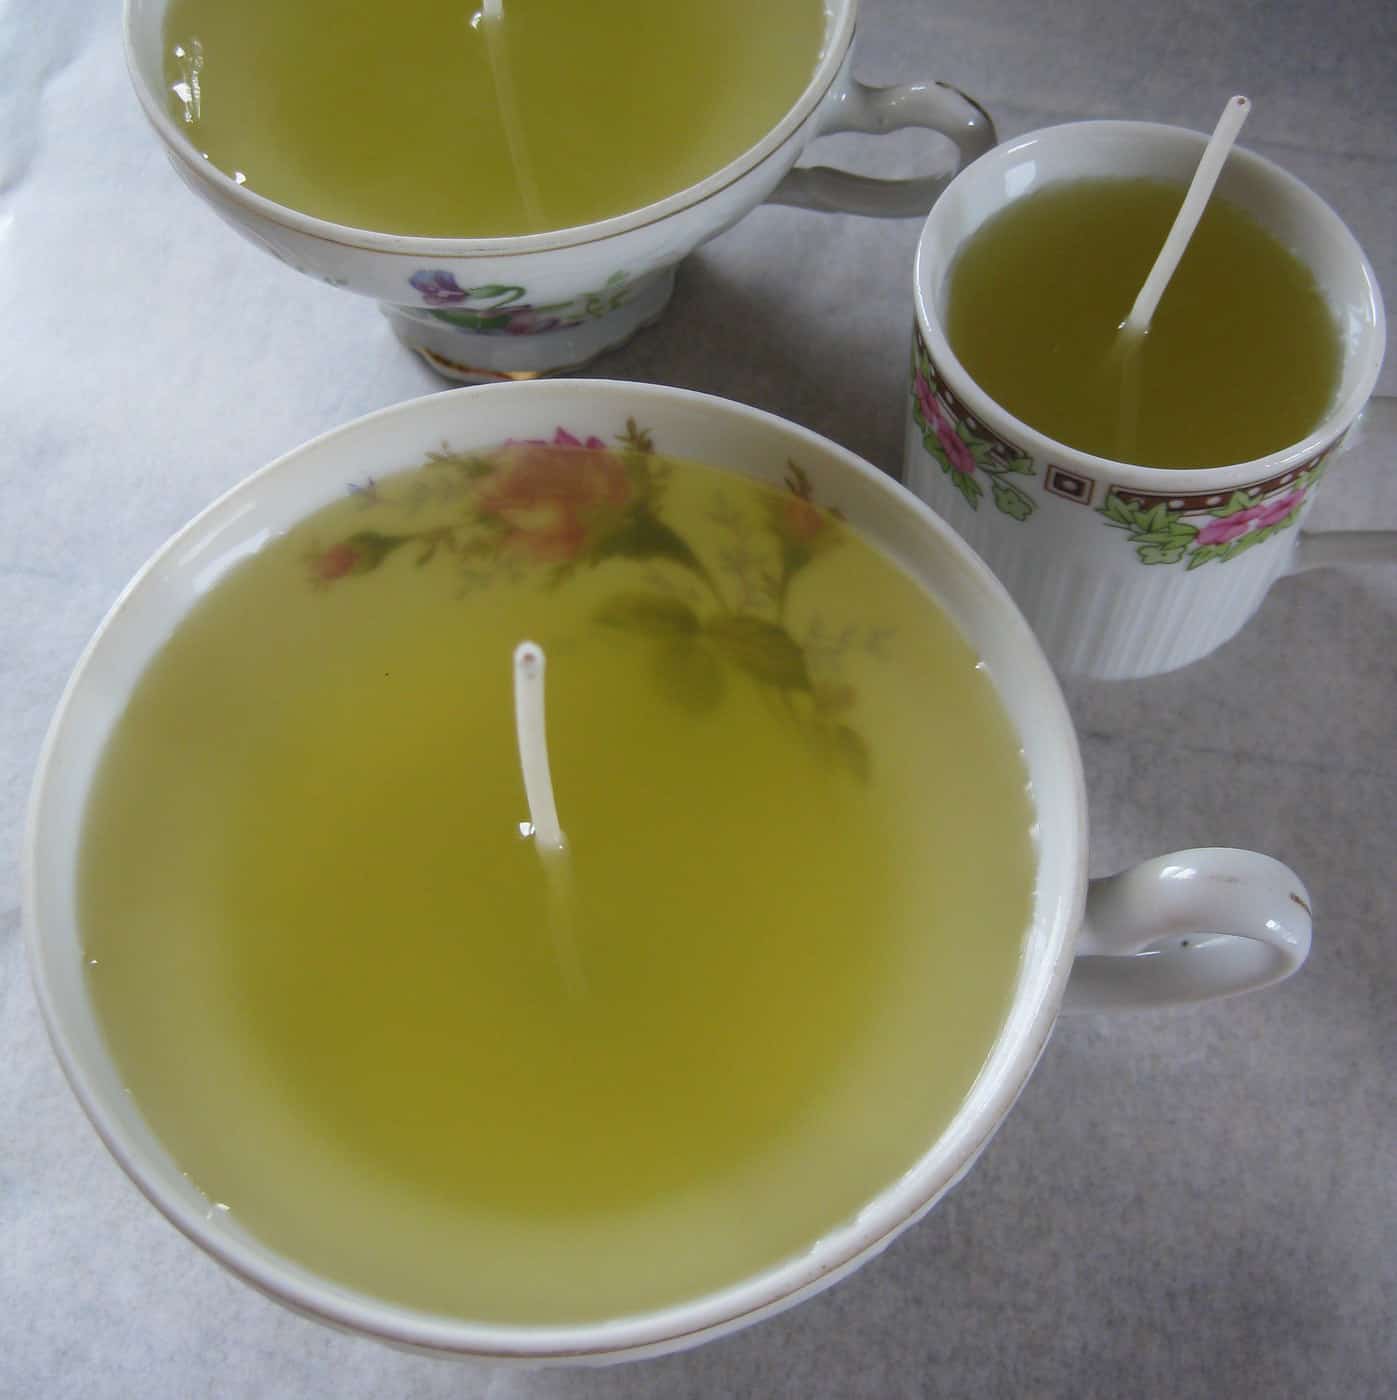
Depending on the design on the cup, you might not want to fill the cups all the way. For this cup, I wanted the flower on the inside to peek out, for example.
It takes about 30 minutes for the wax to harden again.
Once the second layer is completely cool, after about an hour, cut the wick shorter.
Please remember: it is important to keep trimming the wick when you or the recipient burns the candle. Never burn a candle for more than four hours.
Give the candle away with written instructions or add a warning sticker to the candle.
I had my own printed when I was selling a lot of them.
Learn From My Candle Making Mistakes
My first batch of candles turned out like this – the surface was “muddled.”
And a few were smoother but had these little indentations.
There had to be a way to get them smoother. So I reached out on Twitter and was told I can fix that by either using a hair dryer or by warming up the candles in the oven.
I didn’t do either, although both ideas sounded logical. Instead, I let the wax cool down more, to less than 120 F before I poured it. And that really made a difference and resulted in a much smoother top surface.
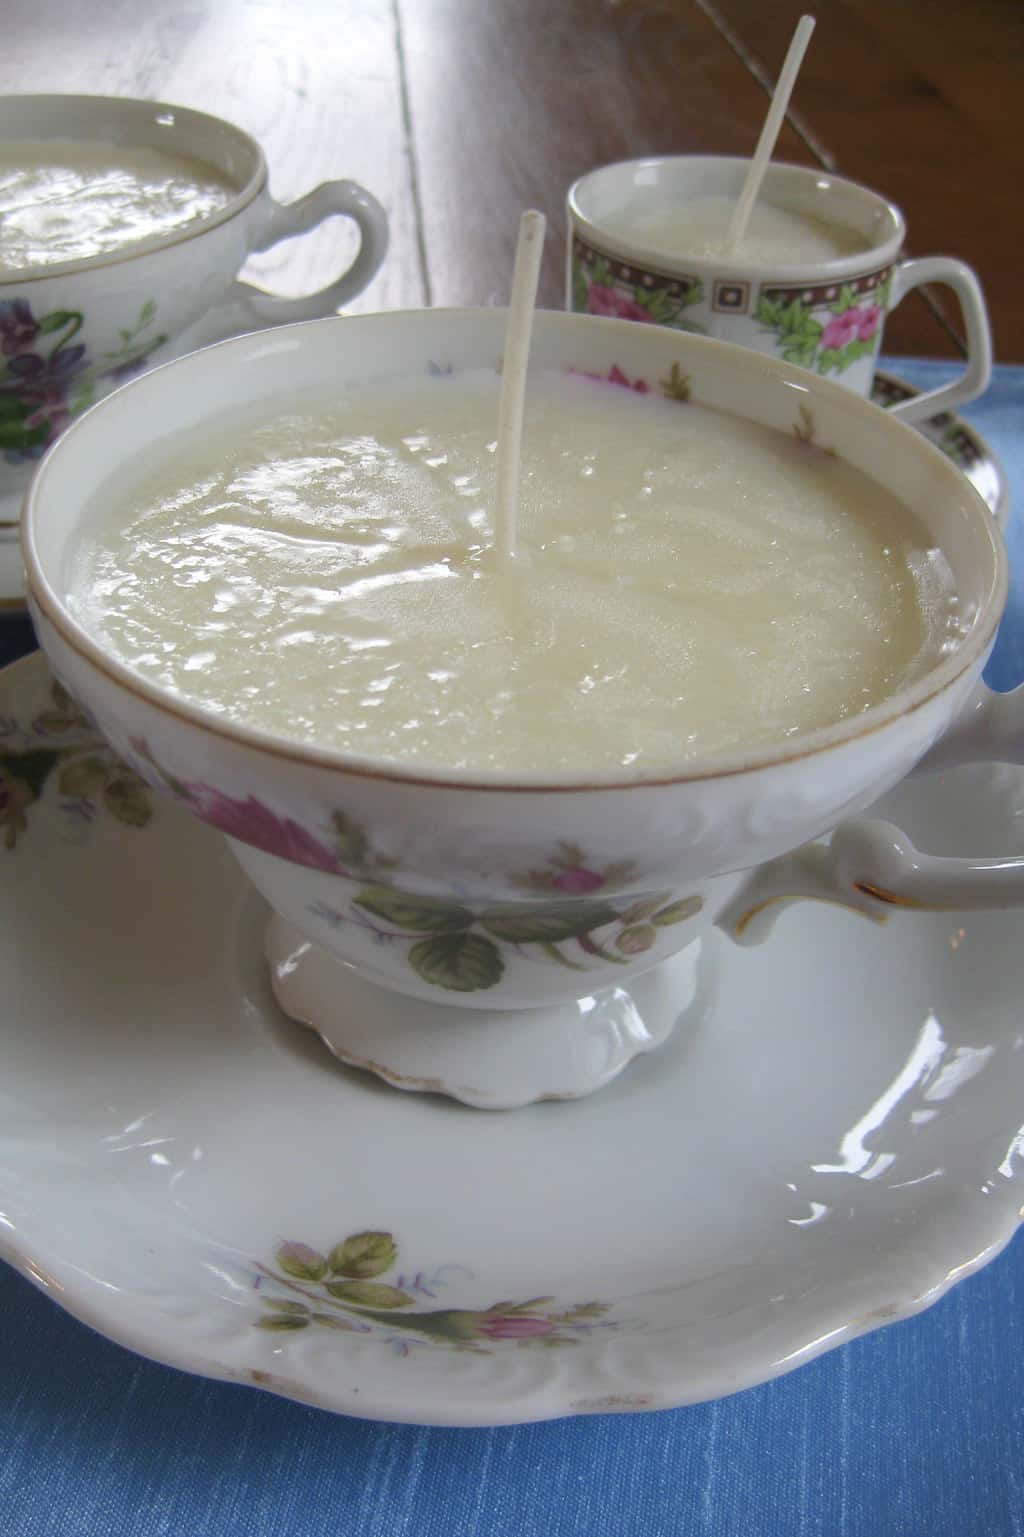
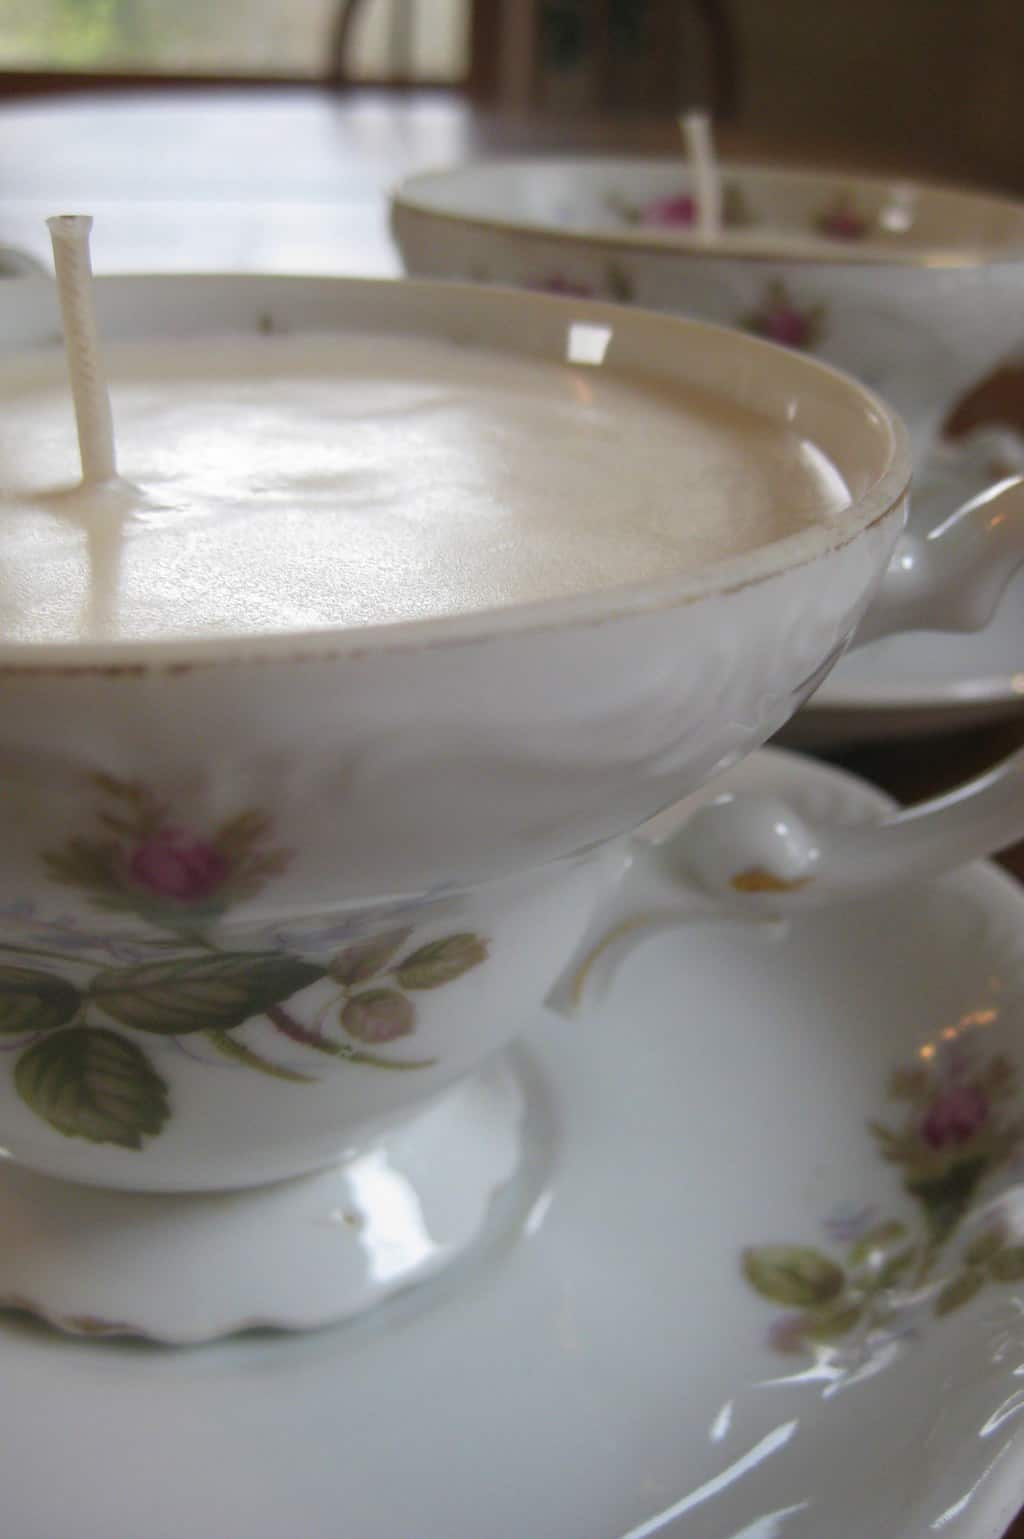
See how great the next batch turned out? And I fixed some of the first batch by adding a thin coat of the cooler wax.
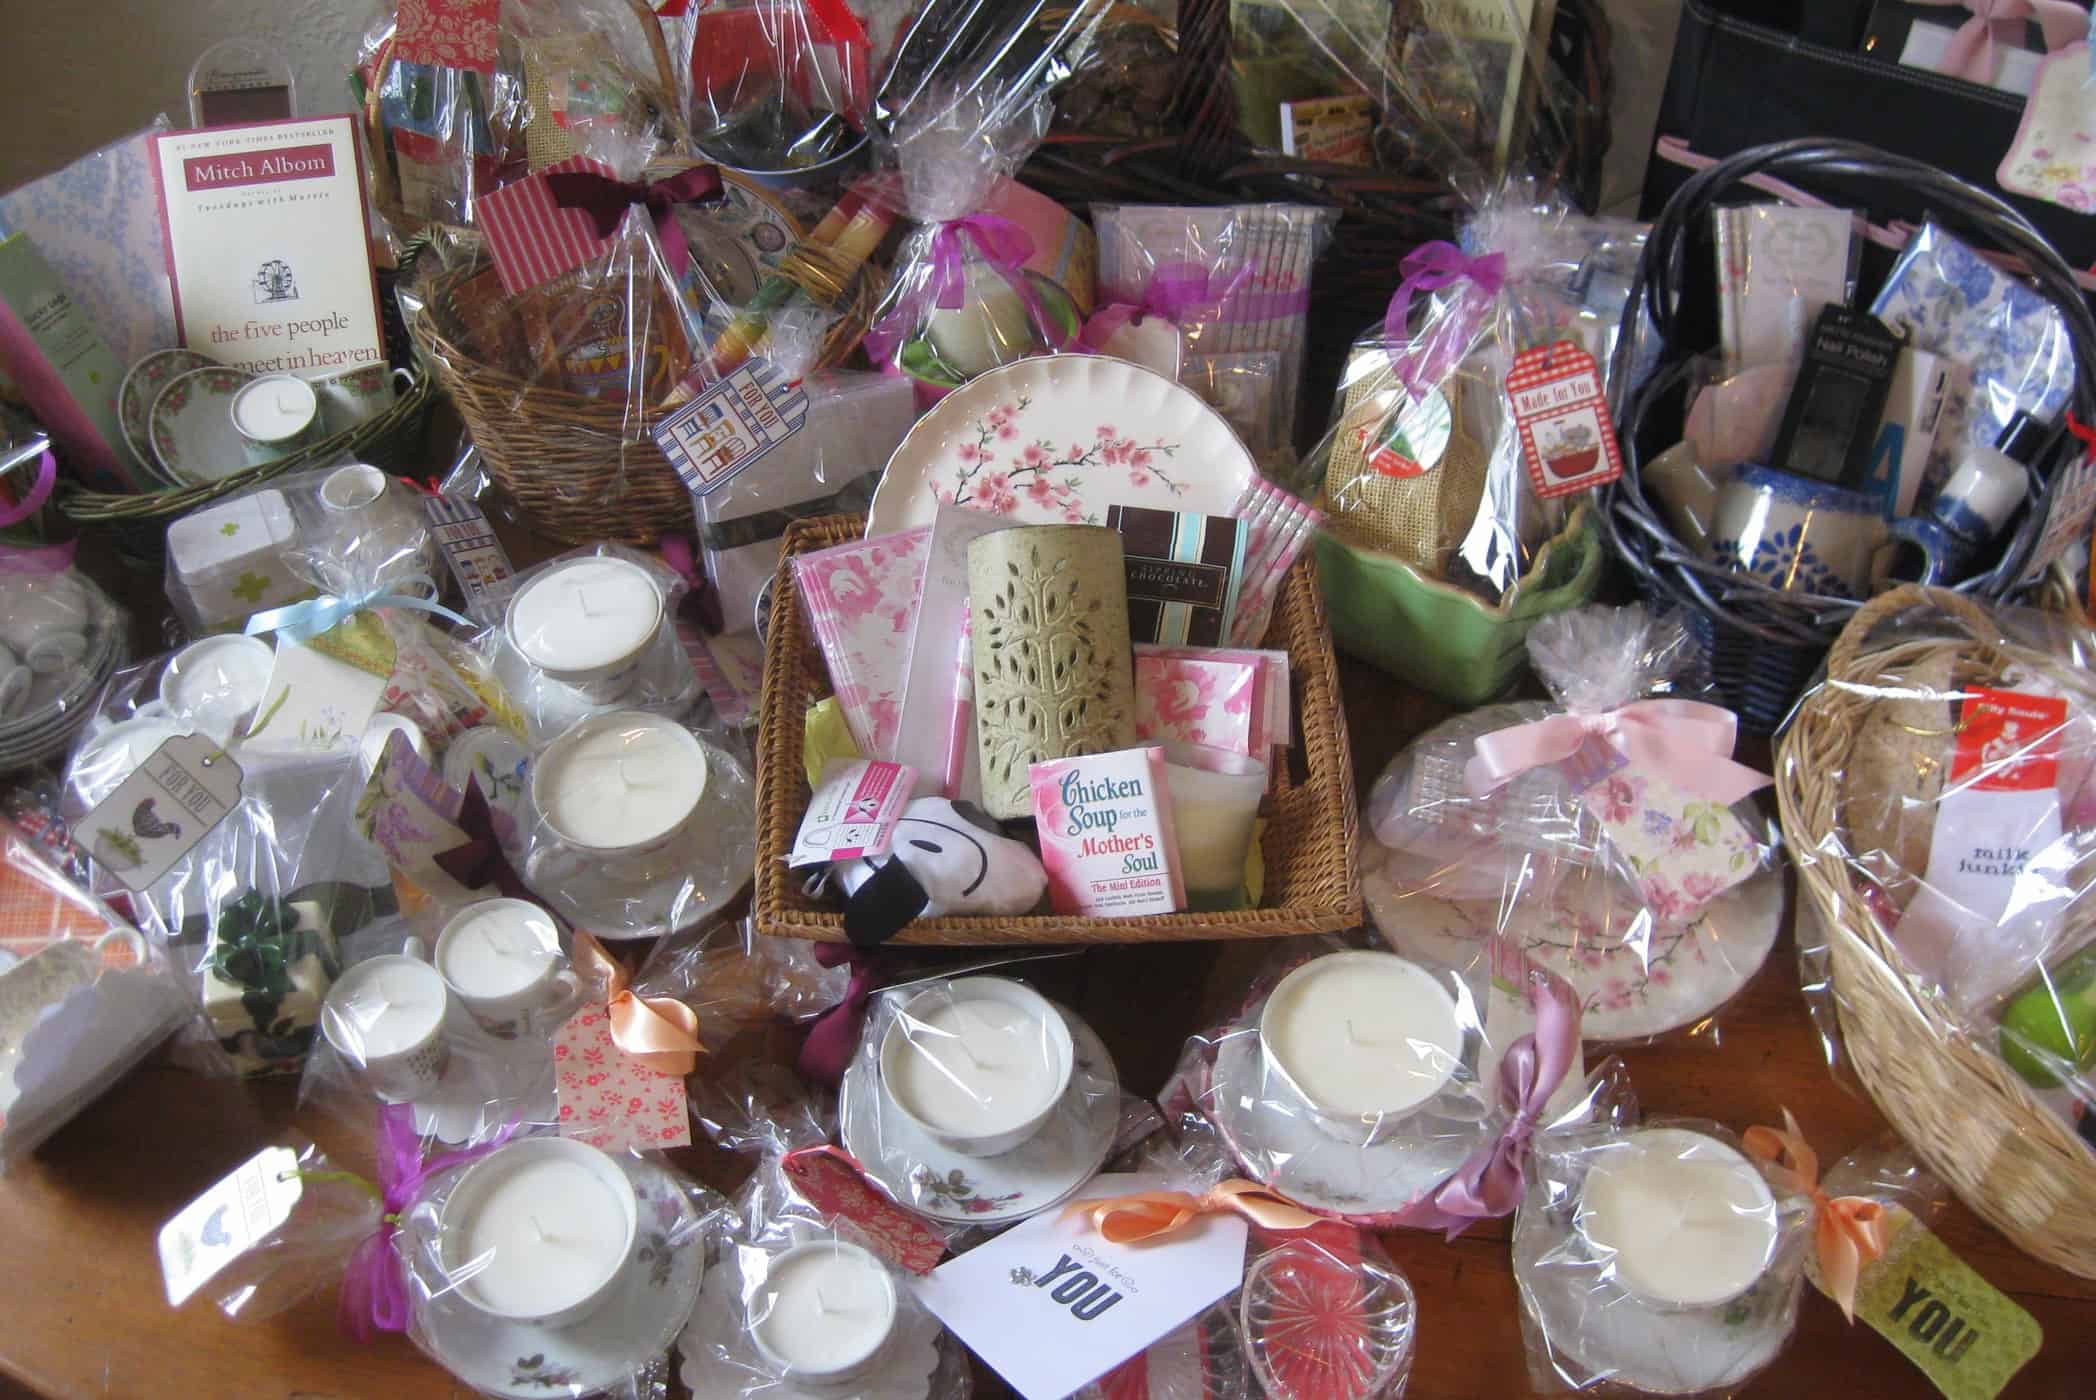
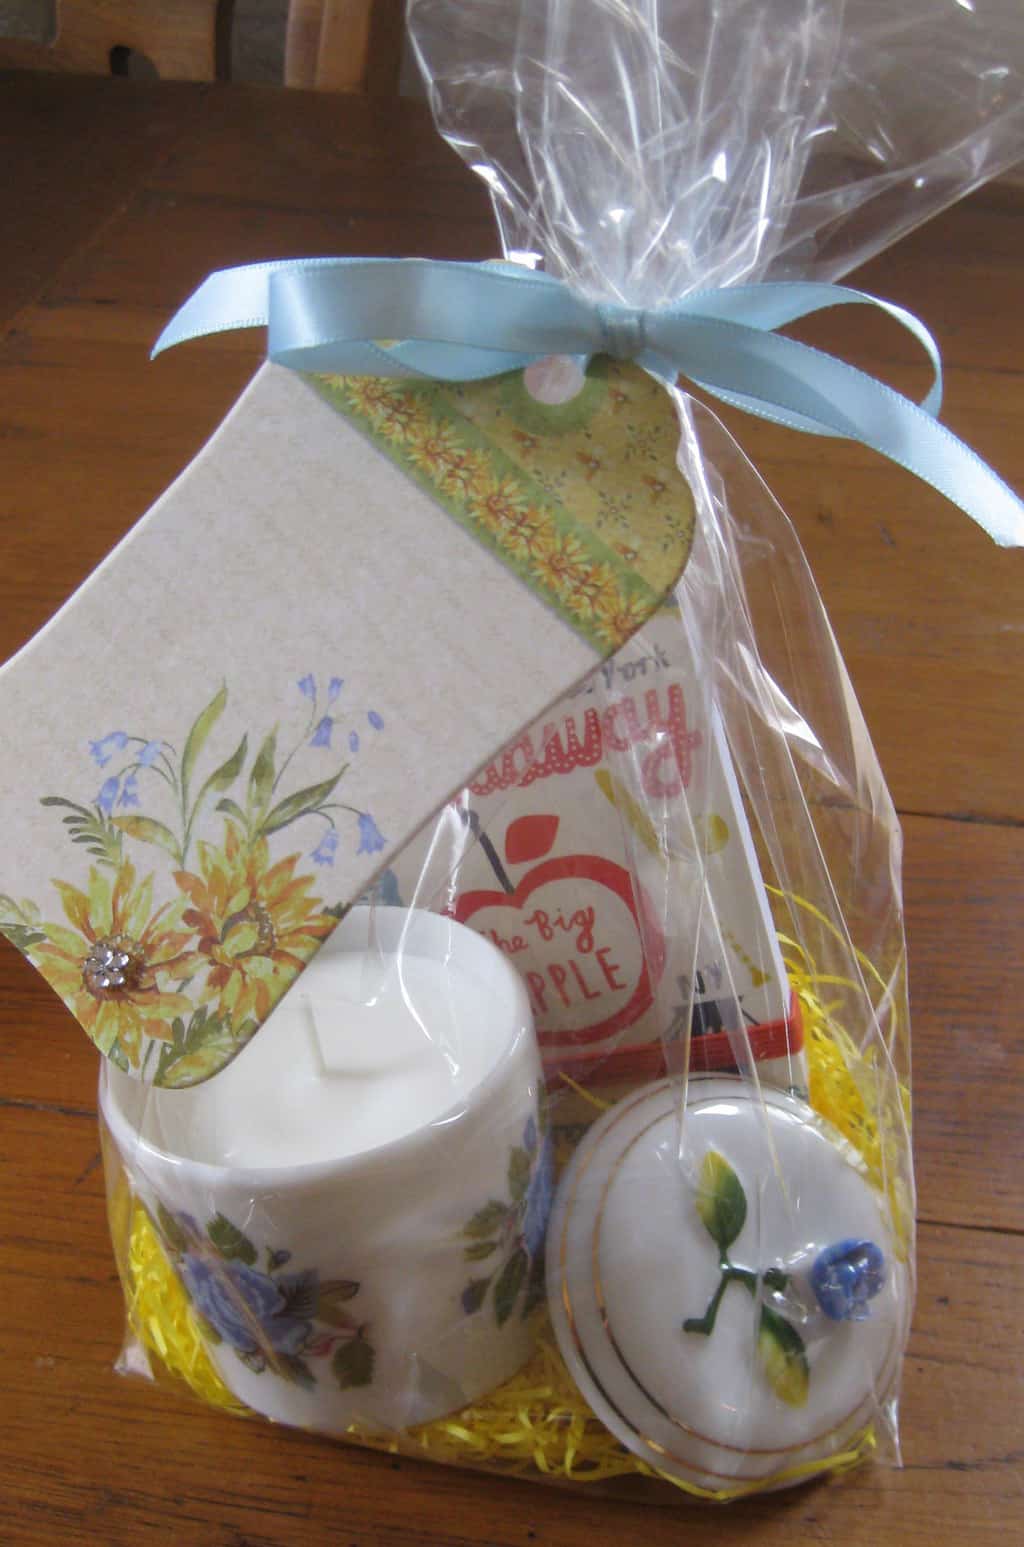
I made these teacup candles for my girlfriend’s Artists’ Open House and also made tons of gift baskets.
It took me hours to wrap everything and attach cute gift tags to them, but this is my idea of fun – I loved it.
I couldn’t stop myself, see?
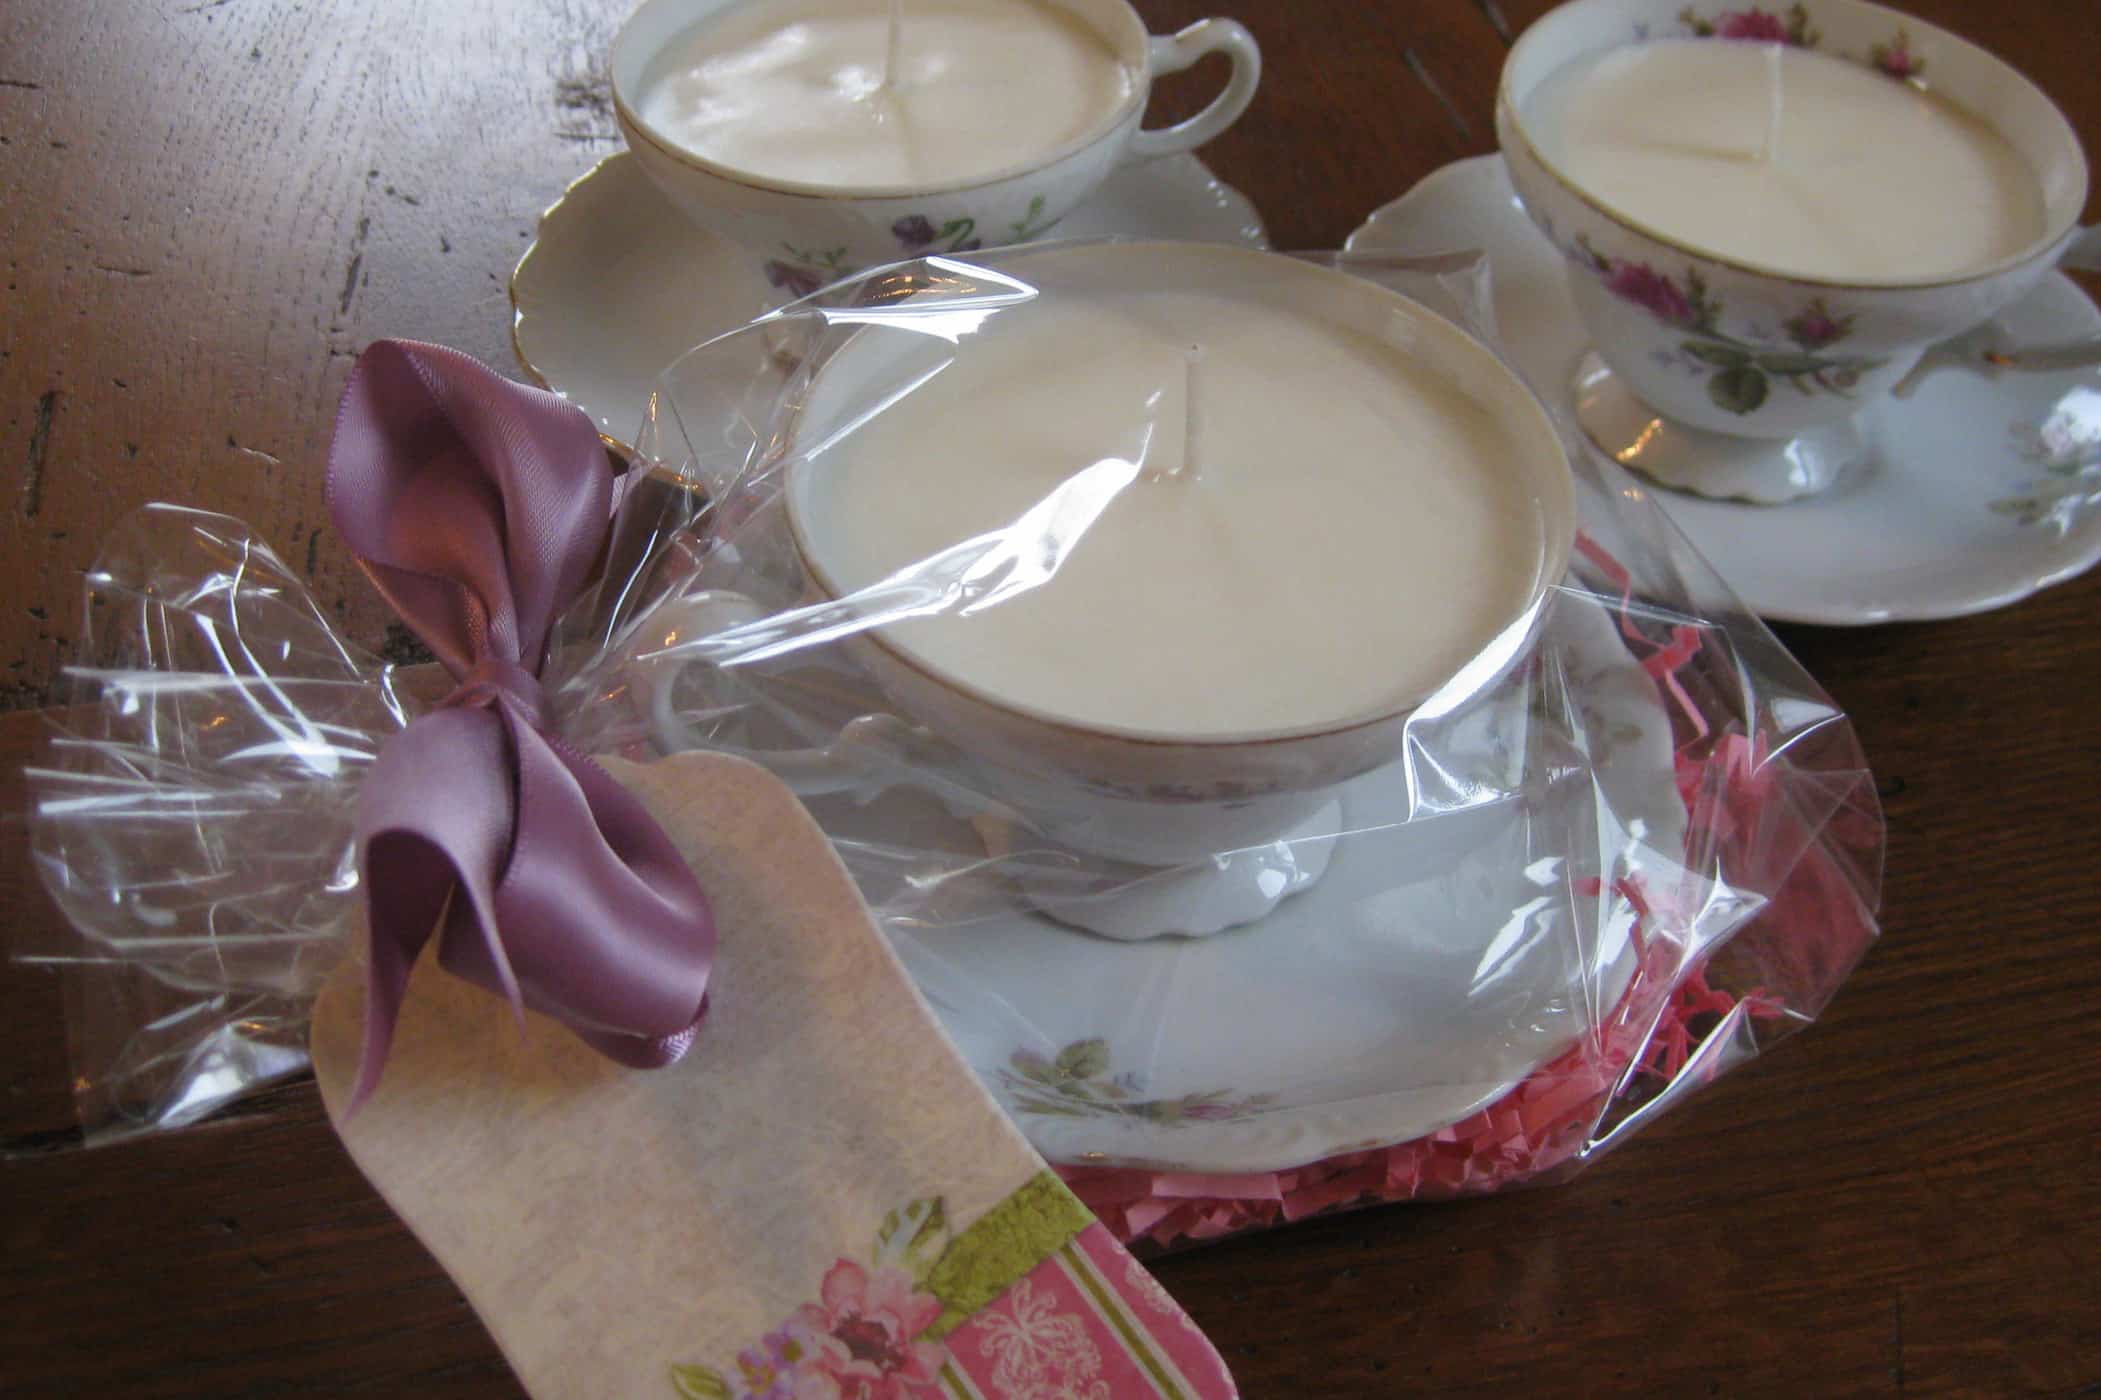
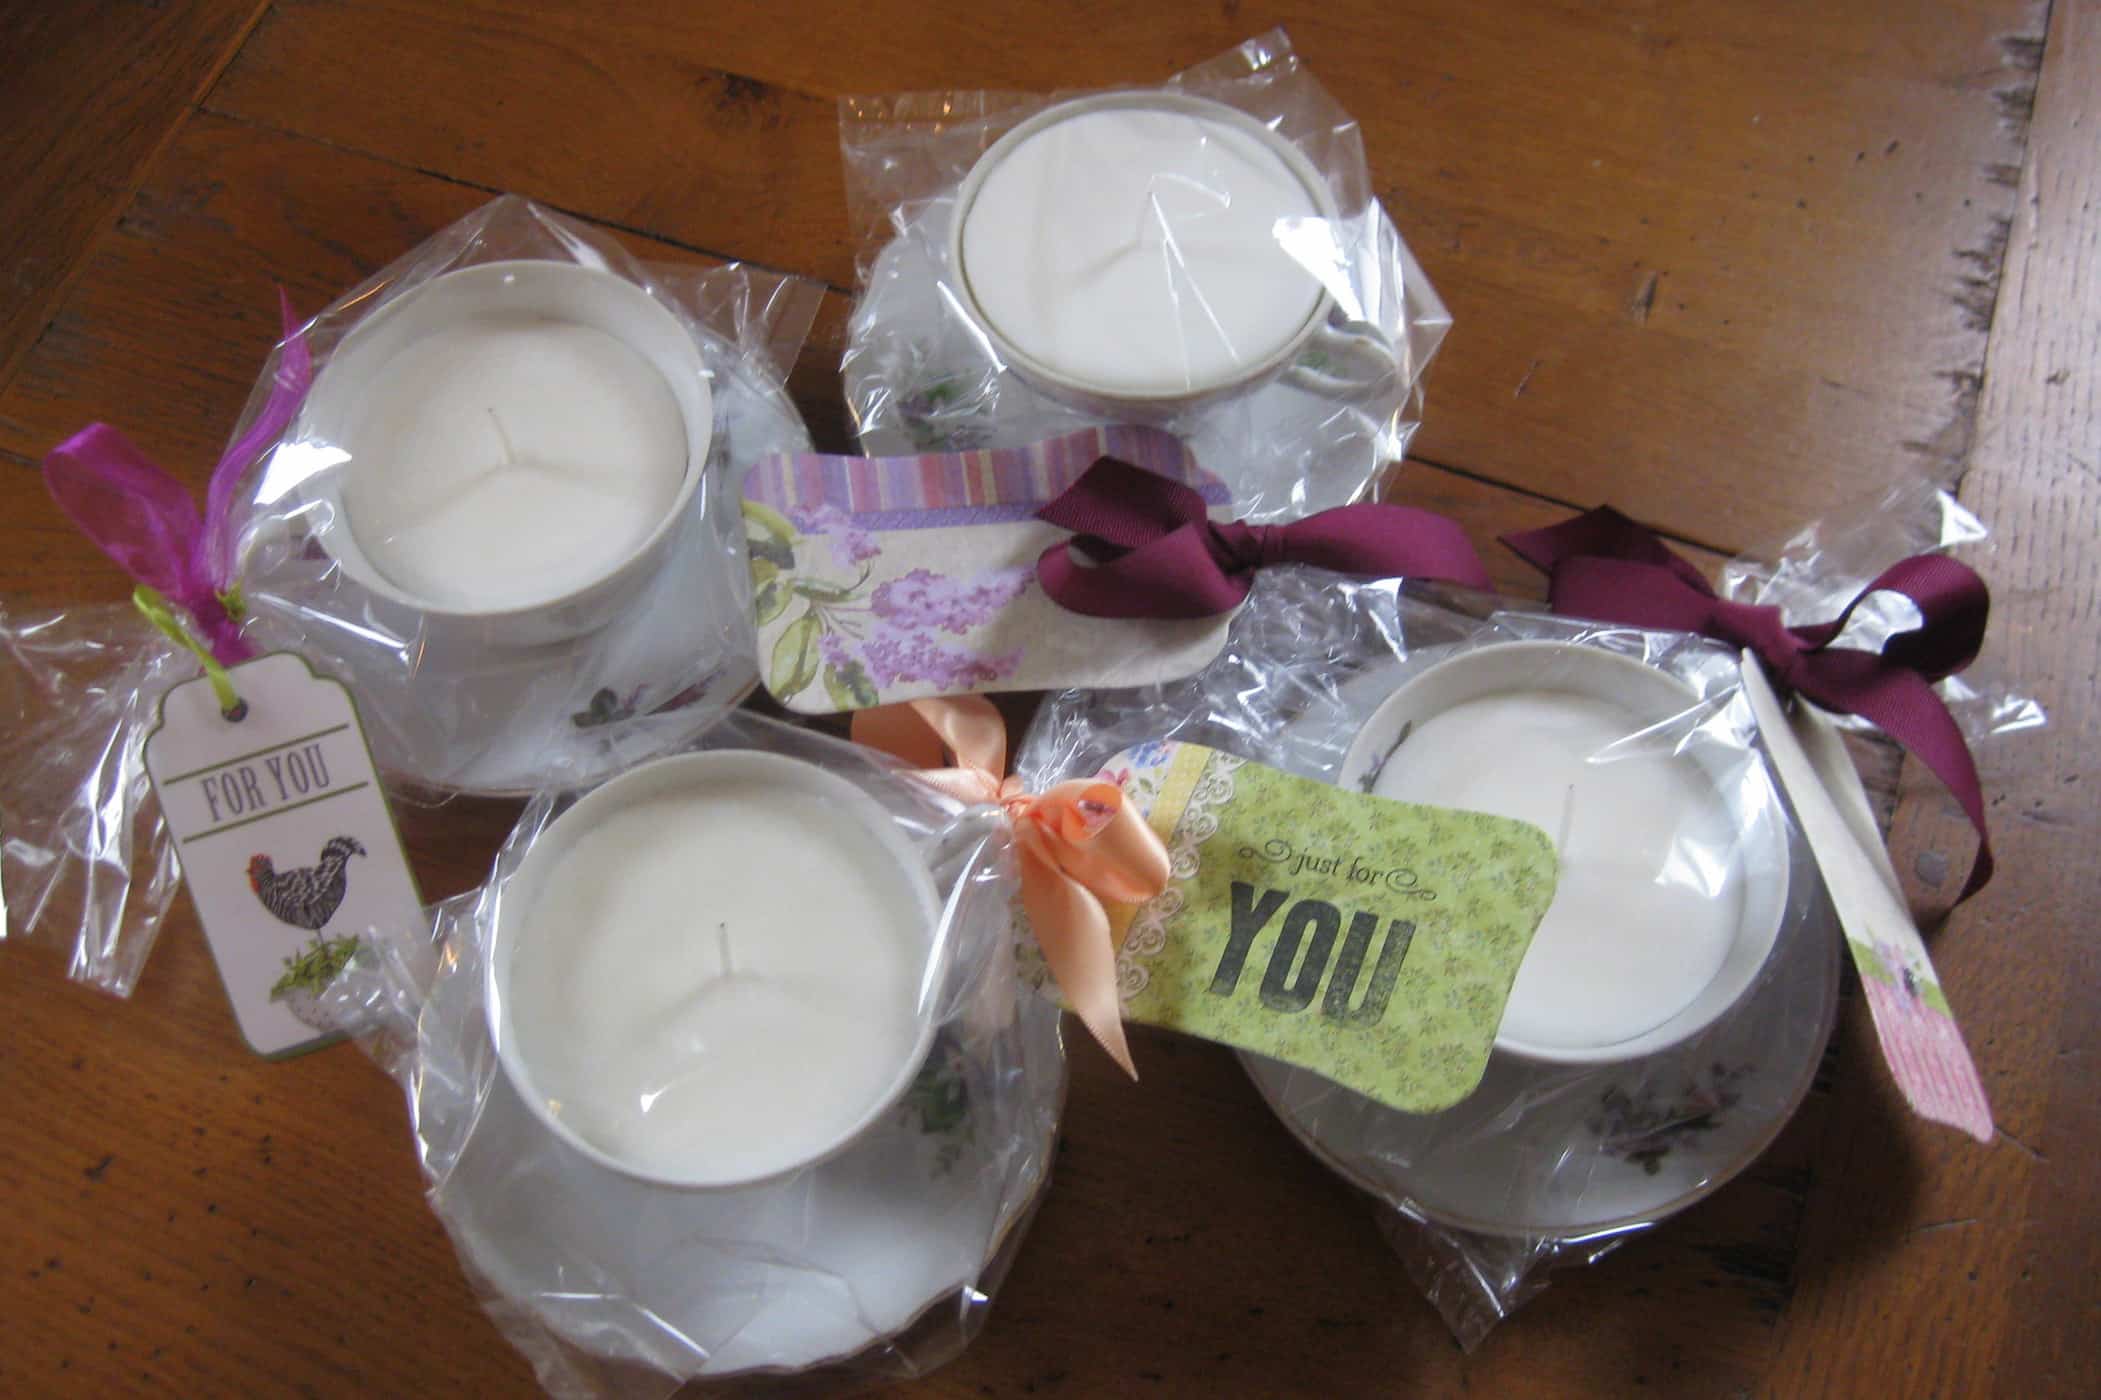
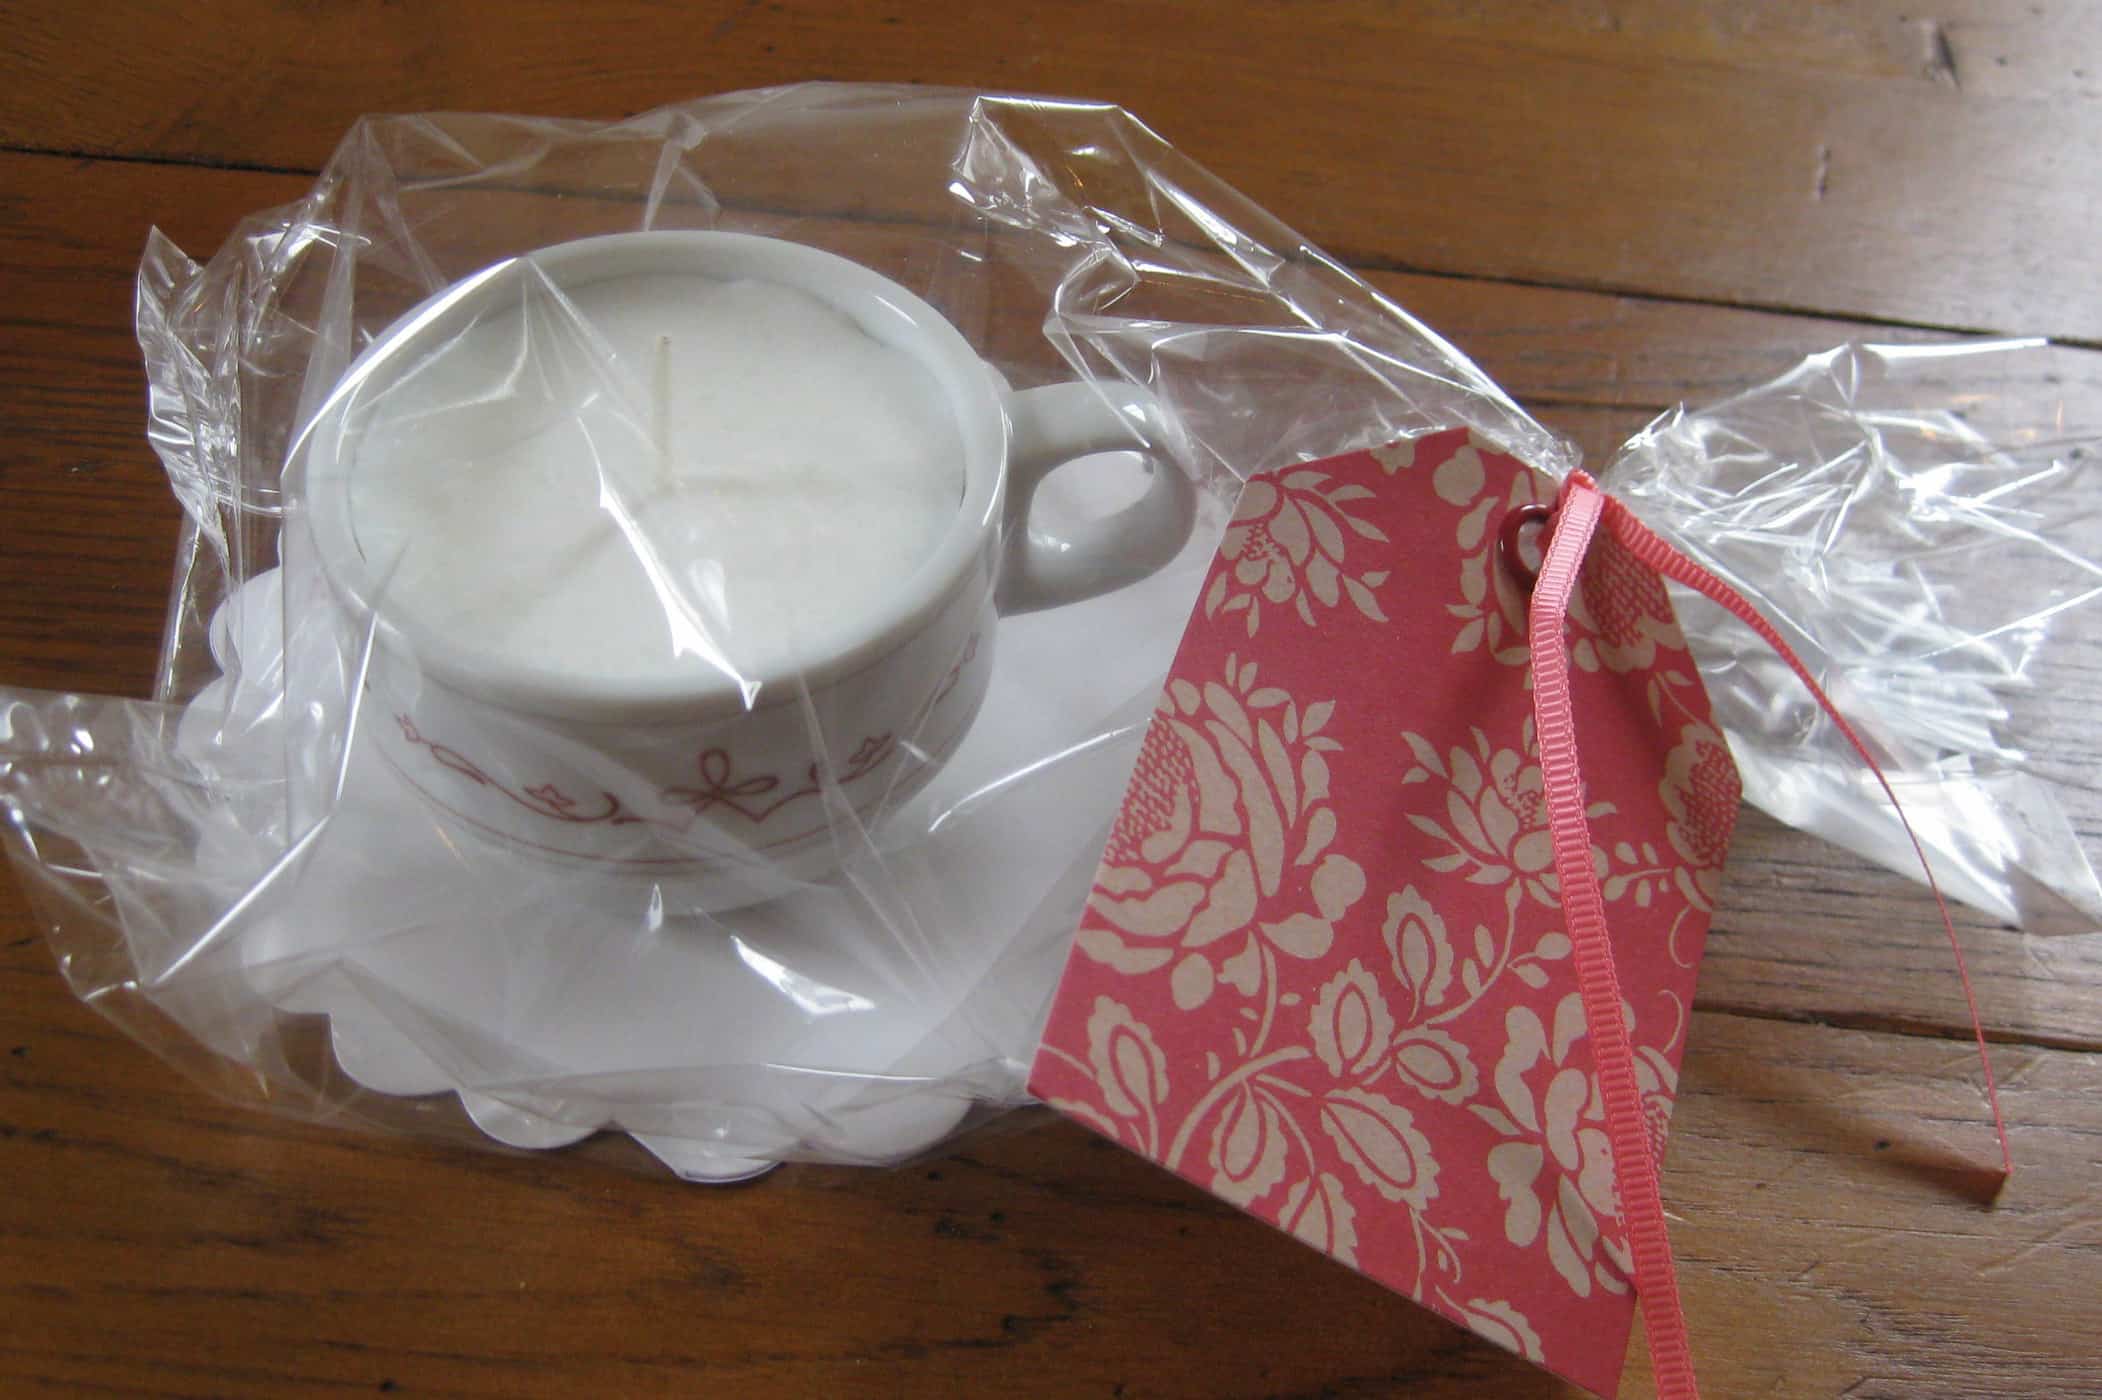
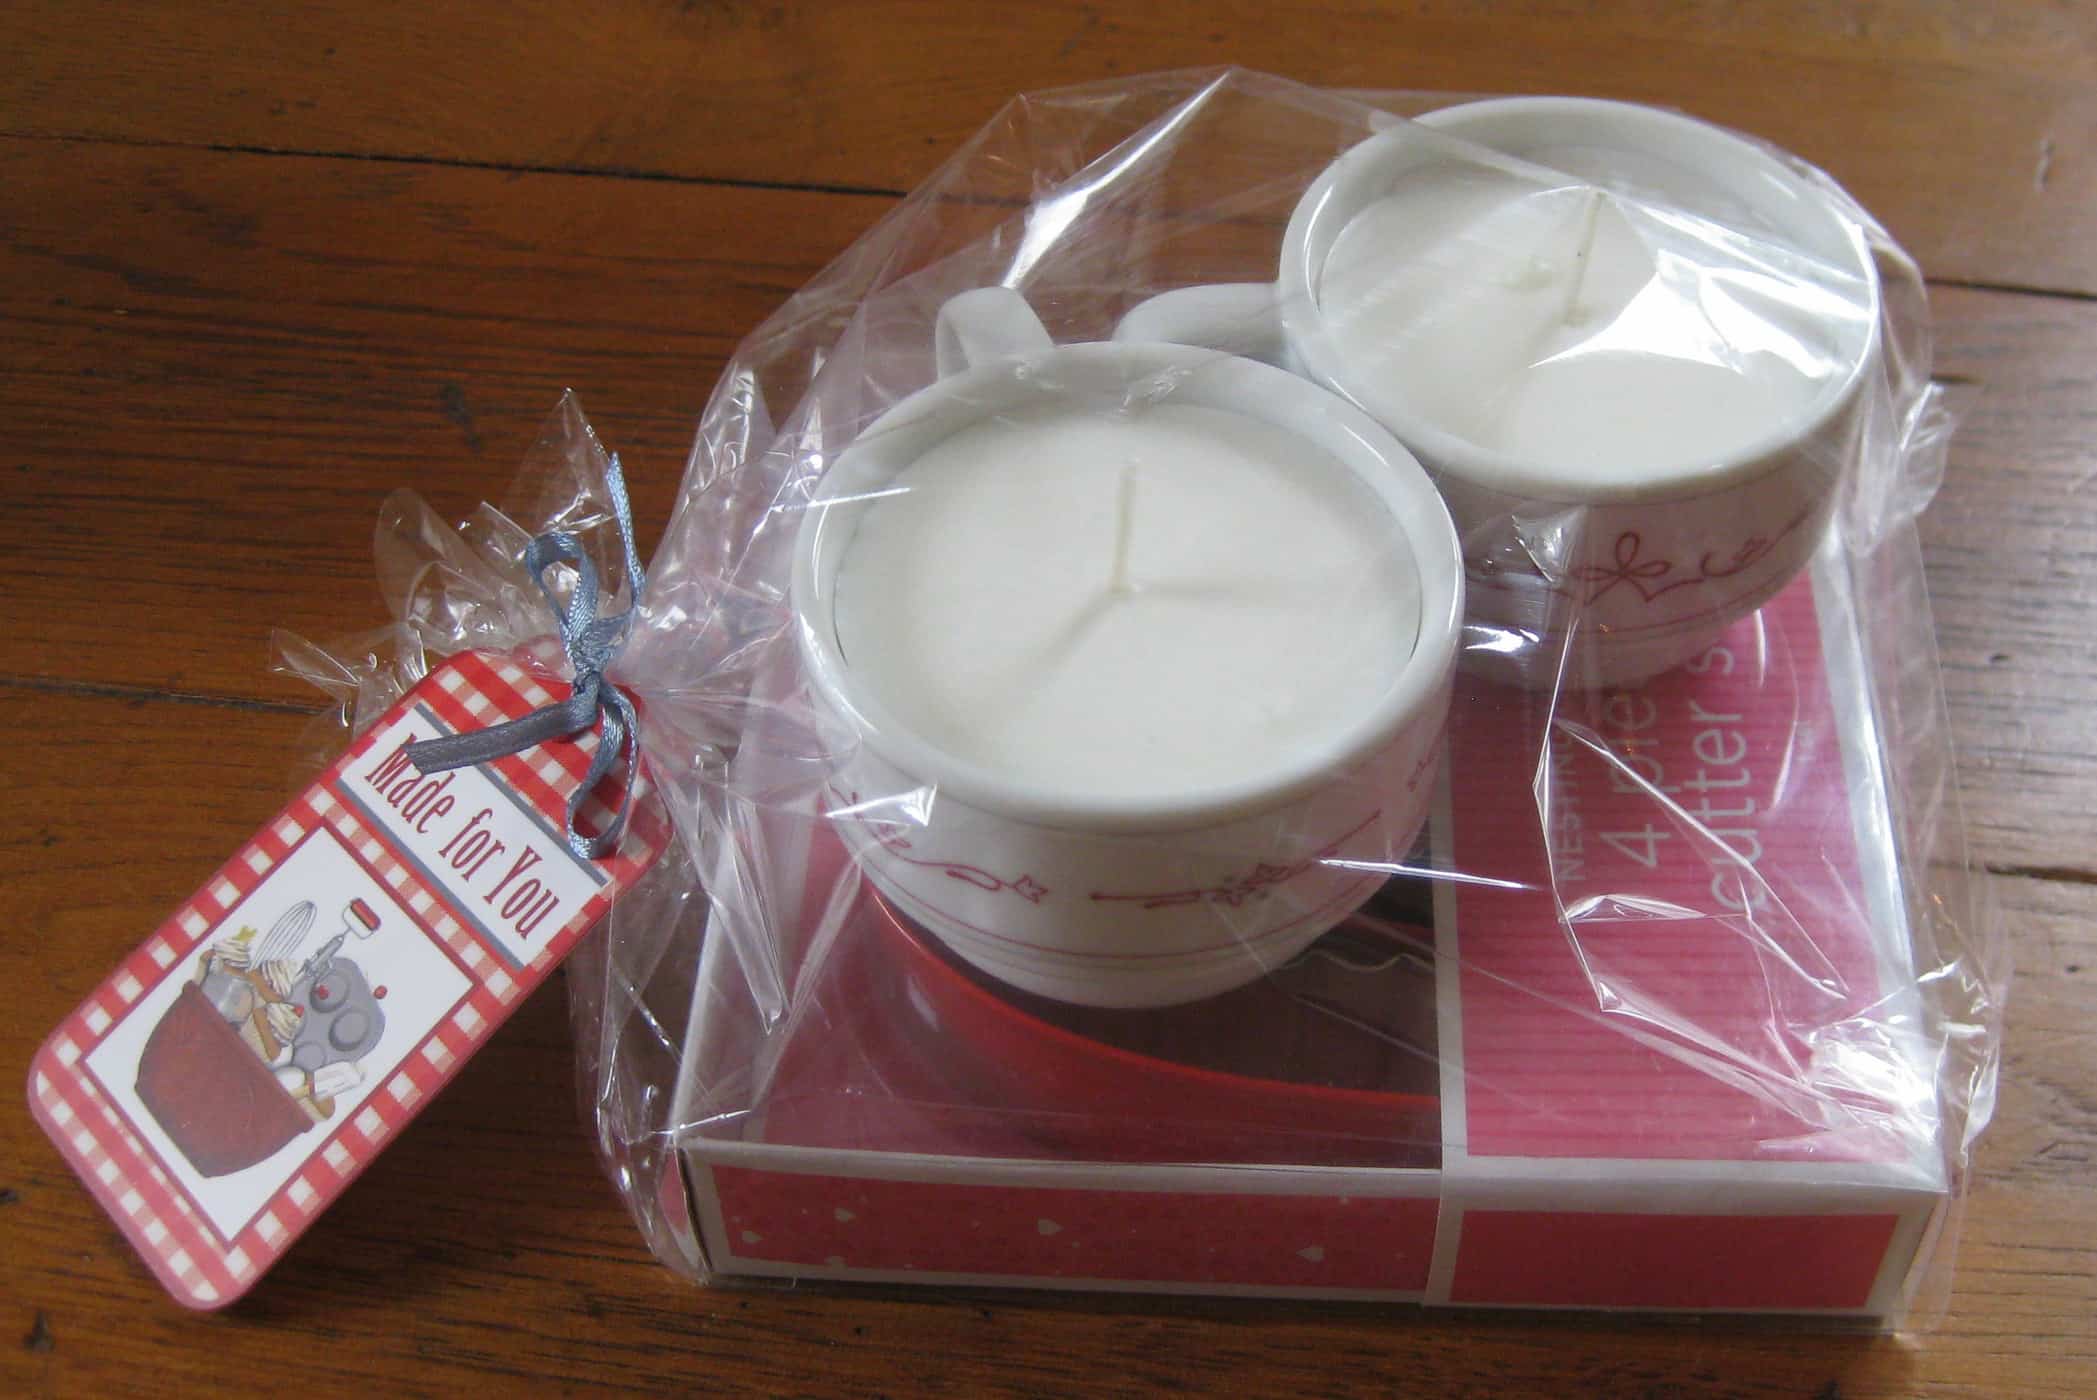
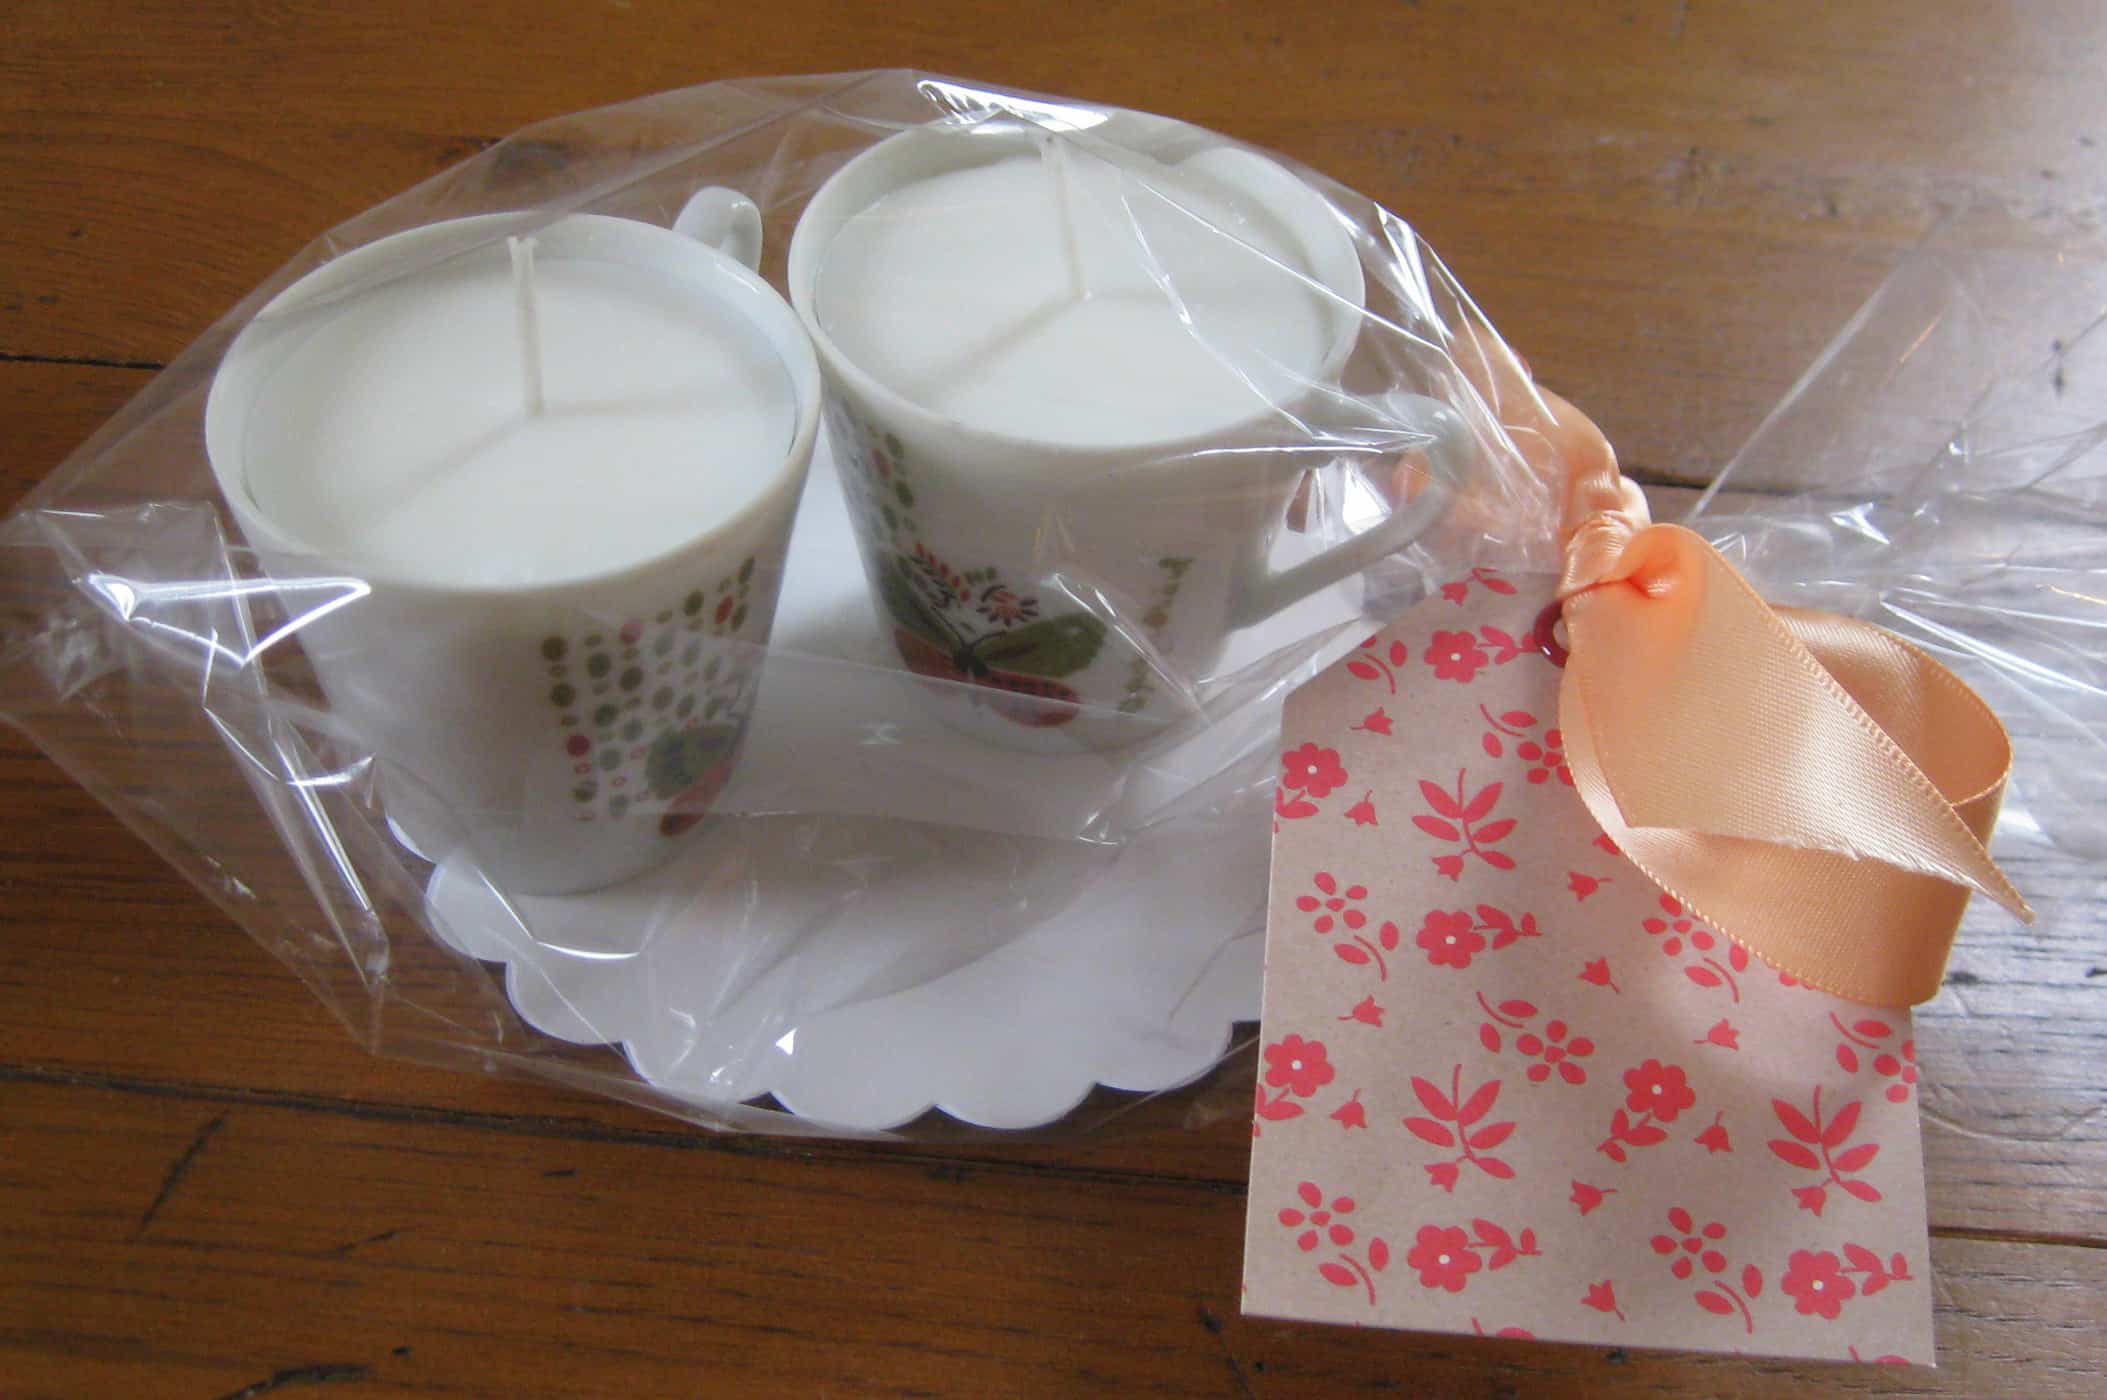
This is what some of the teacups looked like after I turned them into candles and gift wrapped them.
How sweet is this little vintage jewelry box I made into a candle?
I found these four heart-shaped cookie cutters for just a few dollars and though they made a cute Mother’s Day gift with these two coffee cups. These handmade candles don’t have to have a saucer to look cute.
There you have it: candle making for beginners! If I can make them, you certainly can as well.
Give it a try yourself, and you’ll want to make more when you are done. It’s kind of addicting :)


Tracey Anderson says
These are beautiful.
What fragrance do you use? I just started making candles and I am using my young living essential oils but that can get expensive. I wanted to make something that wasn’t toxic but not sure what oils to use.
Thanks,
Tracey
Dagmar Bleasdale says
I use non-toxic essential oil fragrance in the scent fresh cut grass I found on Amazon.
Linda caAsa says
hi. Would it be possible to color the wax? Food coloring? Thanks
Dagmar Bleasdale says
Hi! I’ve never done that. I’d say Google that if that’s safe.
Michelle McCool says
Food coloring and candle wax will not mix. You can buy candle dye at craft stores that sell candle making supplies or you can use crayons.
Martha Leatherman says
I really like how detailed your lesson is. Also, that you were willing to share your challenges along the way. It is encouraging for newbies!
I was wondering, do you also have a lesson on how to clean the tools…pour pot, etc?
Thank you!,
Martha
Dagmar Bleasdale says
I just use the tools again – I don’t clean out the pot I melt the wax in. If I do, I just wipe it out, soy wax is very soft.
Trine says
They are beautiful. I love them. I just wonder whether it is safe to use glass and the cups. Can’t they be too warm and burst?.
Dagmar Bleasdale says
Hi Trine,
many of my containers were previous candles. You want to keep the wick short at all times, as with any other candle for safety reasons. All of my candles come with a safety sticker of how to use them properly. Thanks for your question.
Tmg says
Do you leave the tea cup and saucer separate or do you attach them?
Dagmar Bleasdale says
Hi! I personally always keep them separate. It’s easier to clean them that way. But you could glue them together.
Victoria Brownston says
This is the cutest idea! I am hosting a baby shower themed “tea party” and I am going to have to make these for a party favor and each person will get one. what scents would you recommend? Thank you so much!
Dagmar Bleasdale says
Honestly, I wouldn’t use a scent if you make them for others because there is no way to know what people like and dislike. This way everyone can enjoy your candles.
Danielle says
I love your ideas, I have made a few teacup candles out of porcelain but I’m not sure if they can be lit or just for decoration. Any ideas?
Dagmar Bleasdale says
I make my candles to be lit for sure! And since I use soy wax, which is very soft, I can easily clean out the teacup and then reuse it.
Reena says
I will be making candles for the first time as Christmas presents. I had the same idea and went out and bought a lot of pretty little glass cups from thrift stores. I am so glad I found your page. I will definitely be following your instructions. Thanks for sharing,!
Dagmar Bleasdale says
Hi Reena, oh, I’m so happy you found my post! Have fun making the candles!
Alice says
I made a few candles from cups and saucers I had. Then, I ran into the problem of cups with saucers costing more than I am willing to pay. The solution I came up with is using cream pitchers or sugar bowls. I found many that didn’t have mates and were very inexpensive. I also found that it is fun to match the cup to the person who is going to receive it. I love the way you wrapped yours.
Dagmar Bleasdale says
Thanks for your comment, Alice! Love your ideas!
pilar says
I love your candles, I am making also, and they came out beautiful. It is a little tricky to work with soy wax, but I think they are amazing.
Janice Emery says
Very adorable! I love stuff like that too. I made homemade body scrub for Mother’s Day gifts.
Many, many moons ago I made homemade candles and ran into the problem that the wax “fell” into dips around the wick. I had remedied that by poking a hole in the coolish wax and it filled in. But mine were of a larger scale than tea cups. Maybe waiting for the wax to cool more would have taken care of it.
Now I am going to have to try it again!
Lauren @ Hobo Mama says
How cute and chic are these! I love them.
Dagmar says
Hi Lauren, thank you for commenting! How have you been?
Dear Crissy says
I LOVE this idea, and the finished products look so cute.
My mom makes candles (just a hobby), and I know she had to experiment with a lot of different techniques before getting them perfectly smooth, etc. Looks like you mastered it in the end!
Dagmar says
Hi Crissy, thanks for stopping by! I’m sure I still have a bit to learn, but I was happy with the first few batches. Does your mom sell them? I’m really tempted to open an Etsy store.
Sally says
Yes you should those turned out beautiful!
Katja of Skimbaco says
I think you did fantastic job and no wonder they were selling like hot cakes! I especially love that you used vintage and flea market finds and turned them into something amazing. Thank you for an awesome tutorial, and I really want to try making some candles now… or maybe I’ll just wait that you’ll open that Etsy store.
Dagmar says
Hi Katja, thanks for your kind comment! I’m kind of tempted to open that Etsy store. How is life in Sweden? :)
Katja of Skimbaco says
I think you should!!! Life in Sweden is great, I can’t believe how lucky we are to have this opportunity.
Dagmar says
That’s wonderful to hear. I must keep up with your adventure and beautiful blog. Going to email you about the campaign in a bit, gotta run help out at my son’s school :)