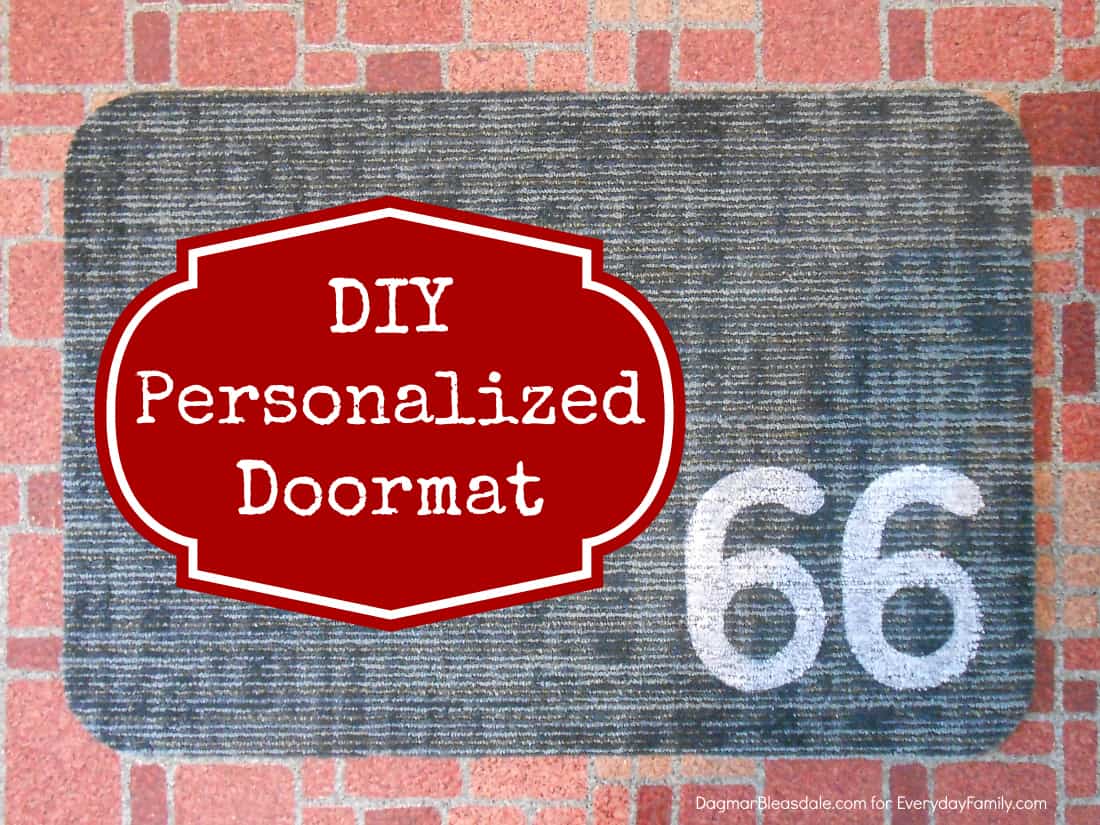
This DIY personalized doormat is another super-easy and inexpensive DIY project.
I like personalizing home decorating items, as you can see from the monogram lampshade and the house number planter I already made.
One-of-a-kind items that are specifically made for your home with your initials or numbers add such charm and sophistication to your home.
Why stop with a lamp or a planter? I made this doormat in 10 minutes: a personalized doormat!
Adding our last name would have been pretty involved, so I decided to add the next best thing: our house number!
It’s a good thing I’m such a recycler — I had held on to the template of the number I had made for my planter.
This way I was able to reuse it for this project and create a unified look for our front entrance with the planter and the doormat.
You obviously could add anything to your personalized doormat; it doesn’t have to be a number. You could add the shape of a cat or dog, or a pretty border, and you could use paint in different colors and get really elaborate.
DIY Personalized Doormat Tutorial
You will need these supplies:
- doormat (I found mine at the dollar store)
- paint (I used Krylon Short Cuts paint in Gloss White)
- cardboard for template
- painter’s tape
- a pencil or pen
- scissors
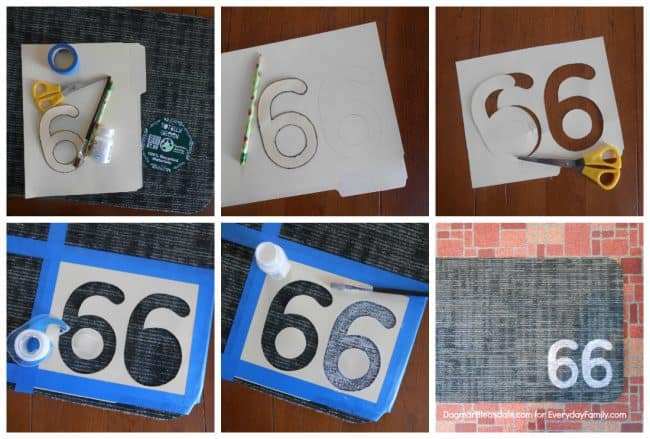
- Draw the outline of the number, letter, or shape you chose on on the cardboard. I used a paper folder, which is easy enough to cut but sturdy enough to withstand the paint later on.
- Cut out the template. For my number 6, I had to make sure to hold on to the inside circles of the 6.
- Place the template on the doormat and secure it with painter’s tape. I like painter’s tape for this part because it secures the template just enough. I also taped down the circles of my number 6.
- I decided to place my template on the edge of the doormat. I didn’t want the number to get messed up by the first guests who clean their shoes on the mat.
- Start painting out the template, making sure to really push down on the edge of the template when you paint over it so that no paint goes beyond the outline. Make sure not to use too much paint so that it doesn’t run under the template.
- The doormat will soak up quite a bit of paint, and it took two coats of paint to get enough on the doormat to look nice. The numbers could have even used another coat.
- Another way to paint the doormat would be to use spray paint. I was worried that the spray paint might get under the template, that’s why I didn’t use it and opted to hand paint the numbers.
- After you are sure the paint is dry, slowly lift off the template from the doormat and you are ready to display it!
I’d hold on to your template for future doormats since they don’t last forever. Or maybe you want to make a couple more for your house or as a gift.
I’m curious how long it will look nice. To make it last longer, you could always add another layer of paint to it after it gets scuffed up a bit.
You could also personalize a floormat that goes under your pet’s food and water bowl, or a floormat in front of your sink.
How would you personalize your doormat?
You would also enjoy these easy crafts and DIY projects:


