Mason Jar Lid Signs
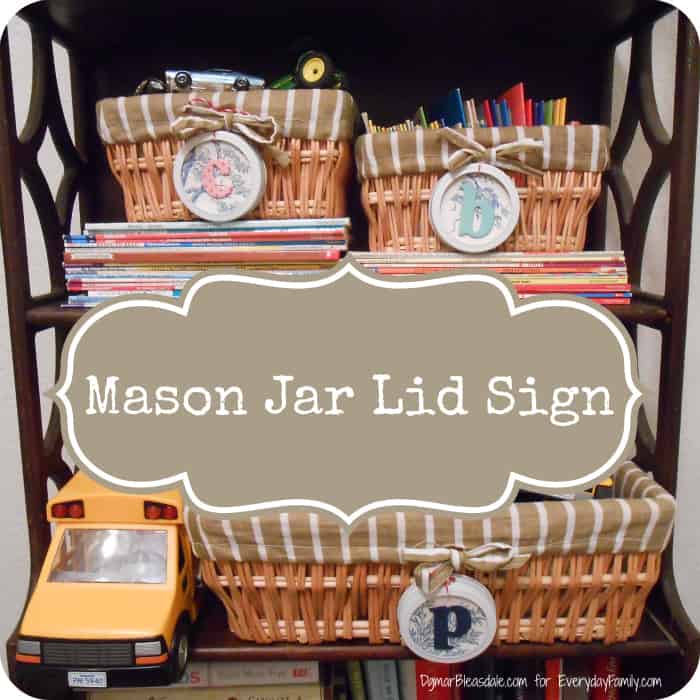
I finished another easy DIY project: take a look at these cute mason jar lid signs I made with extra lids!
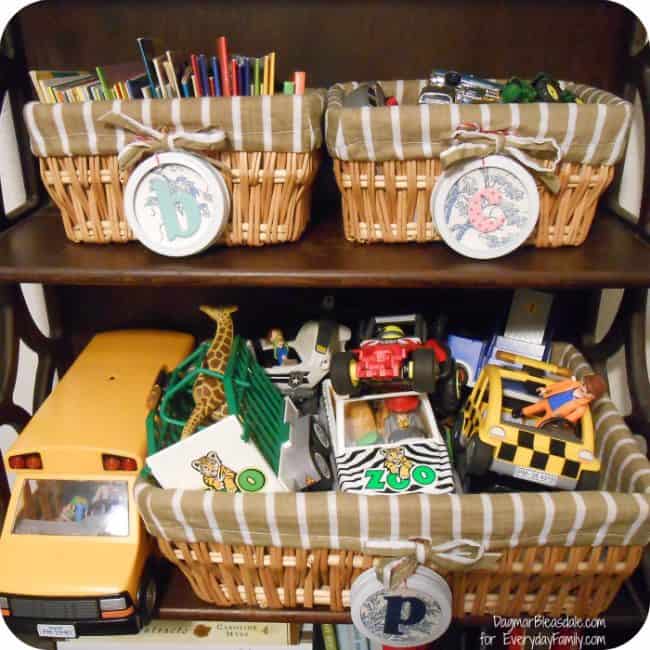
I used them for baskets filled with Landon’s toys and books — c for cars, b for books, and p for everything Playmobil — but you could use these for many other storage and organizing projects, or as a cute gift tag.
Instead of using precut letters from the craft store like I did, you could use numbers or simply write a word or description on the mason jar lid.
For little kids who are just learning to clean up their toys, you could insert a picture of the kind of toys you want organized in the basket.
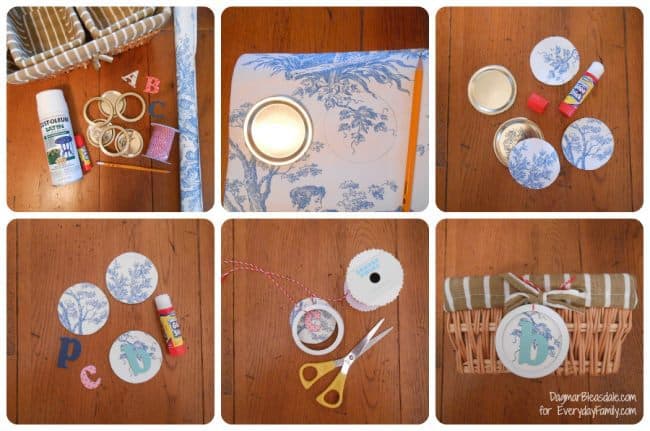
Mason Jar Lid Signs Supplies:
- mason jar lids
- wallpaper or scrapbook paper (the thicker, the better)
- spray paint in your preferred color
- bakers twine
- optional: paper letters or numbers, or just cut some out of paper
- glue, Mod Podge or double-stick tape
- scissors
- pencil
Mason Jar Lid Signs Tutorial:
- Spray paint the lid ring (in a well-ventilated area of your home or outside) in your preferred color.
- While the paint dries, choose the wallpaper or scrapbook paper you want to show on the lid. Then place the lid over that part, trace around the lid with a pencil, and cut out the paper.
- Now glue the paper circle to the lid top. I used school glue but you could also use Mod Podge, or even double-stick tape because the paper will be held in place by the lid ring.
- Once the paint on the rings is dry, cut a piece of bakers twine and wrap it around the lid ring once.
- Add glue to the inside rim of the lid top and press the paper inside the lid, making sure the bakers twine is in the position you want it to be in before it gets held in place by the lid top.
- Hang the mason jar lid on the basket by making a knot or bow, and cut off the excess twine.
Now you are ready to fill the basket and find a special place where you can show it off.
These mason jar lid signs also make a unique, personalized gift tags.
Where else would you use these mason jar lid signs?
Pin this for later!


