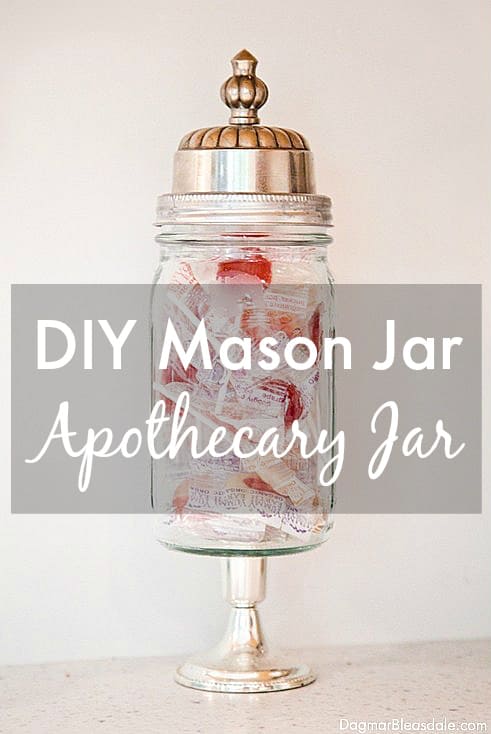
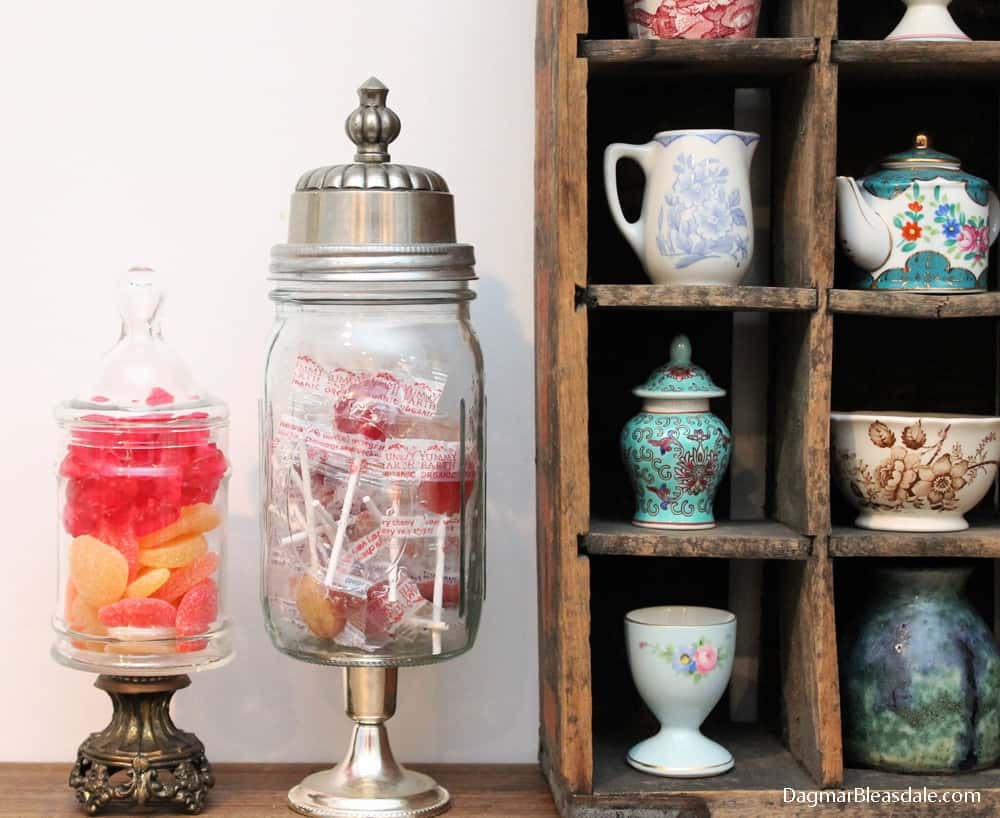
I made this Mason Jar Apothecary Jar in just a few minutes! Here is the tutorial.
Mason Jar Apothecary Jar
Welcome to Dagmar’s Home — where I show you how to have a beautiful home — on a budget.
Oh, how I love mason jars. In this post I’ll show you how to make a cute mason jar apothecary jar.
I can’t get enough of looking at all the neat DIY projects with mason jars on Pinterest.
I have a Pinterest board called “Mason Jar Love” for a reason.
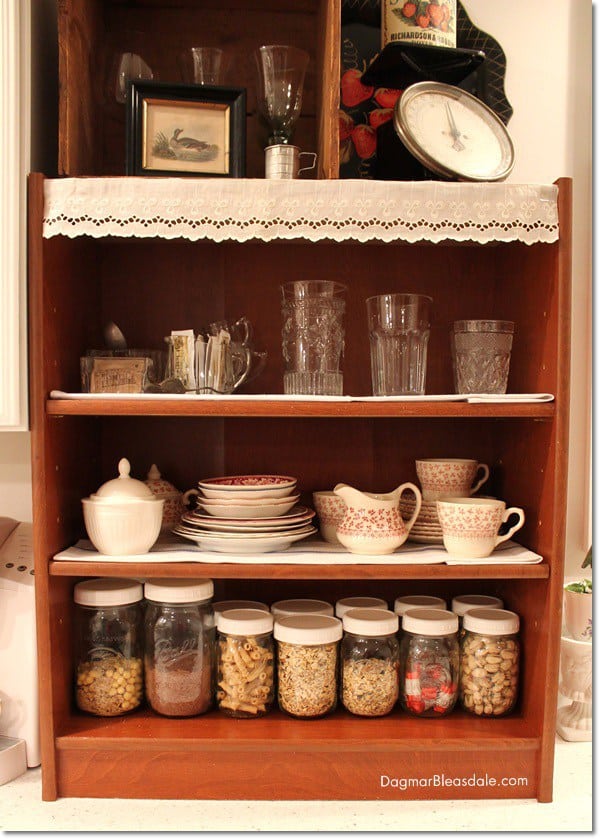
I store our cereal and nuts in mason jars in the kitchen because I like the old-fashioned look. Mason jars don’t just get used for canning anymore.
If you want to learn more about those white mason jar lids, here is my post about them.
But why not display candy in style? Or marbles? Or little collections, right?
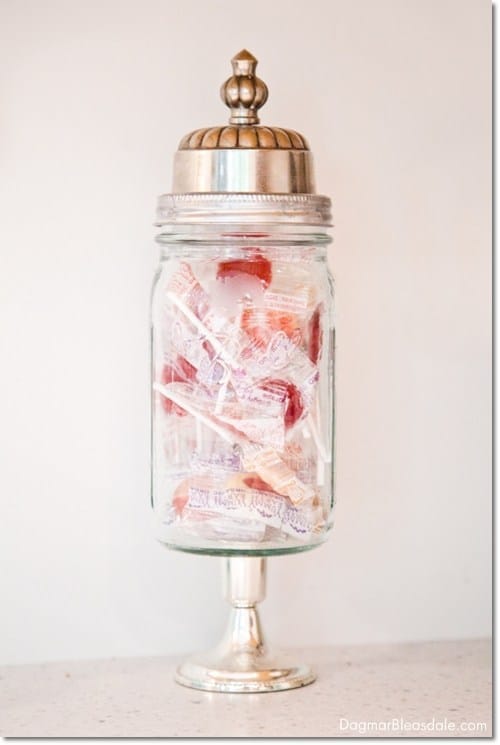
Check out this DIY mason jar apothecary jar I made to store something in style. It’s such an easy project!
You know how much I love to find fun things at thrift store, and here is another example of frugal decor: I repurposed a metal finial and silver candle stick that I bought for just a few dollars on one of my trips to our local thrift store.
You can of course also find these items on Amazon or in craft stores.
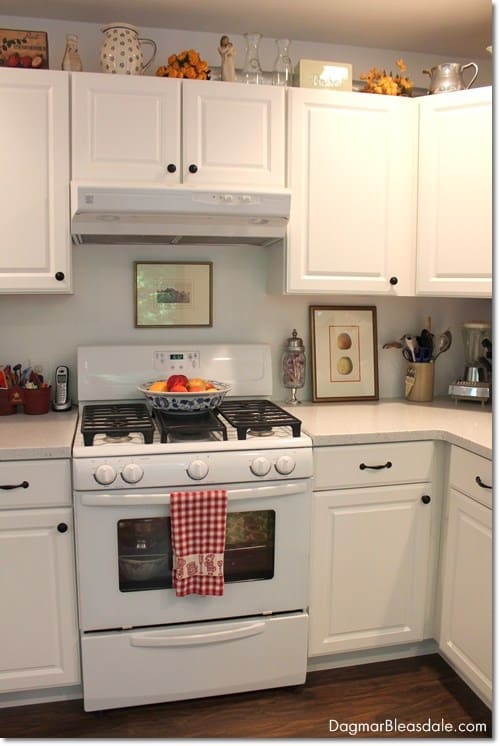
You can see the apothecary jar here on our kitchen counter:
When I found a vintage apothecary jar at a tag sale, I displayed them together on our storage table in the kitchen.
Want to learn how I made it?
This post contains affiliate links for your convenience – read more here.
BTW, now that we are all shopping online more, sign up for Amazon Prime to get the best selection, faster shipping, and the best deals!
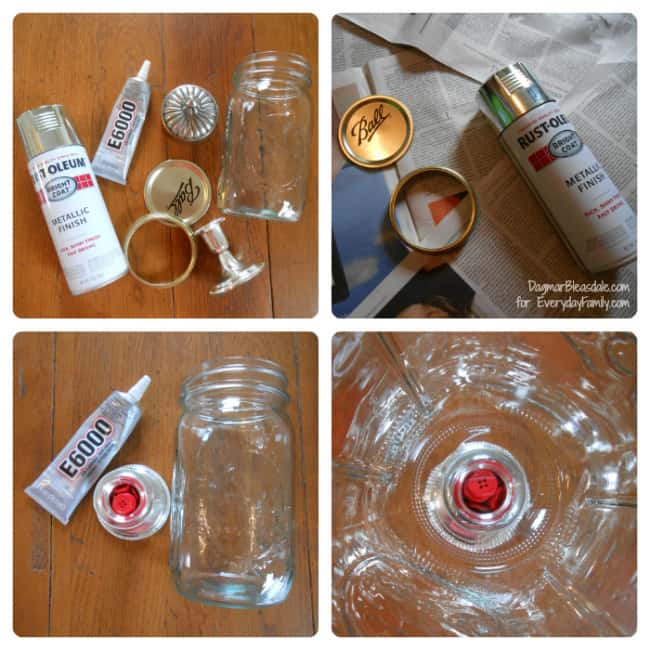
You need these supplies for your mason jar apothecary jar:
- big mason jar with lid
- E6000 glue
- short and sturdy candle holder (I bought mine for a few dollars at our local thrift store)
- metal finial or wooden finial or similar for the top
Mason Jar Apothecary Jar Tutorial:
Putting this apothecary jar together is super easy – I promise!
- I loved the silver color of the candle holder and the funky top piece I found, so I spray painted the mason jar lid with a metallic paint color to keep the color scheme. You could spray paint all parts one color or several colors. Find a well-ventilated area in your home or spray paint the lid outside. Avoid getting spray paint on the inside of the lid so it still closes when you put it back on the jar.
- While the paint is drying, glue the candle holder to the mason jar bottom with E600 glue and let it dry for a few hours. I wanted to put something really fun in the candle stick hole that would be closed in once I glued the mason jar on it, and I decided to fill it with red buttons.
- When the paint on the lid is dry, glue the top of the lid to the rim of the lid with E600 glue and let it dry before you glue the piece you’ll use as the handle to the top of the mason jar lid. If you are impatient like me, screw the lid back onto the jar so the top of the lid stays put when you are gluing on the handle.
Depending on what kind of candle holder and lid handle you find either in your household, in a thrift store, or at a yard sale, every one of these mason jar apothecary jars will be one of a kind.
Part of the fun for me was finding the unique items for the base and the top at my local thrift store.
I plan to make a couple more of these apothecary jars and display them as a group.
This is also a unique gift idea, and you could fill the jar with something the recipient loves.
Get creative — what about spray painting a plastic animal to use as a top?
BTW, you don’t have to use a mason jar — you could also recycle a pasta or pickle jar!
This do-it-yourself apothecary jar would look cute displaying just about anything, like cereal or craft supplies, but I decided to fill mine with lollipops.
What would you display in your DIY apothecary jar?
Pin this for later!

