In this post I’ll show you how I created a small DIY container garden and used upcycled twist ties from bread bags to create the fence around it so the critters stay out of it.
Okay, you professional gardeners: this little start of a garden might make you laugh.
But I’m a newbie at gardening and because I didn’t get to build raised beds in time, I decided to container garden again this year. It’s such an easy way to create a little garden.
DIY Container Garden With Twist Ties
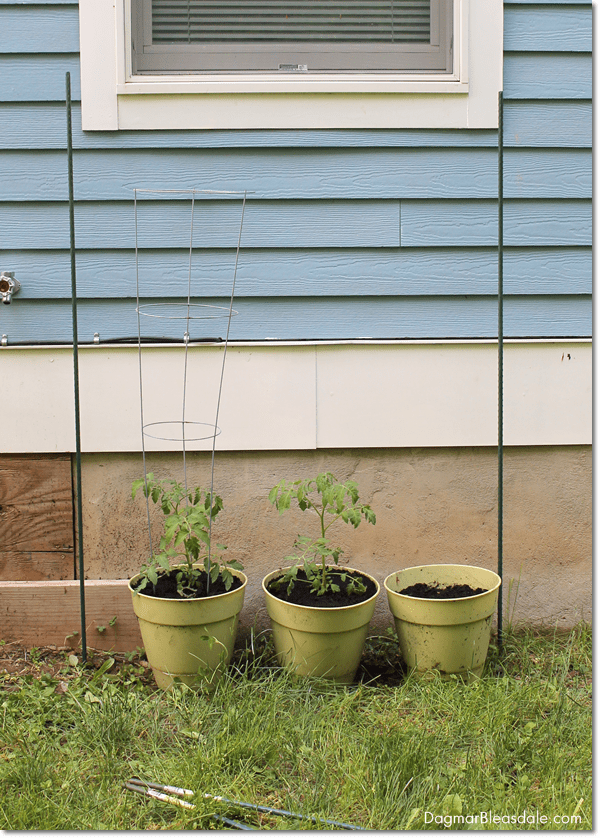
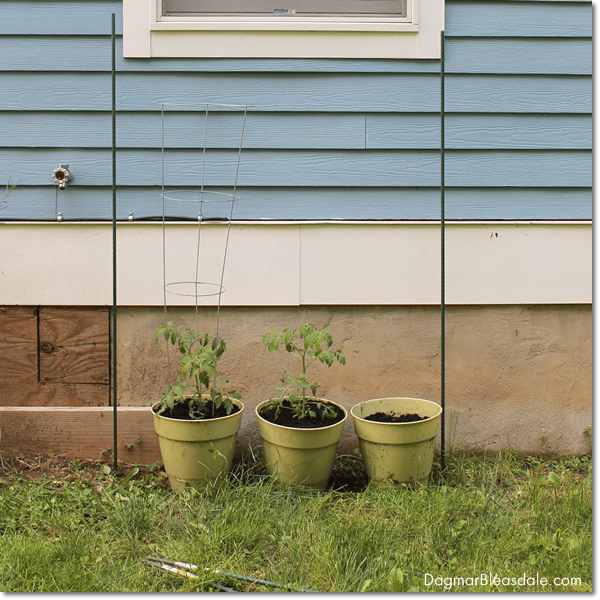
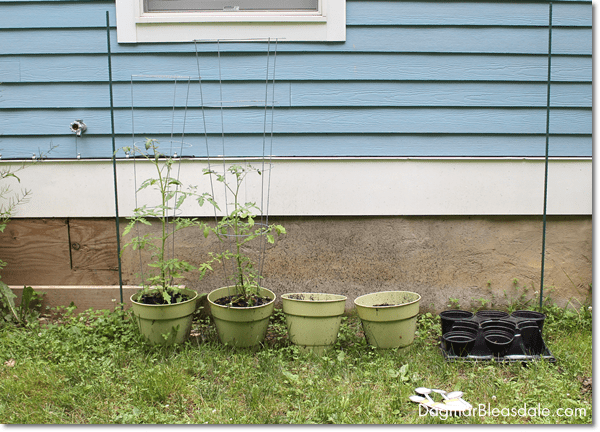
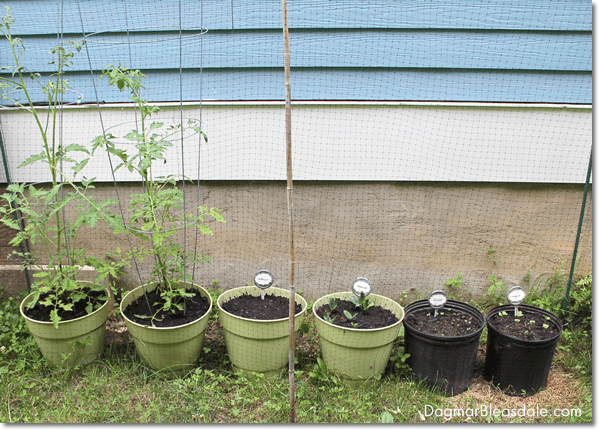
This is what it looked like at first: I bought two organic tomato plants at Mrs. Greens and planted them in large pots I used last year.
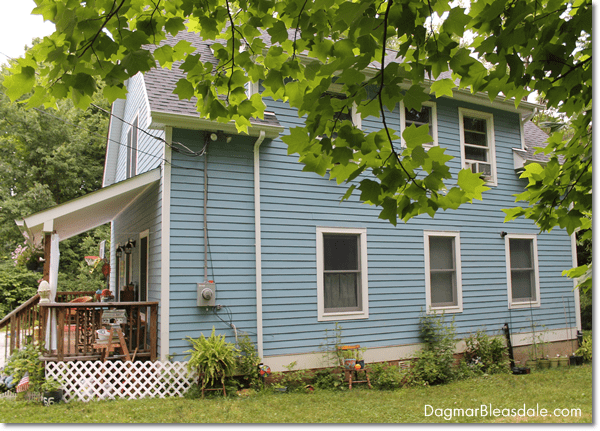
The perfect spot for our garden is next to our house in the back, because that is the spot that gets the most sun, and that’s where the water hose is.
This post contains affiliate links. If you make a purchase, we receive a small commission at no extra cost to you. Click here for details.
Now that we’re all shopping online more, sign up for Amazon Prime to get the best selection, faster shipping, and the most for your money!
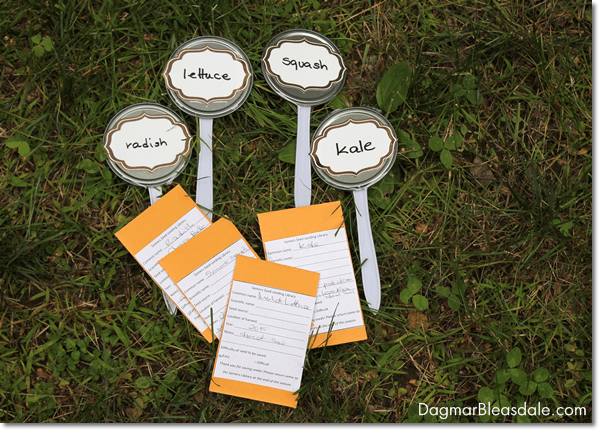
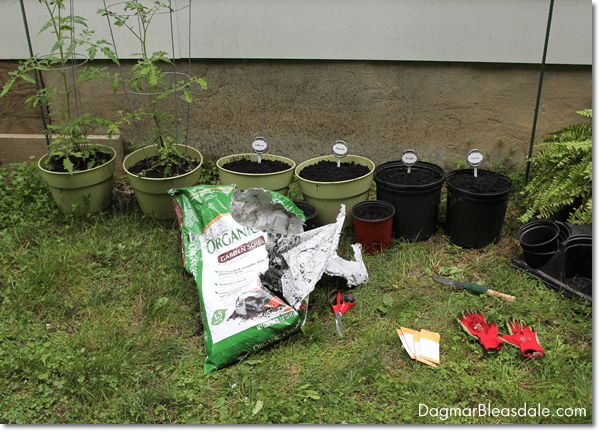
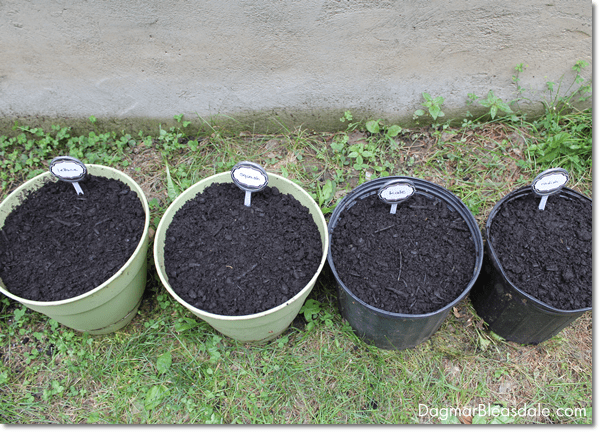
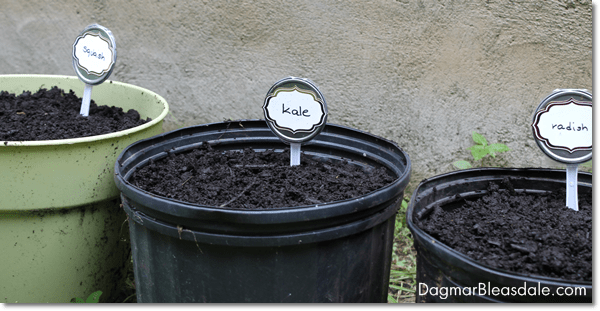
A couple of days later I grabbed my DIY plant markers (you can see how I made them out of recycled orange juice can tops here), the organic seeds I picked from our awesome free seed library in our local library, and went to town planting some more vegetables.
If you don’t want to make your own plant markers, these are really pretty:
I’ll also show you how I installed an inexpensive fence around our container garden to keep out critters.
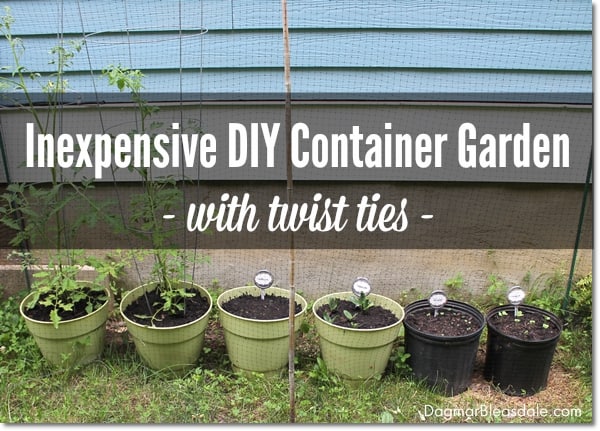
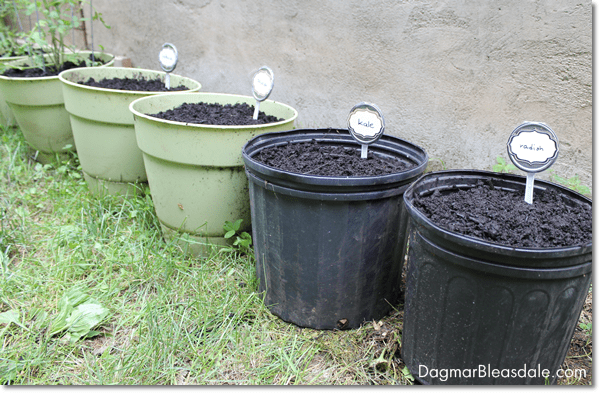
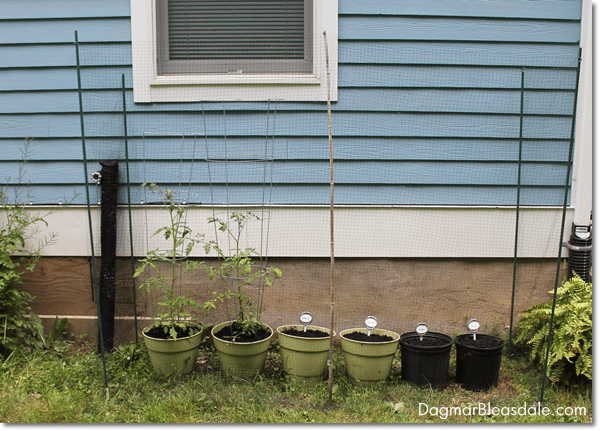
I made the garden wider to accommodate six large pots.
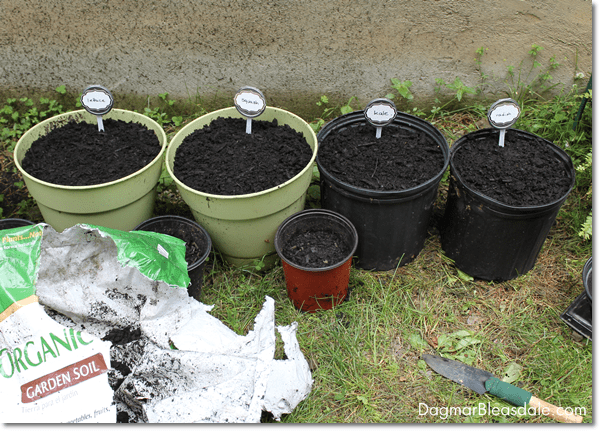
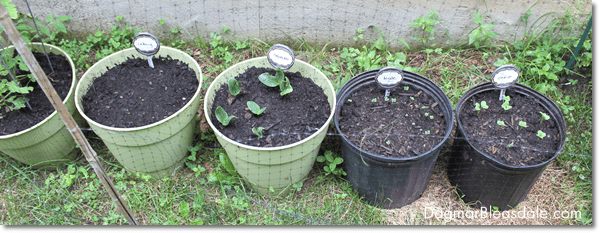
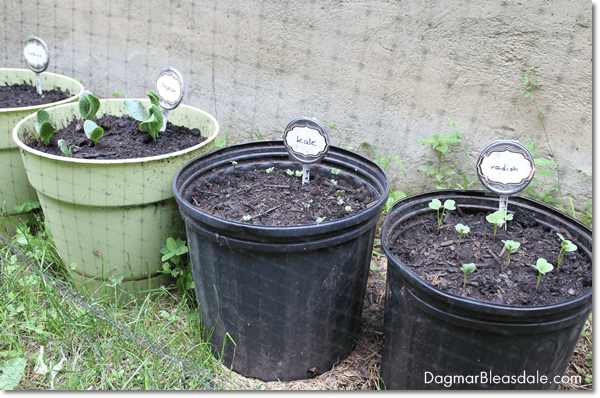
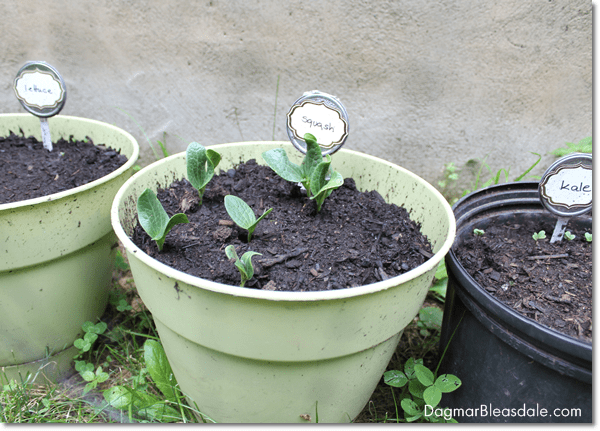
The tomato plants were already growing fast, and I added pots with radish, lettuce, squash, and kale seeds.
I only use organic potting soil. If you want organic vegetables, you can’t have them grow in conventional soil, at least that’s how I feel about organic food.
Those two large black pots I used were left over from trees I bought, so I reused them.
The green pots are self-watering pots like these:
Then it was time to add a deer fence. We have deer in the backyard at night and they hadn’t discovered the tomato plants on the side of the house, but I figured I better add a fence around our garden so they don’t get any ideas.
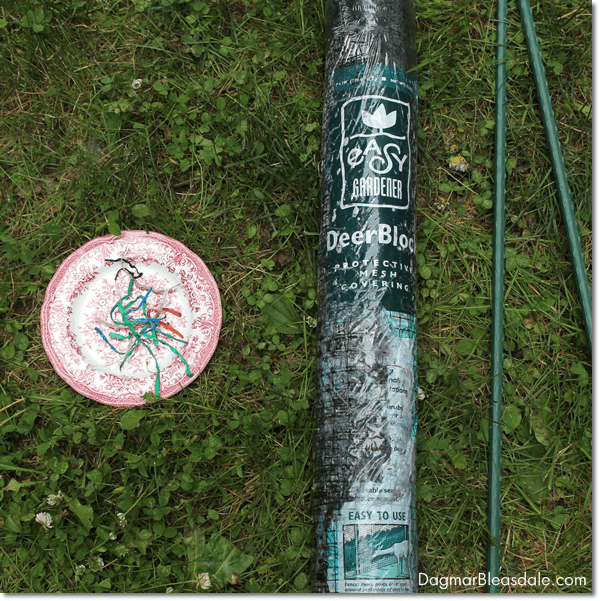
This is what I came up with for an easy garden fence: I bought Deerblock deer netting and four long stakes at Home Depot, which didn’t cost much.
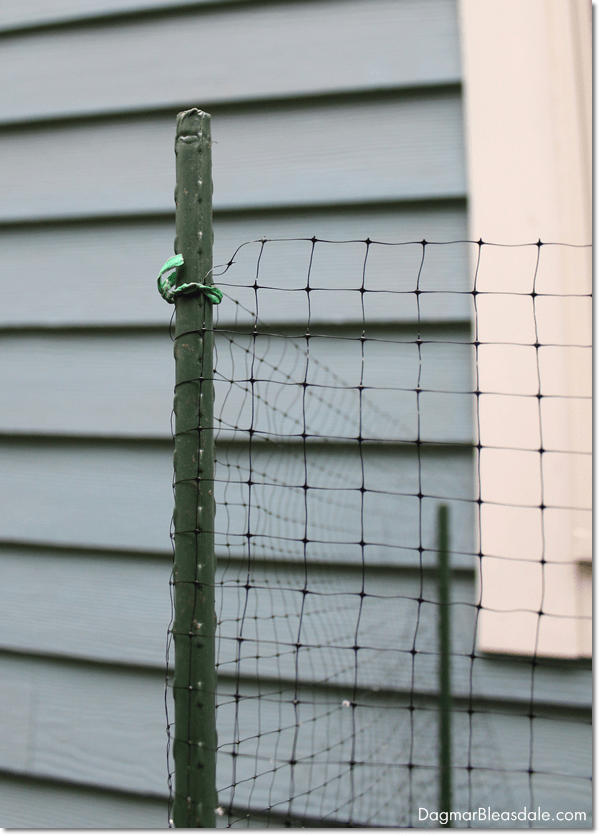
Then I had to figure out how to keep the mesh on the poles. Don’t bother buying these — just used bread bag twist ties!
They are one of those items I never throw out, like the orange juice can tops I made my plant markers with.
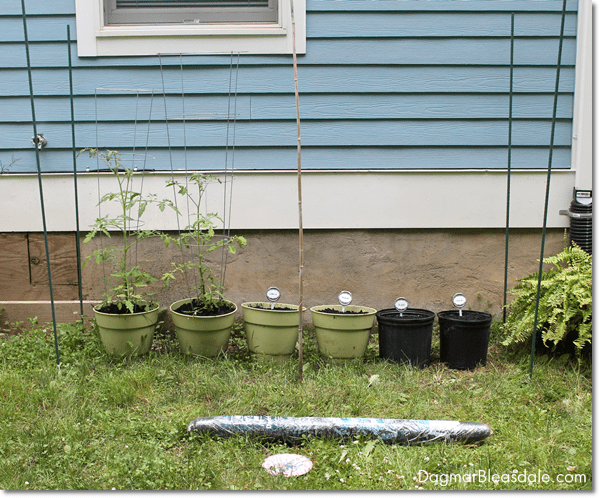
I pushed the poles into the ground around the pots, and added another one I already had in the middle.
Then I secured the deer fence with twist ties.
This is what it looked like finished.
Instead of cutting off the extra deer fence, I kept the roll intact and just leaned the extra part against the wall. Eventually, I unrolled the roll a bit more to lay it on the ground.
After the summer, when I was done with the garden, I rolled it back up to use again.
My fence was preventative, I didn’t really anticipate problems with mice or bunnies or similar, but if you know that you have problems with little critters, you could double or triple up the fencing.
Since this garden is small, you don’t need an entrance – you can just water over or through the netting to reach the containers, or push the netting down or pick it up from the bottom when you want to harvest the vegetables.
Here you can see our little container garden in the back of our house.
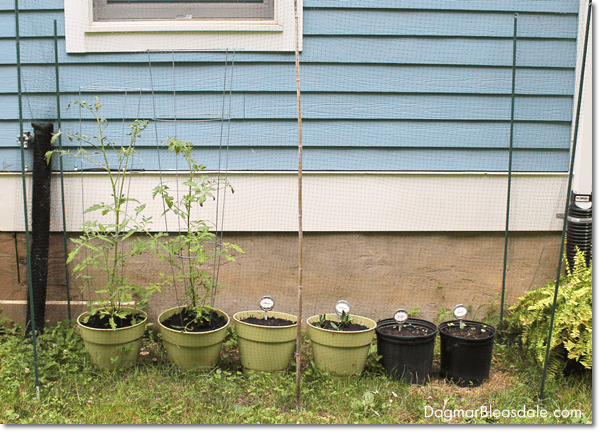
Only a week later the plants were already this big!
I was really impressed with how fast the squash grew. Every day I looked, it had grown another inch! Gardening is so much fun.
I’m looking forward to see how this DIY container garden will come along this summer and fall.
It’s exciting that Landon can experience growing our own food.
Do you have a container garden?

