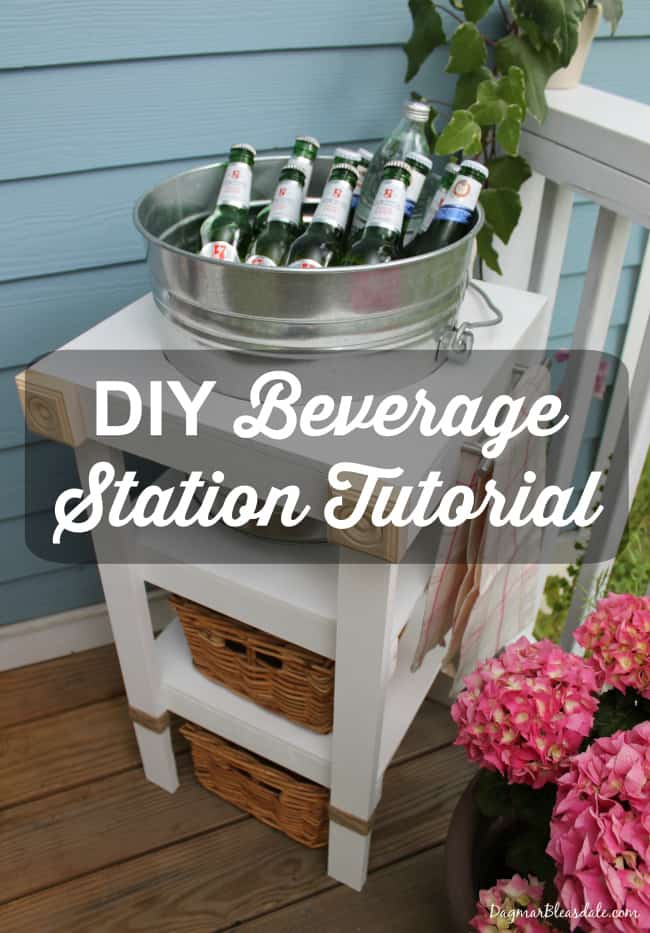
With summer just around the corner, this DIY beverage station will be in high demand this year!
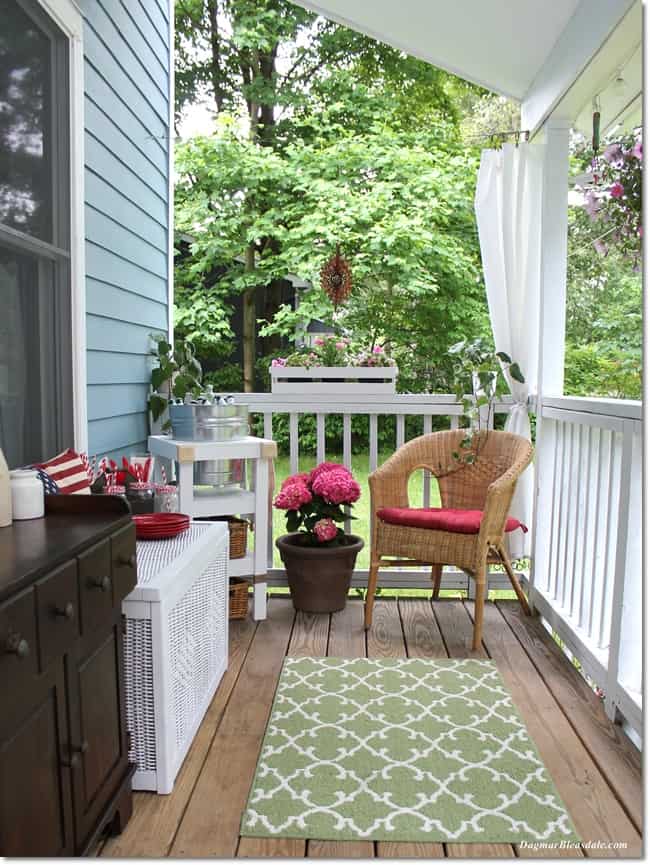
It’s such a handy item to have around to keep your drinks cool and make your porch or backyard even more of a fun place to hang out now that we are all staying home more.
DIY Beverage Station Tutorial
I built this Beverage Station with the help of Don, who has all the tools I needed to make it.
Here is the step-by-step tutorial so you can make your own.
I decided to paint the Beverage Station white to go with my mostly white cottage decor in our home and on our porch.
This post contains affiliate links for your convenience – read more here.
BTW, now that we are all shopping online more often, sign up for Amazon Prime to get the best selection, the faster shipping, and the best deals!
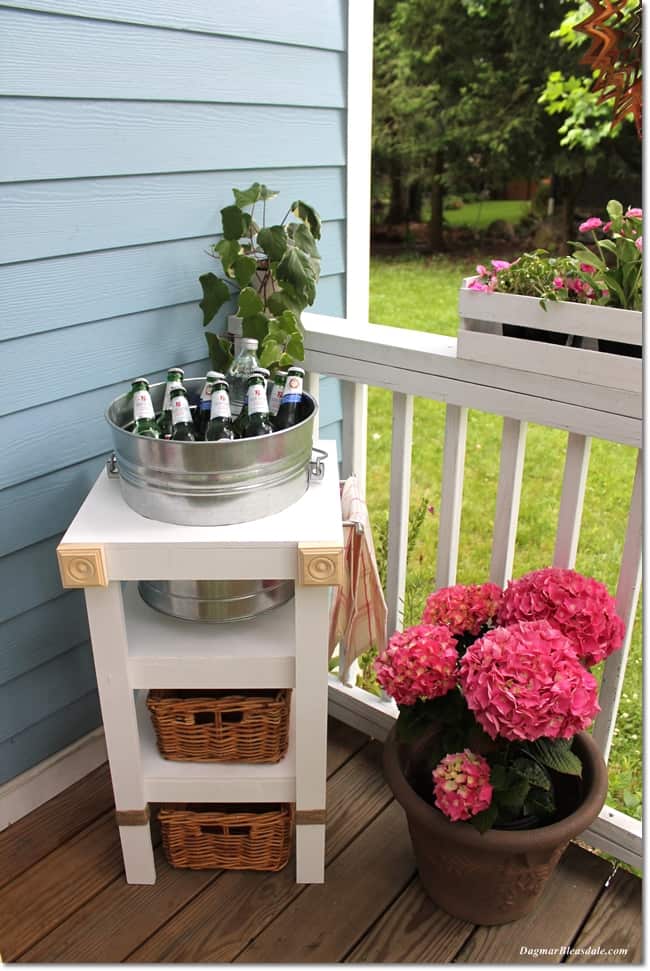
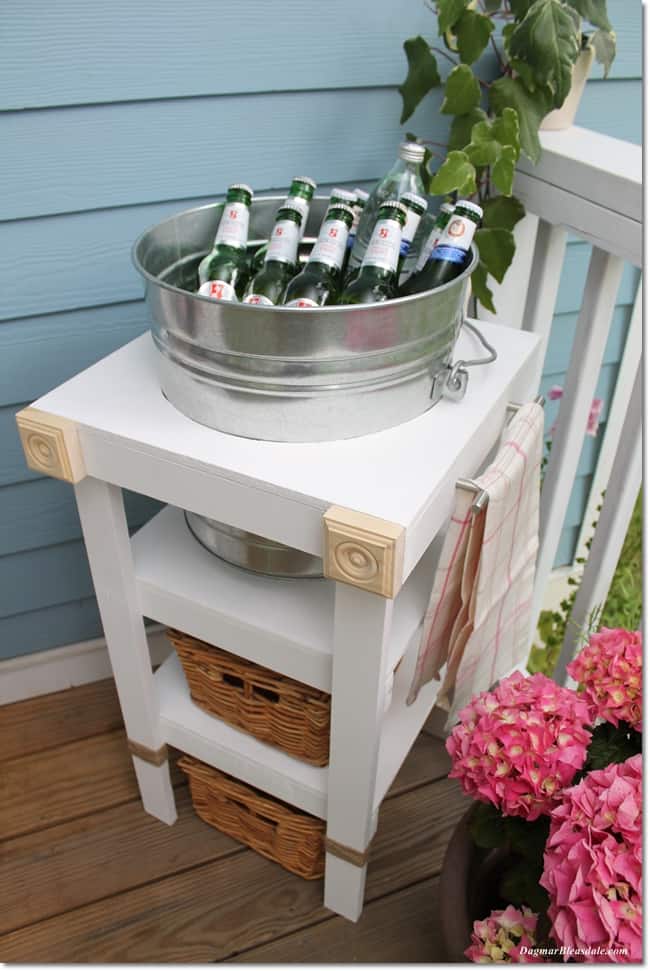
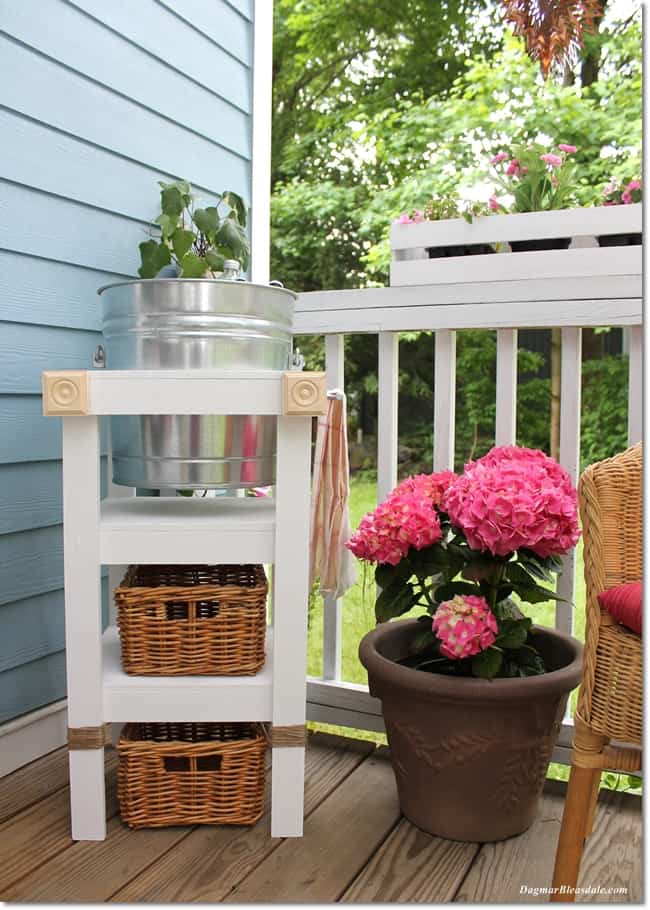
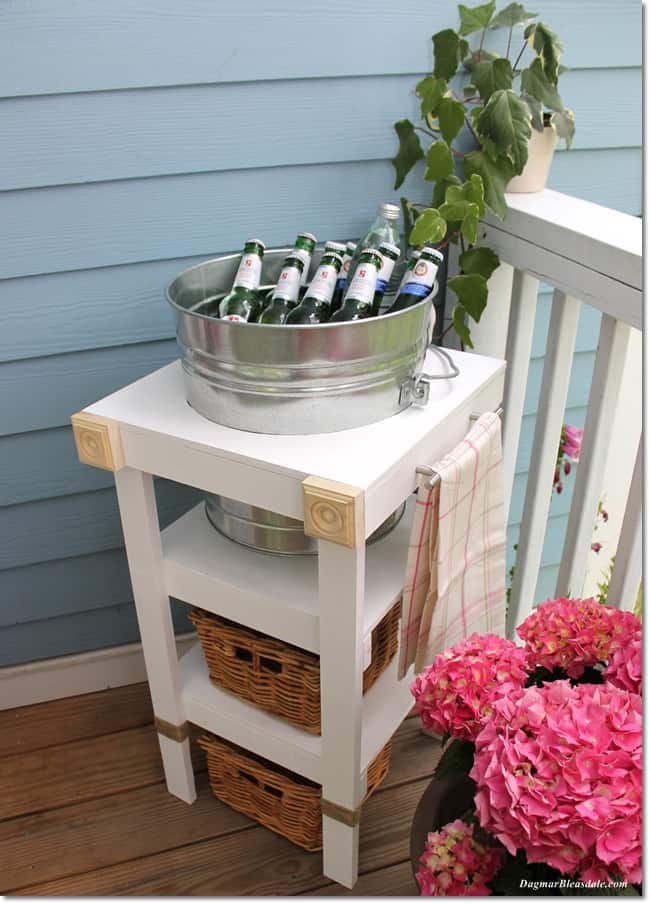
I added some decorative wood pieces and twine to my beverage station, and two baskets for extra storage, plus a towel holder to keep a tea towel handy on the porch.
DIY Beverage Station Tutorial
I bought all the supplies at The Home Depot. As a DIY blogger, I love spending time there to dream up my next DIY project.
All of the supplies can also be bought online on Amazon, and that’s the better option right now that we want to all stay safe. I wouldn’t risk getting sick with the virus for a drill when I can buy it online.
DIY Beverage Station Supplies:
- 1 – 1/2″ x 2″ x 4″ sanded plywood board
- 3 – 1″ x 2″ x 8″ common board
- 1 box of 1 1/4″ x 18 gauge brad nails
- 1 twine/string
- 1 paint or stain
- 1 10-quart galvanized pail
optional:
- stainable/paintable wood putty
- sand paper
Tools you will need:
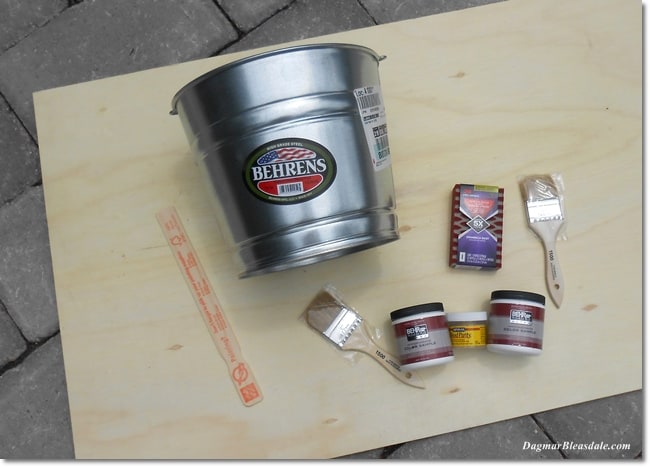
Here are some of the materials. The estimated project cost is around $40 — hopefully you already have most of the tools you need.
The Beverage Station was easy to make. I have the added advantage that Don is a carpenter and has all the tools necessary to make it.
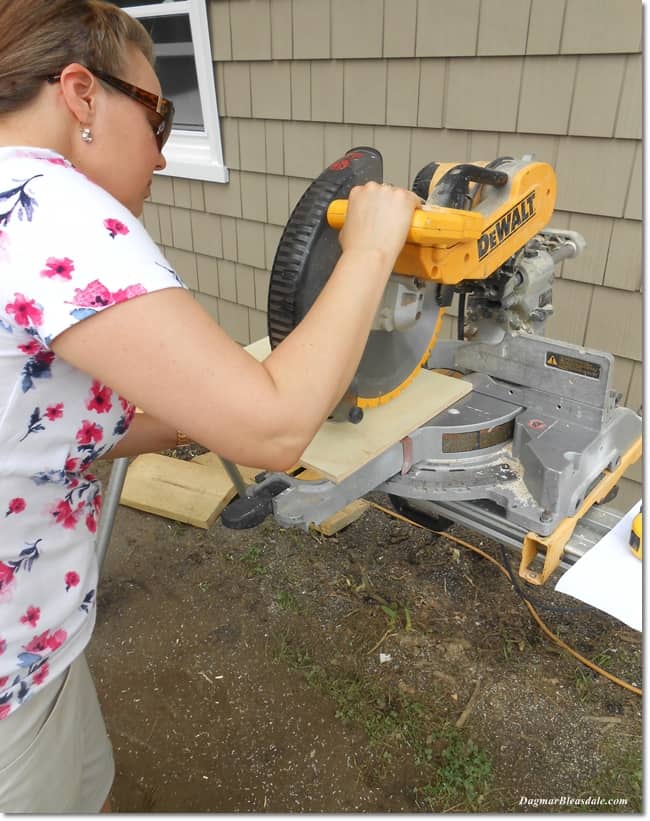
I went to his current job site where he has them all set up, and I cut all the pieces in just minutes.
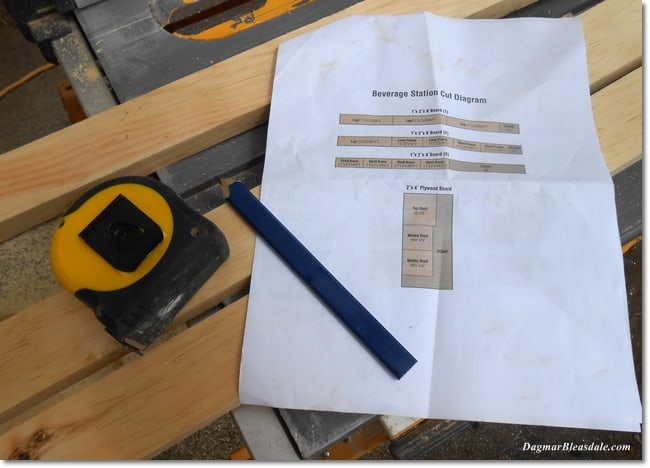
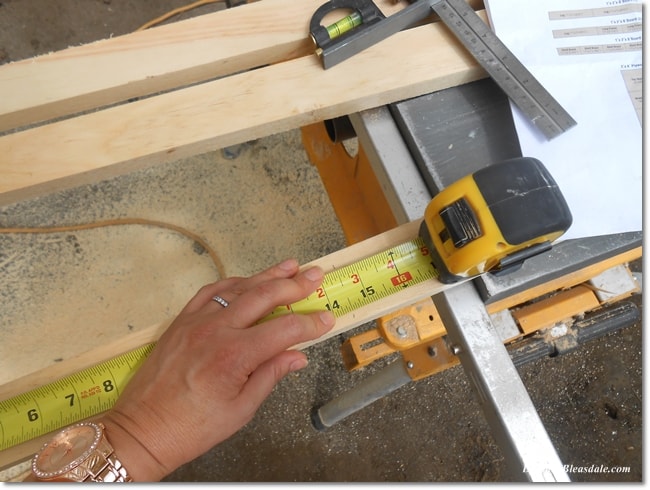
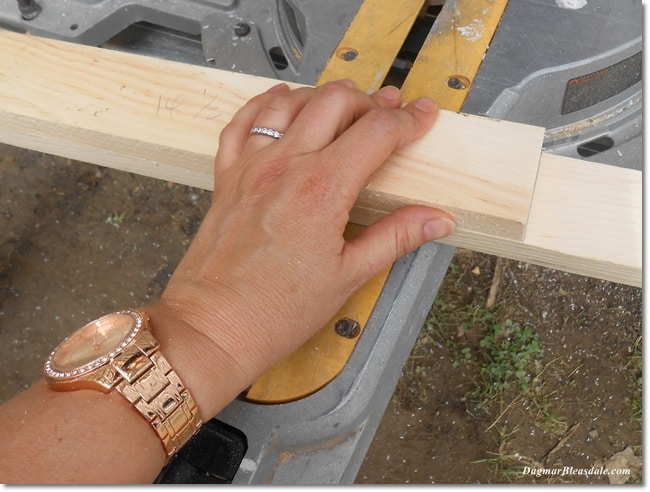
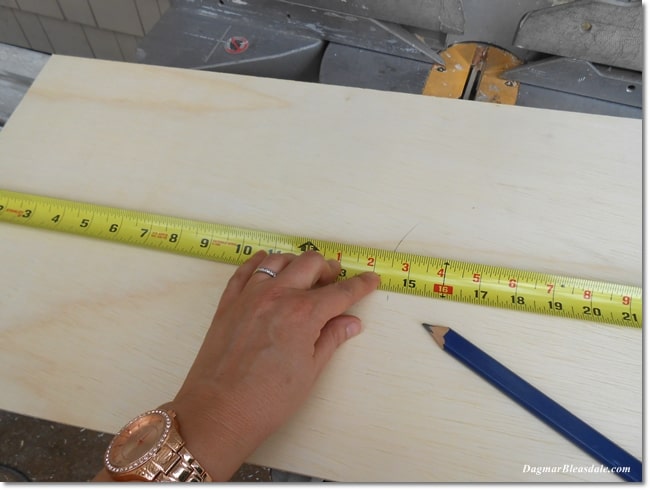
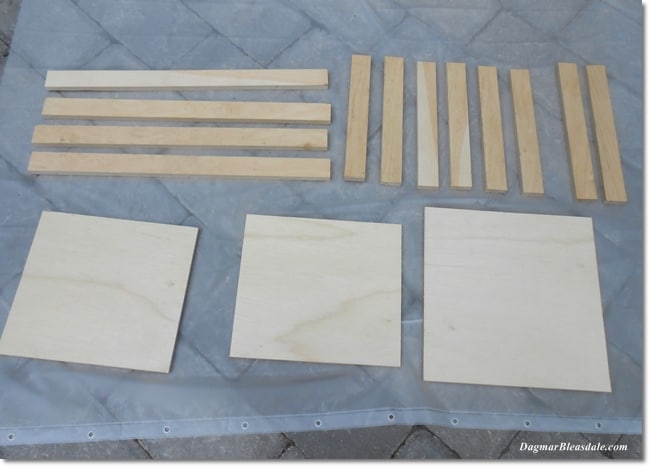
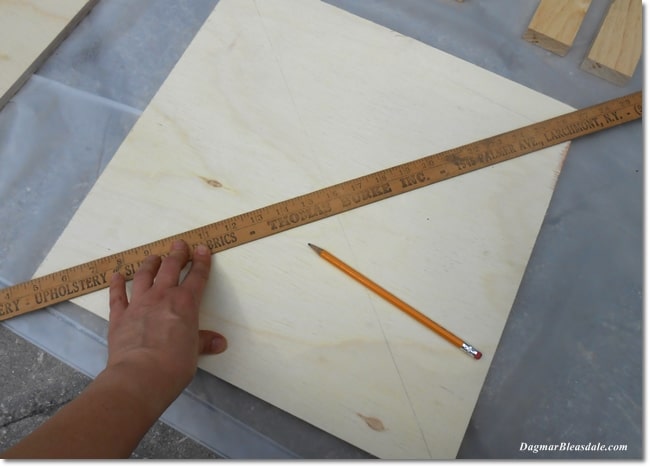
- Measure and mark the legs (4 times 1″ x 2″ x 28 1/2″)
- the long frame pieces (2 times 1″ x 2″ x 16″)
- the short frame pieces (2 times 1″ x 2″ x 14 1/2″)
- and the shelf braces (4 times 1″ x 2″ x 14 1/2″) from the 3 long boards
- and the 3 shelves (one 16″ x 16″ and two 14 1/2″ x 13″) from the plywood board
Tip: make one mark at a time and cut that piece, then measure and make the next mark. Since you are losing a small amount of the length of the wood where the cut is made, it throws off the length of the pieces if you make all the marks first.
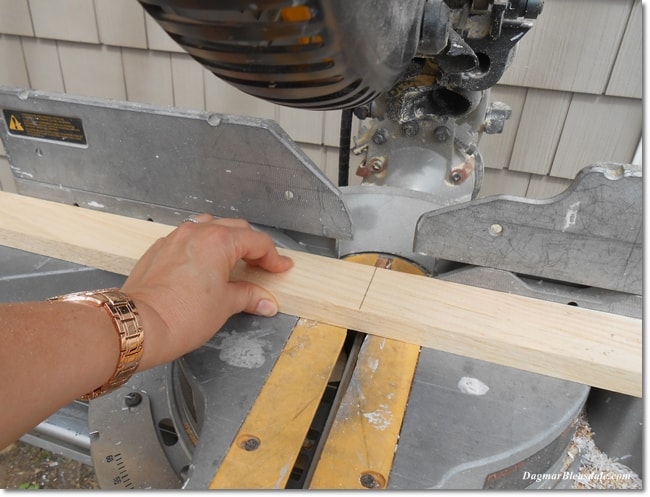
I used Don’s table saw to make the cuts, but you can also use a circular saw. This is a high-quality one:
Once I had the first piece, I used it as a template for the next ones.
After I ripped the plywood to 16″, I made the other mark for the top shelf (16″ x 16″), and then cut the middle and bottom shelf after that (two 14 1/2″ x 13″).
Here are all of the pieces after I sanded the rough edges.
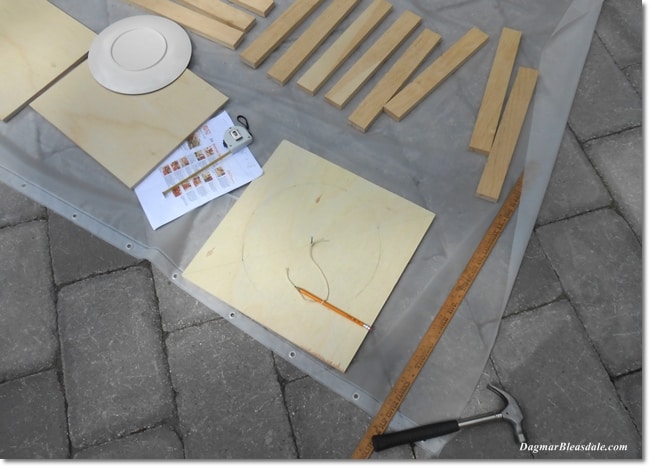
Then I marked the center of the top piece to mark the circle the pail is going to sit in.
I nailed a nail in the center and drew a 10″ circle. I double-checked that it was a good circle with a large plate.
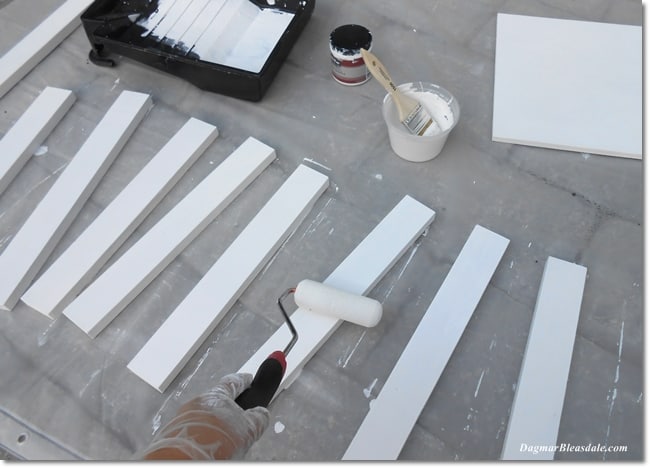
Using a roller to paint the pieces makes the job much faster.
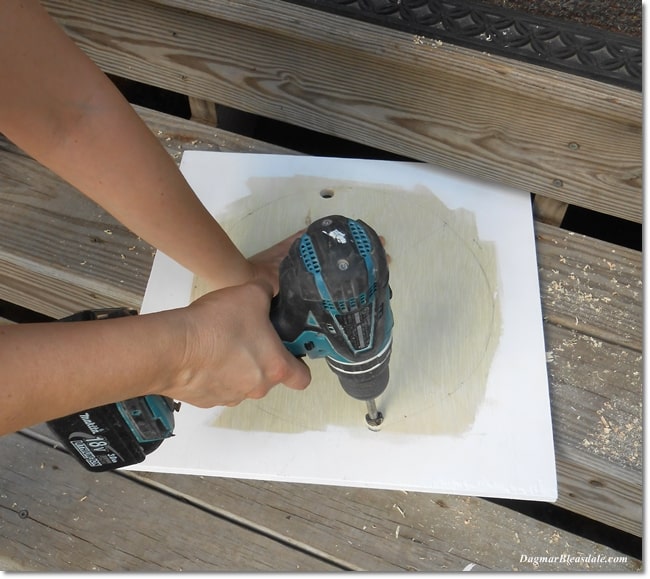
I drilled a hole near the edge of the inside of the circle and then used the reciprocal saw to cut it out.
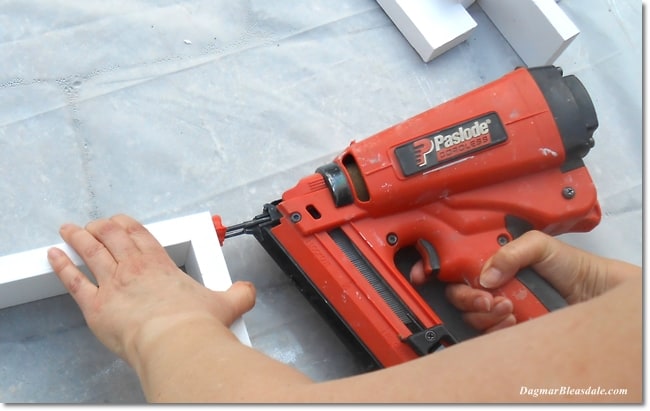
Then it was time to assemble all of the pieces with the nail gun.
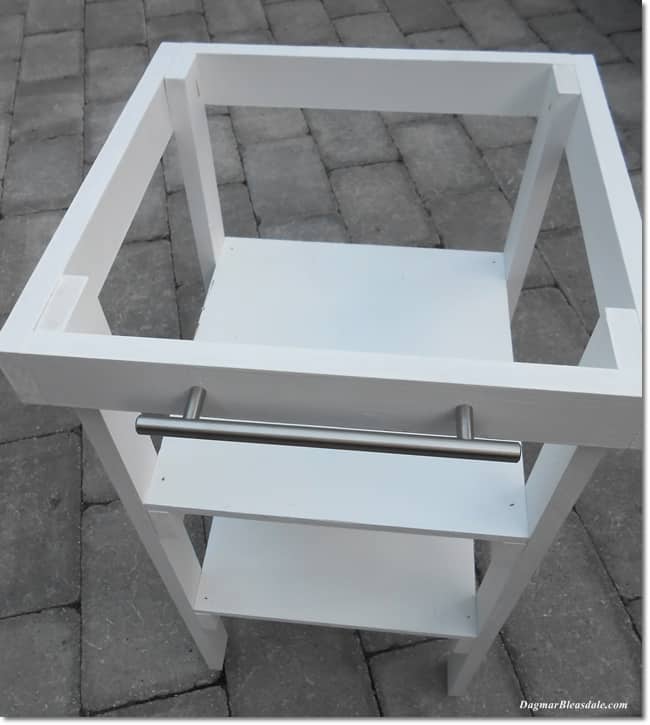
One way I decided to personalize my beverage station is by adding a wide handle so I can hang a tea towel on it.
Here is my finished beverage station!
It will come in handy when we entertain this summer.
If you don’t feel like making projects like this yourself, check out your local Home Depot’s DIH workshops and sign up for the project that interest you the most! They also have DIY classes for kids.
You can learn how to build decor projects, make easy home repairs, and how to operate tools through demonstrations and step-by-step instructions.
Where will you put your beverage station this summer to stay cool?
You would also enjoy these related posts:

