The Lazy Guide to Painting Furniture
We have a small storage room in the back of our house — that I call the Blue Cottage because it’s blue and decorated like a little cottage — that has never really received much love since we moved in about four years ago.
It holds our on-demand heater on the wall to the right and boxes full of extra stuff that I don’t want to lug into the attic.
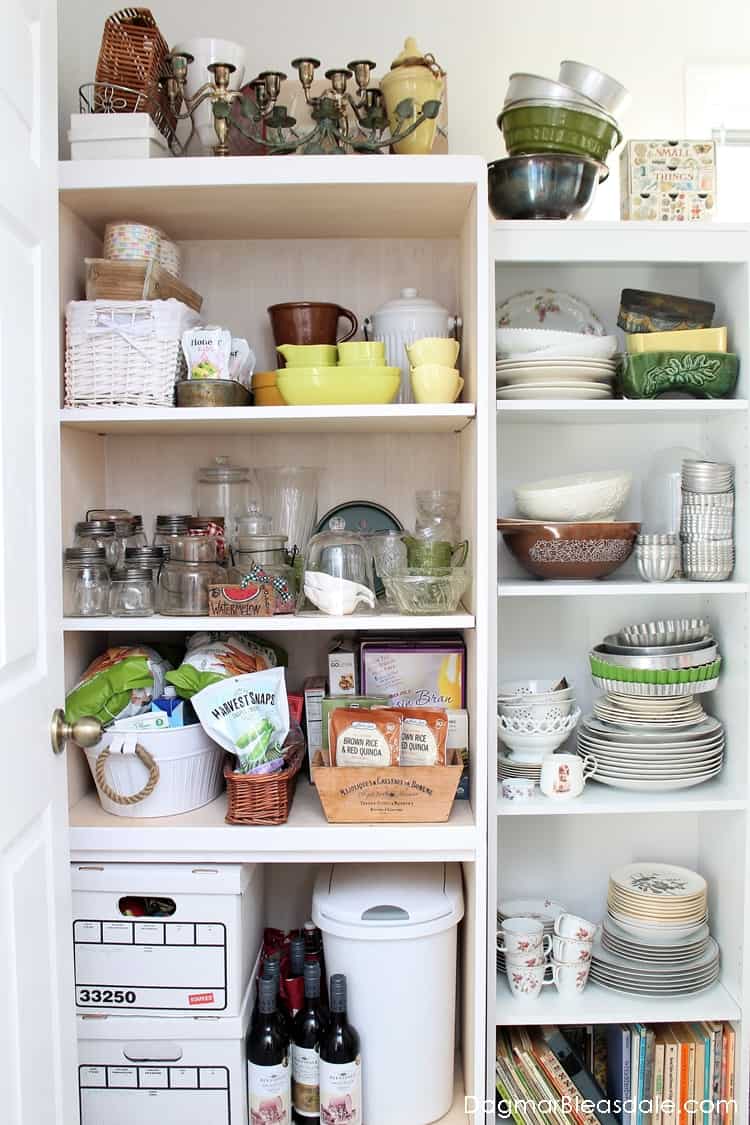
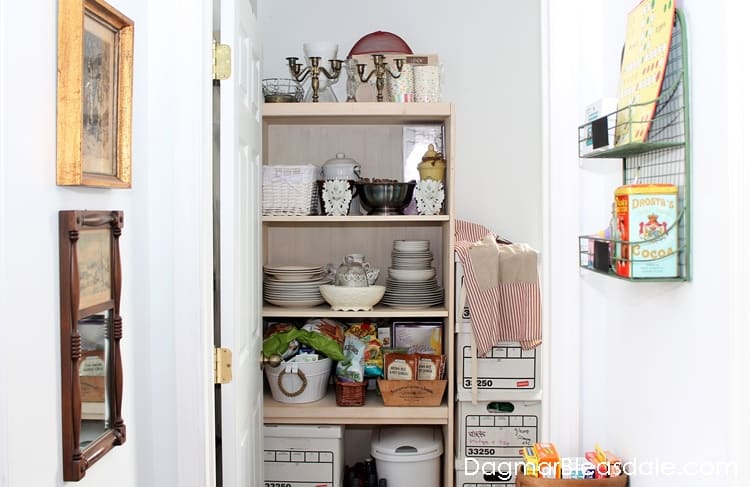
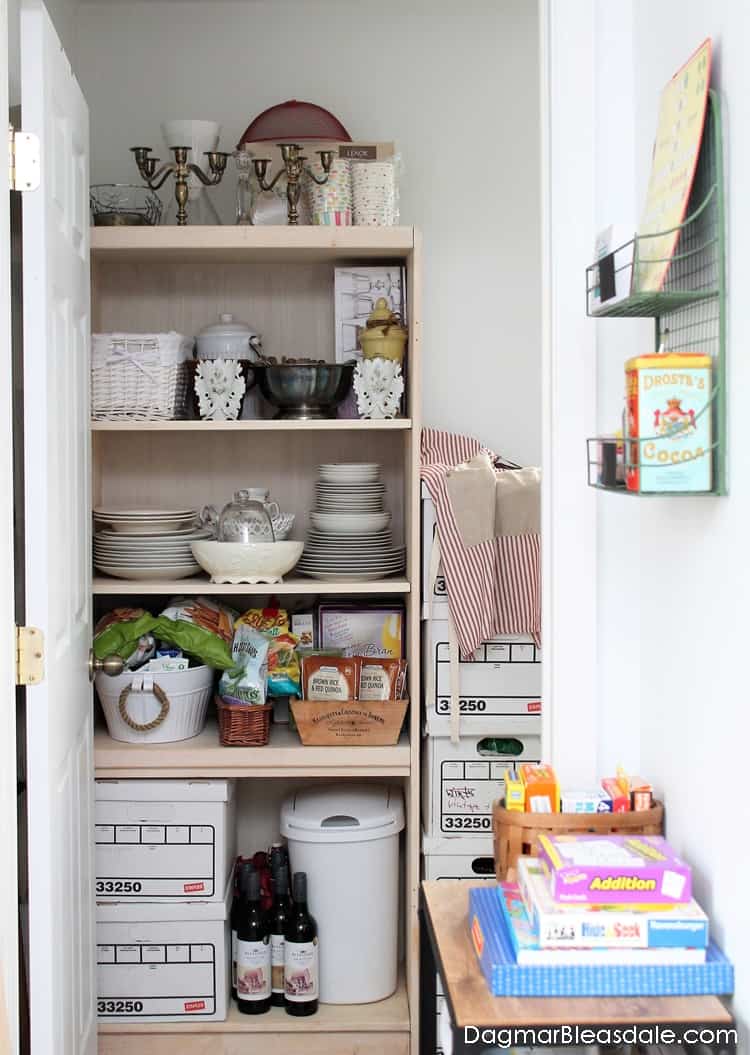
This is the before picture. I literally shoved this large pine bookcase from our apartment into the room to use as a pantry and to store extra dishes, glassware, and boxes of vintage items.
What I would love to do is add a built-in that’s optimized for the room, maximizing the space around the window that’s in there, but I’m also practical and that would cost a lot of money.
Believe me — I’ve looked into it.
Now that we are all shopping online more and it’s so hard to get certain products, sign up for Amazon Prime to get the best selection and most bang for your buck!
My second choice was to just work with this big off-white bookshelf.
It’s very sturdy and can hold a lot of heavy dishes, and the shelves are deeper than the ones most bookcases offer. That was important.
I decided to paint it — but I didn’t want it to take a lot of time. How could I paint it the fastest way?
This is what I came up with, and it only took 30 minutes:
The Lazy Guide to Painting a Bookshelf
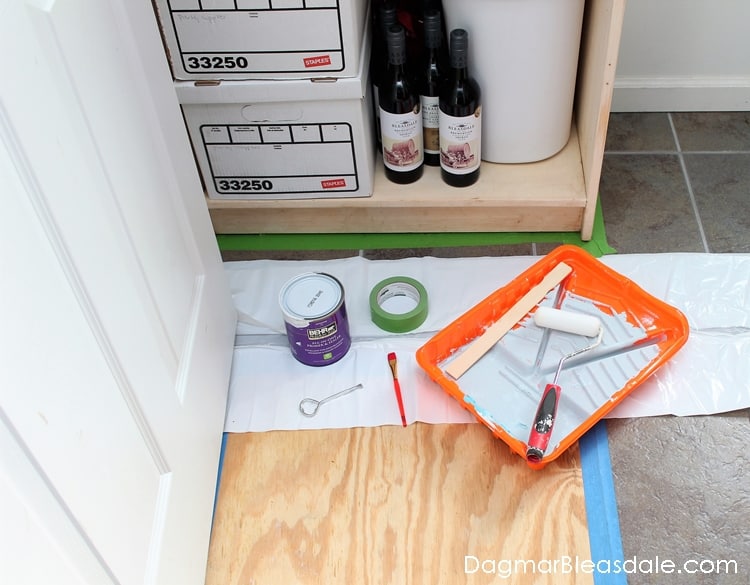
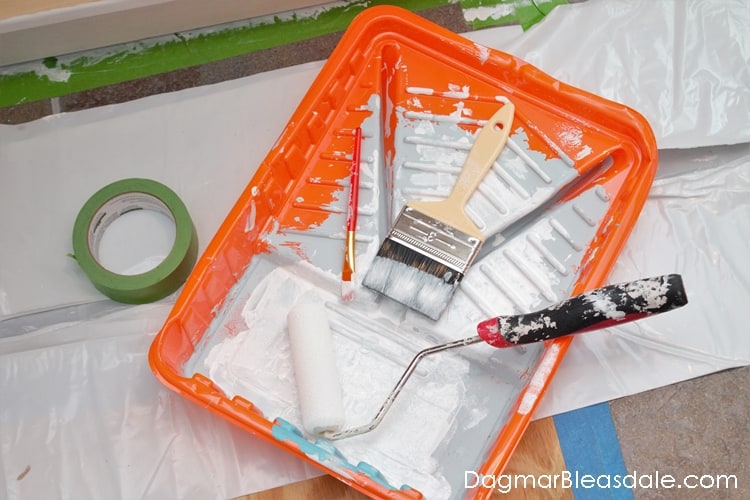
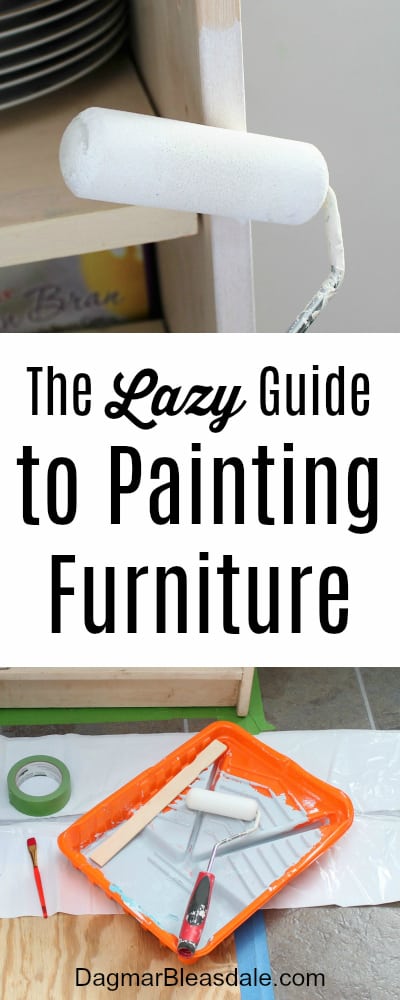
All you need for the lazy way of painting a bookcase — or any other furniture piece with a lot of straight surfaces — are these tools.
You can click on the picture if you are interested in buying one of these items.
I used a product that is a primer and paint in one I had left over from painting our headboard.
You’ll also want very small paint brushes for small sections on your furniture piece.
[optin-monster-shortcode id=”ti4sc3av6j1g7yljcsex”]
Lazy Guide to Painting a Bookcase
1. Only paint the front part of the furniture piece — not the inside or the outside
I always think of the fastest, cheapest, and least complicated way to do my DIY projects.
I guess you could call that lazy, ha! In this case I decided to only paint the front of the shelves and the frame.
Painting the whole shelf would have taken hours, and in the end what you mostly see looking at it is the front.
2. Don’t empty the shelves
Another advantage of this shortcut of only painting the front: I didn’t even have to bother emptying the shelves.
If your furniture piece is already loaded with items, everything can stay where it is. That saves even more time.
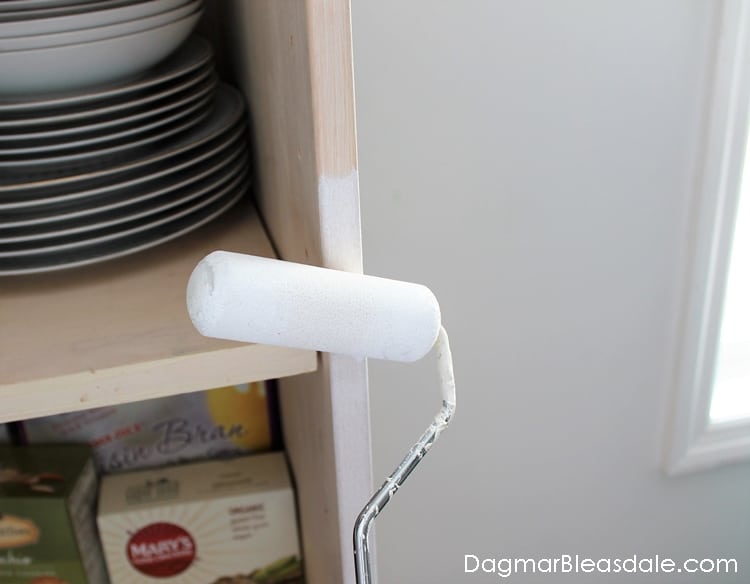
3. Use a small roller instead of a paint brush
Rolling on the paint makes painting super fast — after covering the floor with plastic and a few spots of the inside of the shelf walls with painters tape so I could quickly roll over the front, it only took me a few minutes to do the first coat.
If you use a paint brush for this step, it will take you so much longer, and you have to be more precise.
4. Skip sanding and filling holes and scratches
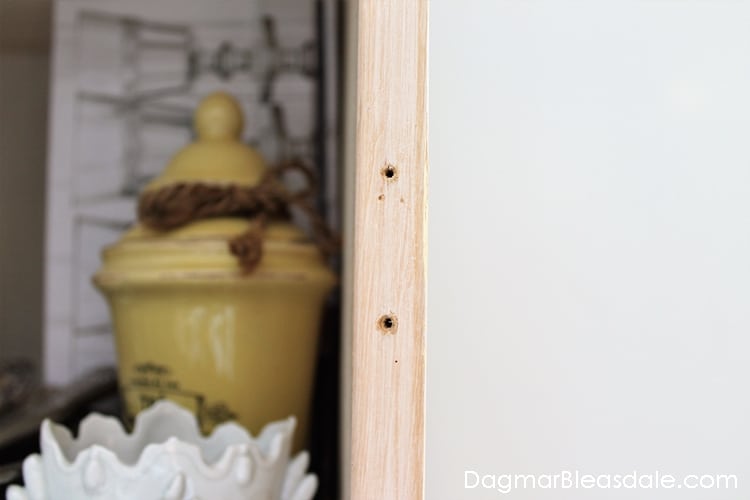
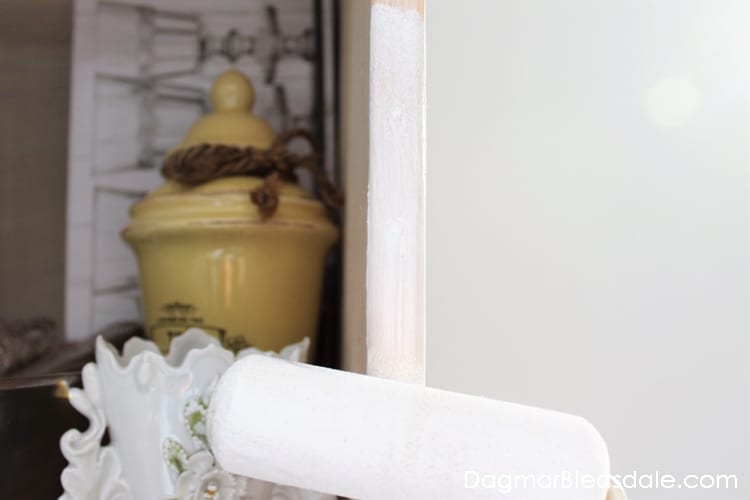
See those holes on our bookshelf? I didn’t bother filling or even sanding them. My trick is to simply fill them with paint.
A few extra passes over them, and they vanished.
After two coats, I was happy with the makeover, and this is the end result:
This is already so much better and ties in with the extra bookcase I ordered and put up to the right of it.
Here is another idea regarding painting furniture: don’t paint them — add removable wallpaper instead.
I have considered maybe using contact paper or removable wallpaper to line the shelves for a chic look in the future.
I’m thinking of wallpaper like this:
or this:
or this:
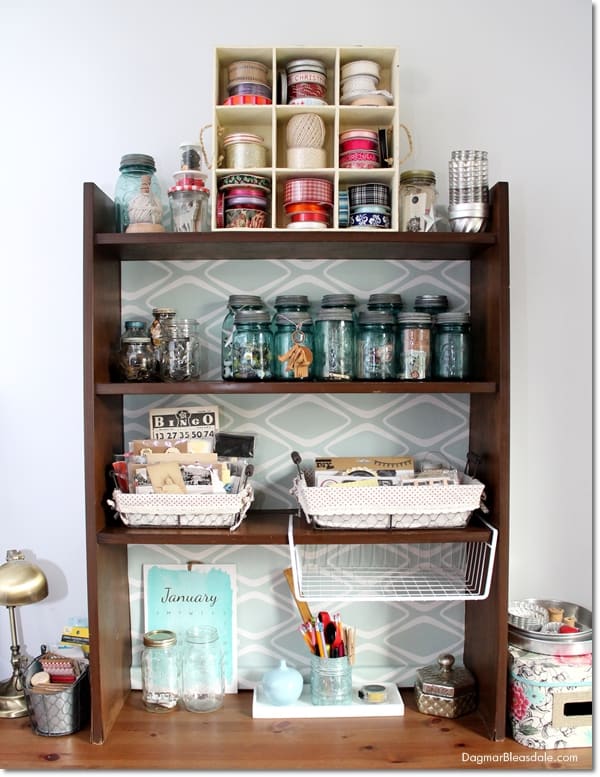
I used this technique of using removable wallpaper for this shelf in my office.
See — it doesn’t have to take long to make over a furniture piece with these few tricks!
I hope this lazy way of painting furniture helps you to tackle a painting project you are thinking of.
Pin this for later!
The Lazy Guide to Painting Furniture
Want more ideas to easily update furniture – with pretty removable sticker wallpaper? Then you’d love this post!

