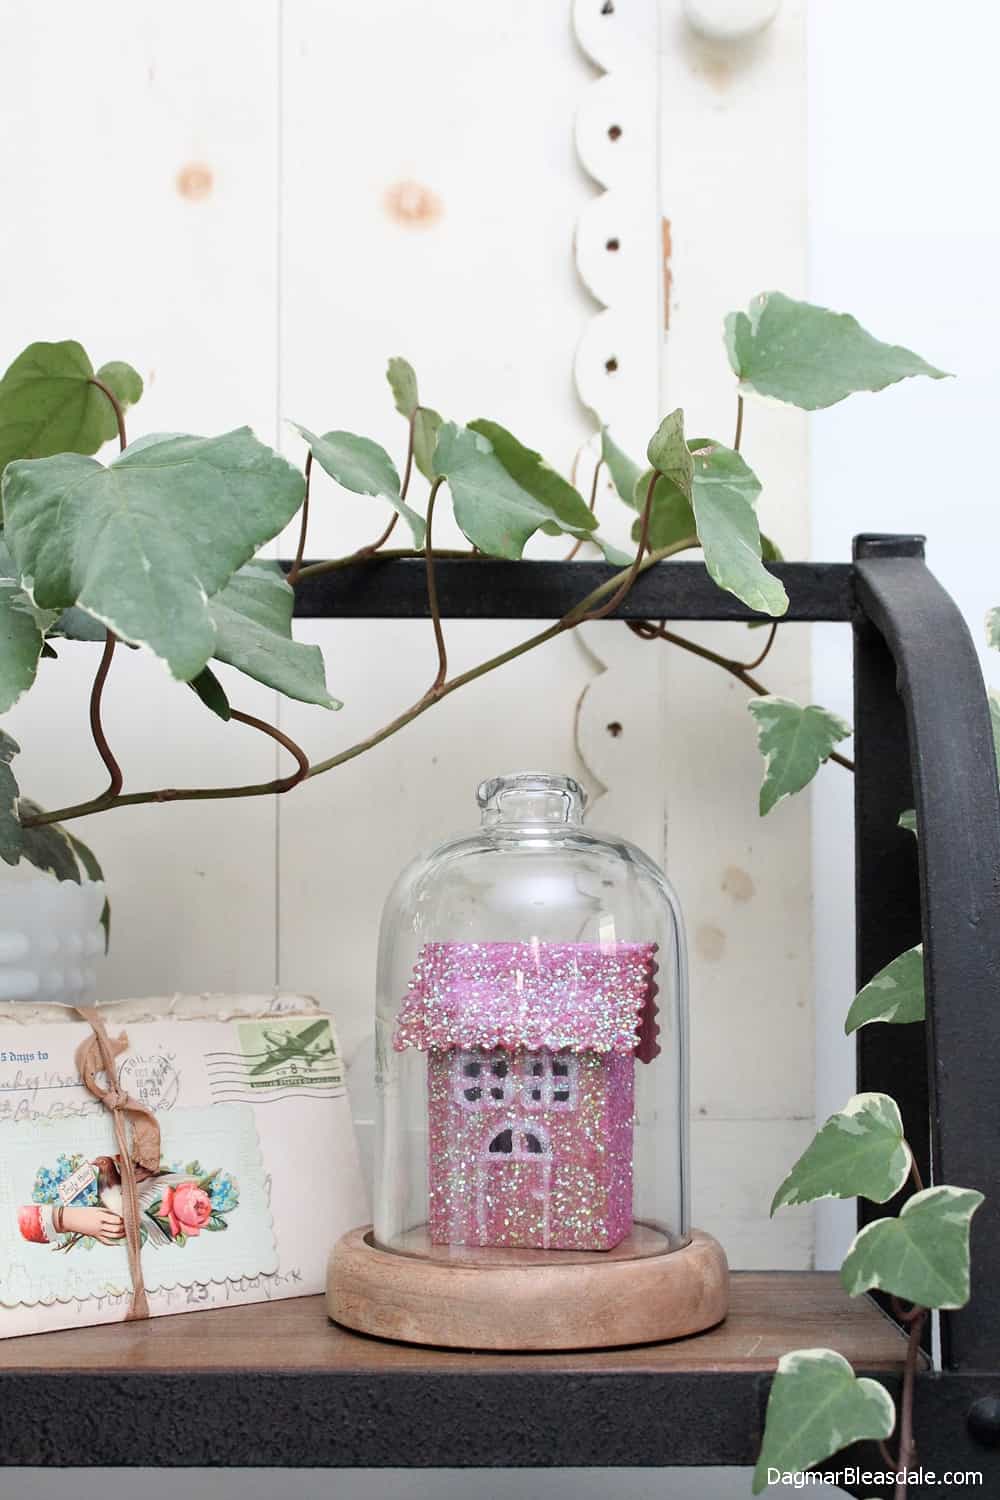
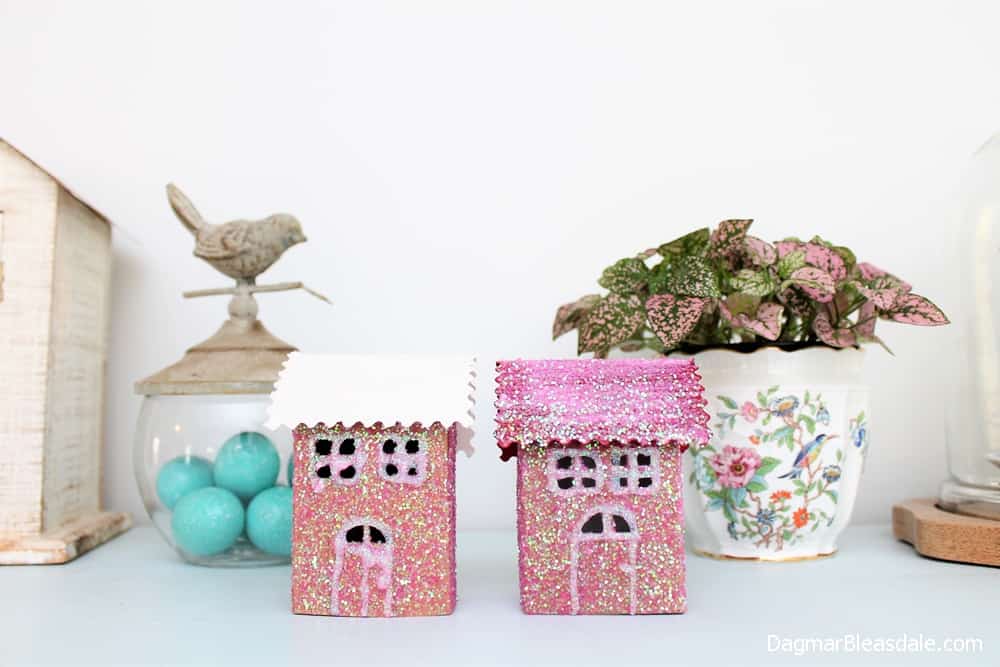
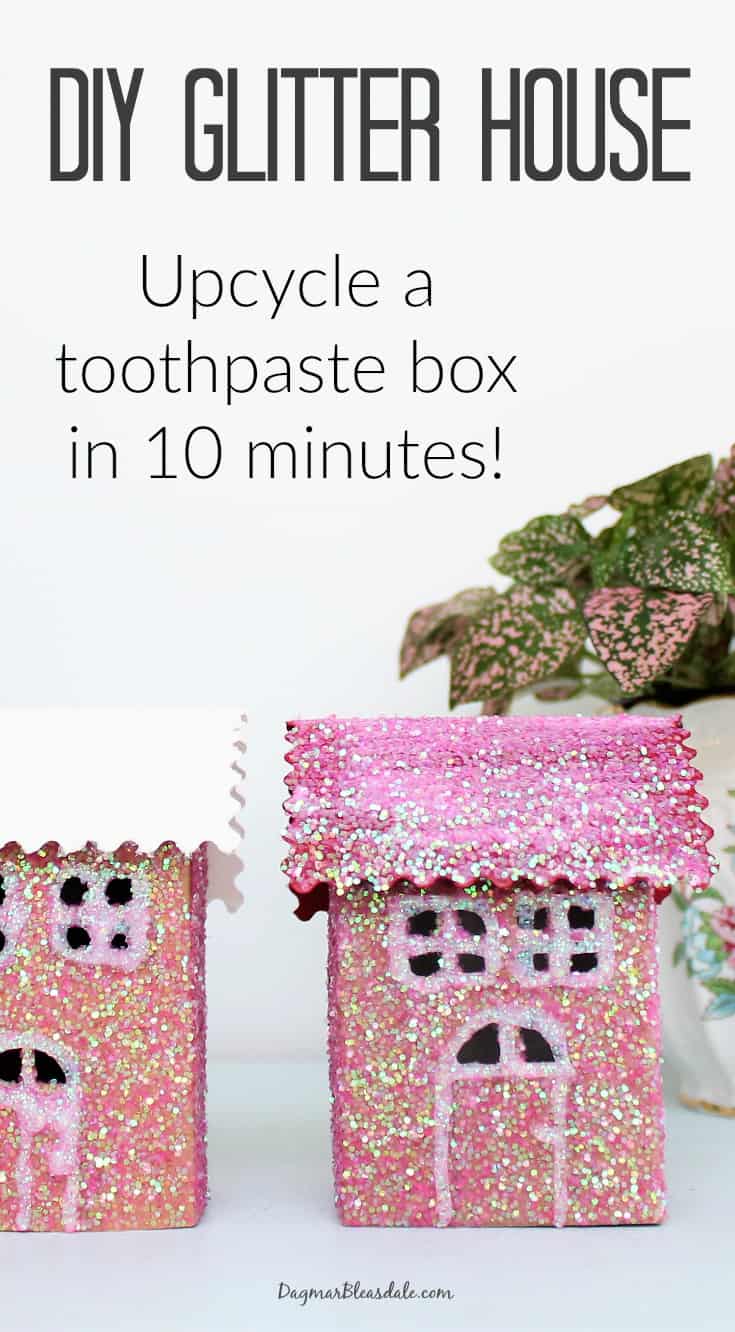
I made this cute little DIY glitter house out of an upcycled toothpaste box! Making it was so much fun — and it didn’t take much time or skill, I promise.
You can make them in any color, so why not make one or several for spring decor?
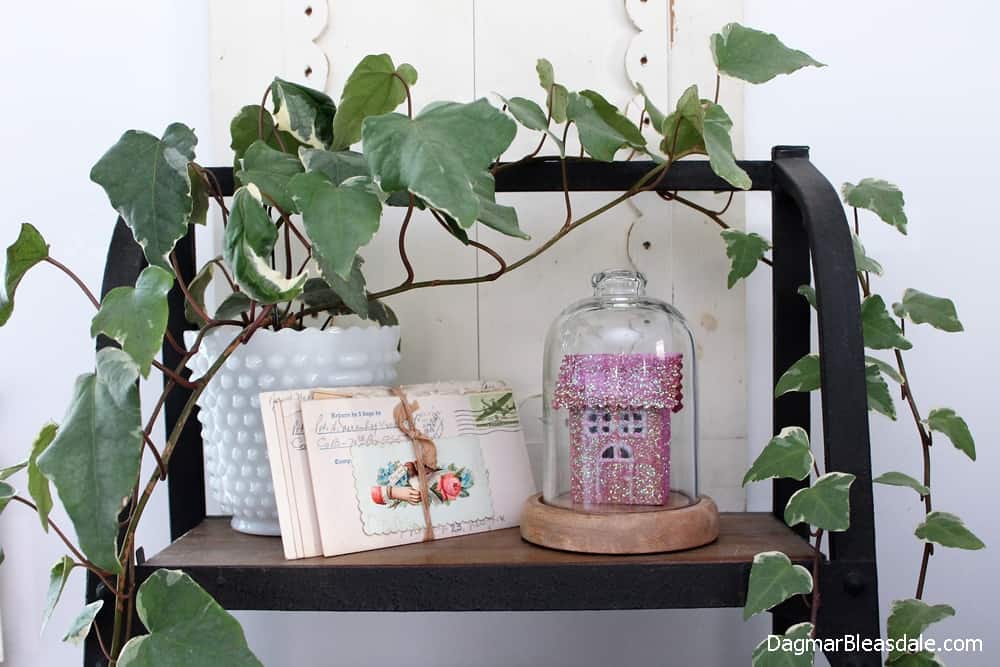
DIY Glitter House Made Out Of A Toothpaste Box
I wanted to find a way to make making them way easier than the glitter house tutorials I found on the Internet, and starting off with a toothpaste box is the way to go.
You know me, I’m a saver. I save thousands of dollars a year and know so many tricks, I even wrote an ebook about all my frugal living tricks called From Frugal to Fancy.
I don’t only try to save as much money as possible by couponing and researching the best deals — I’m also passionate about green living and keeping trash out of landfills.
I save all kinds of things I think might come in handy eventually to reuse, so this challenge to reuse something for a DIY project was right up my alley.
I wanted to make something out of the toothpaste box, and for some reason glitter houses came to mind.
They are also called Putz houses, and are often used for Christmas decor. I wanted to make some for spring decor, so I used pink glitter.
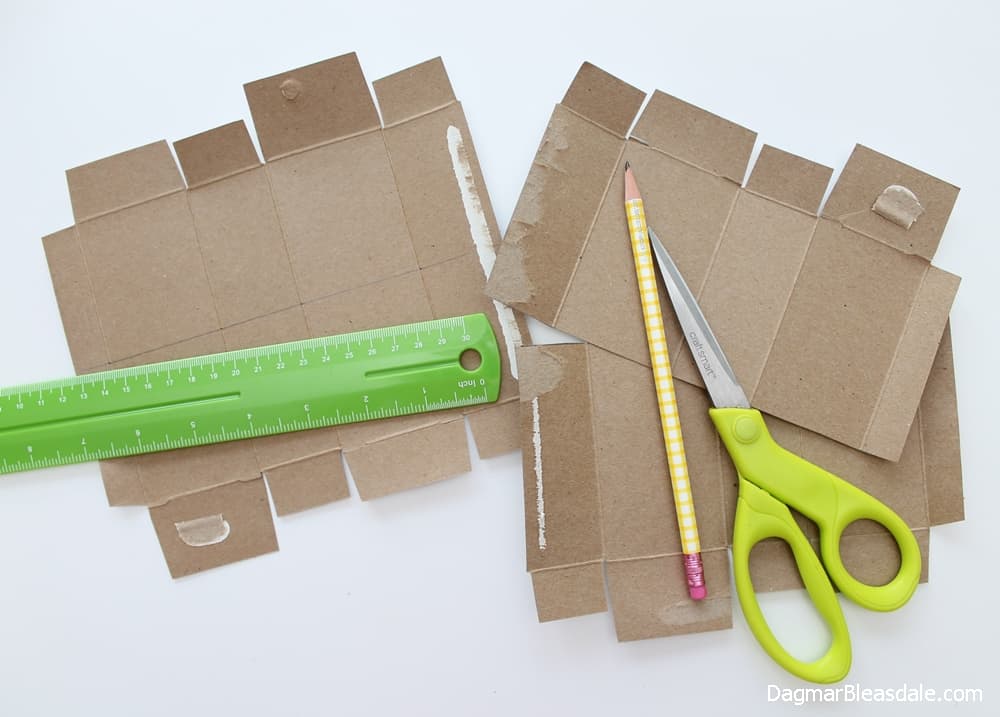
I’ve seen tutorial for them that involve having to print and cut out a plan, but I just cut the toothpaste box in half, turned it inside out, cut out some windows, and added glitter.
Here is the full tutorial. Since you are starting out with an upcycled box, it actually takes less than 10 minutes to make one glitter house.
Upcycled Toothpaste Box Glitter House
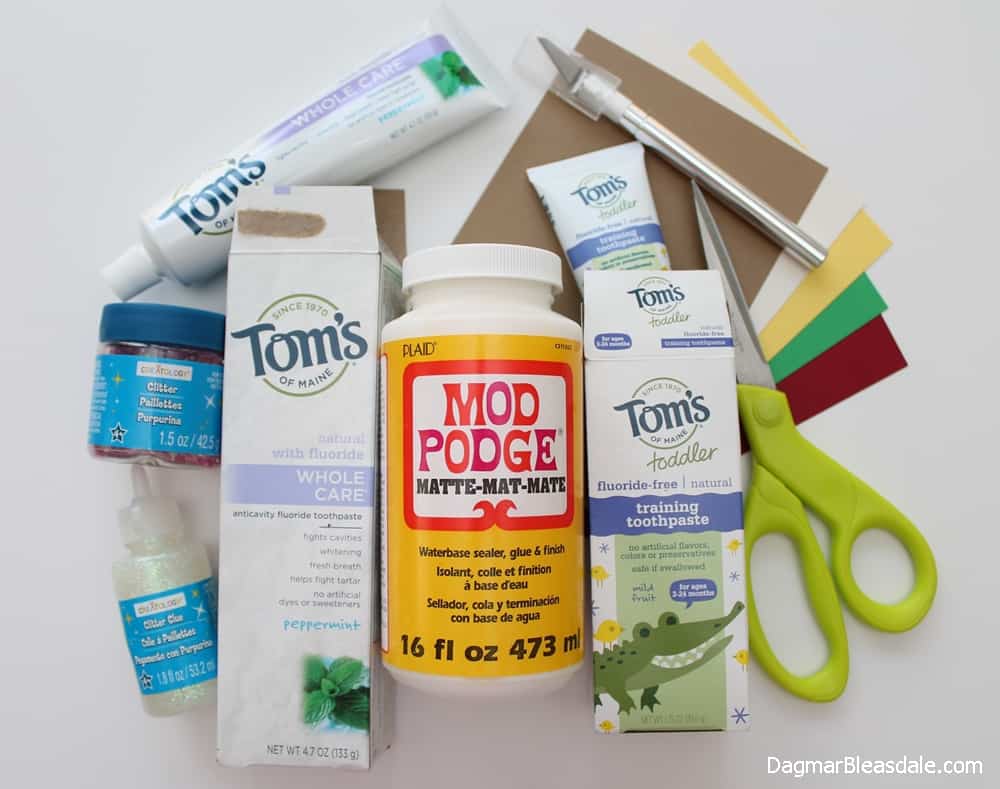
DIY Glitter House Supplies:
- toothpaste box
- Mod Podge glue or Elmer glue
- glitter
- X-Acto knife
- pencil
- scissors
- ruler
- optional: cardstock
- optional: glitter glue in an accent color
DIY Glitter House Tutorial:
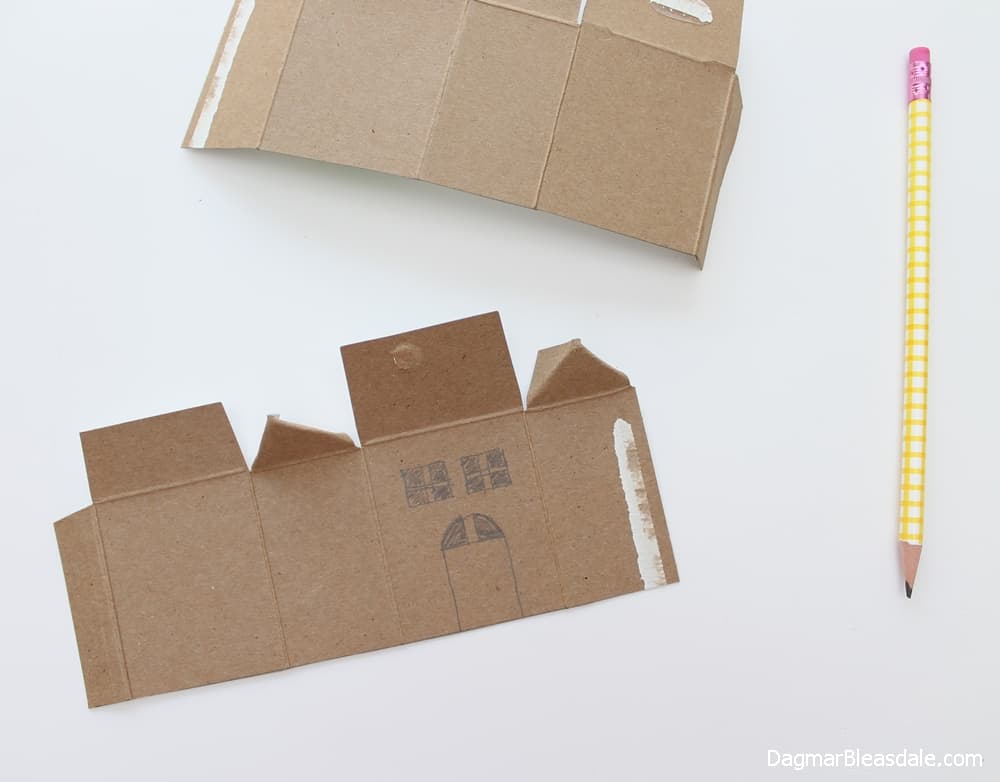
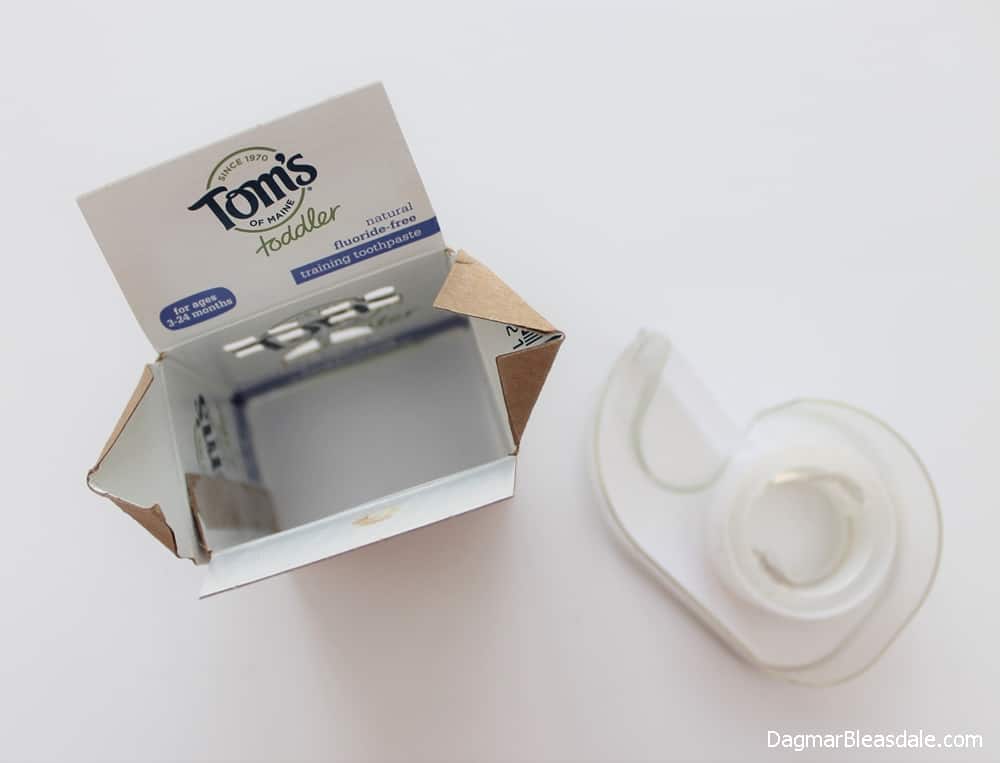
Open up the toothpaste box and cut it in half to make two houses.
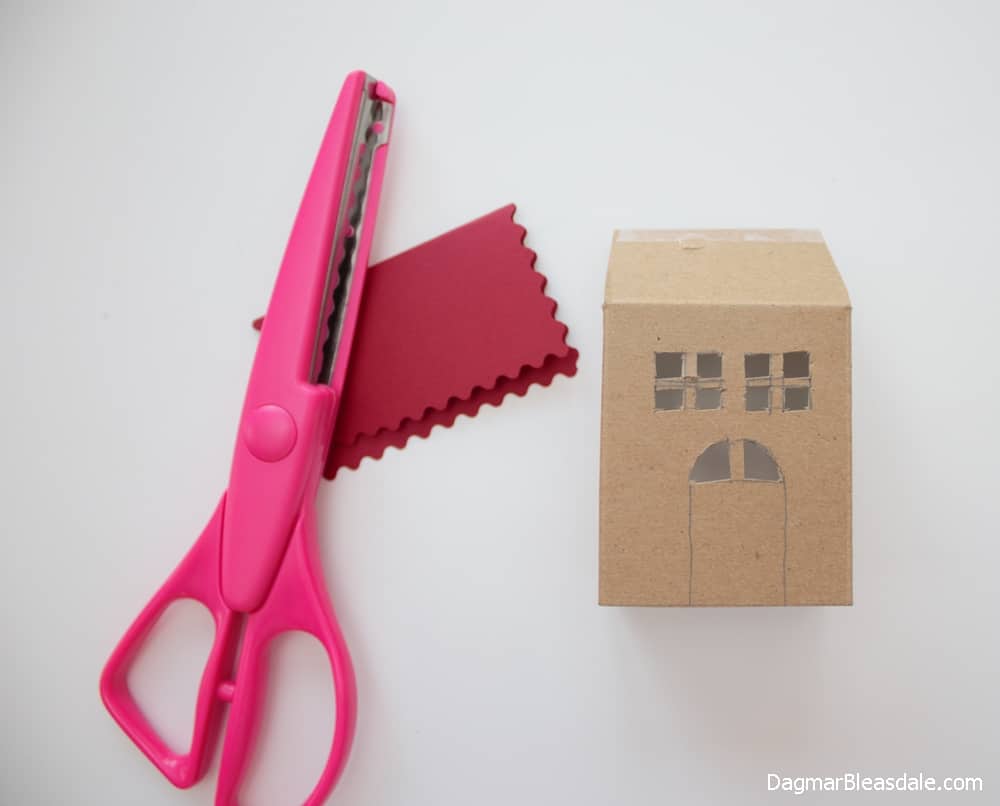
Draw windows on the cardboard. They don’t have to be perfect – I simply hand-drew them.
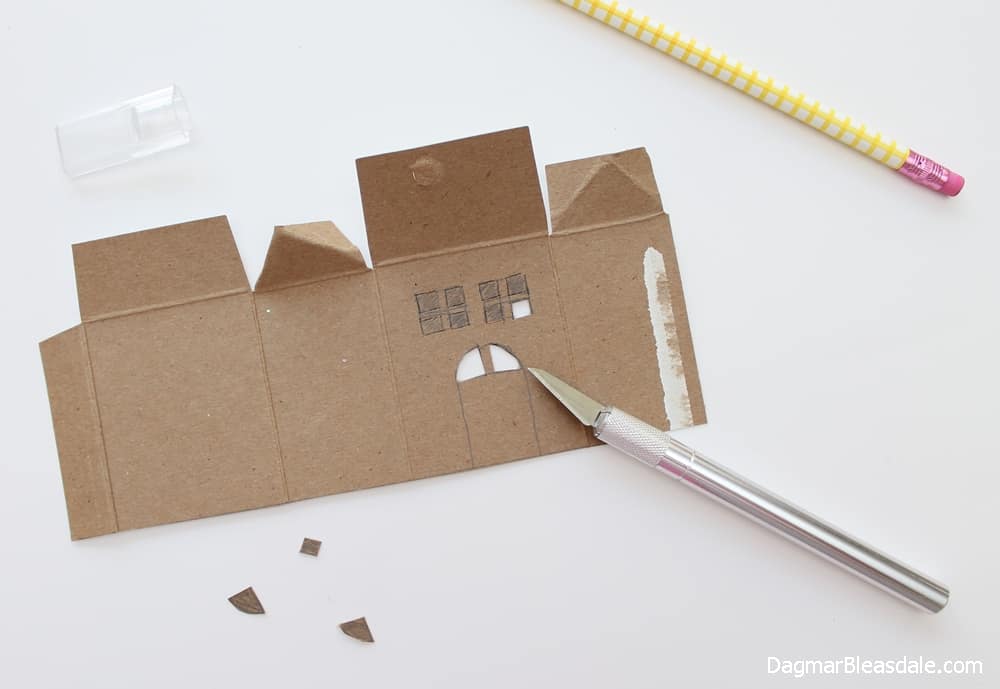
Cut out the windows with the X-Acto knife.
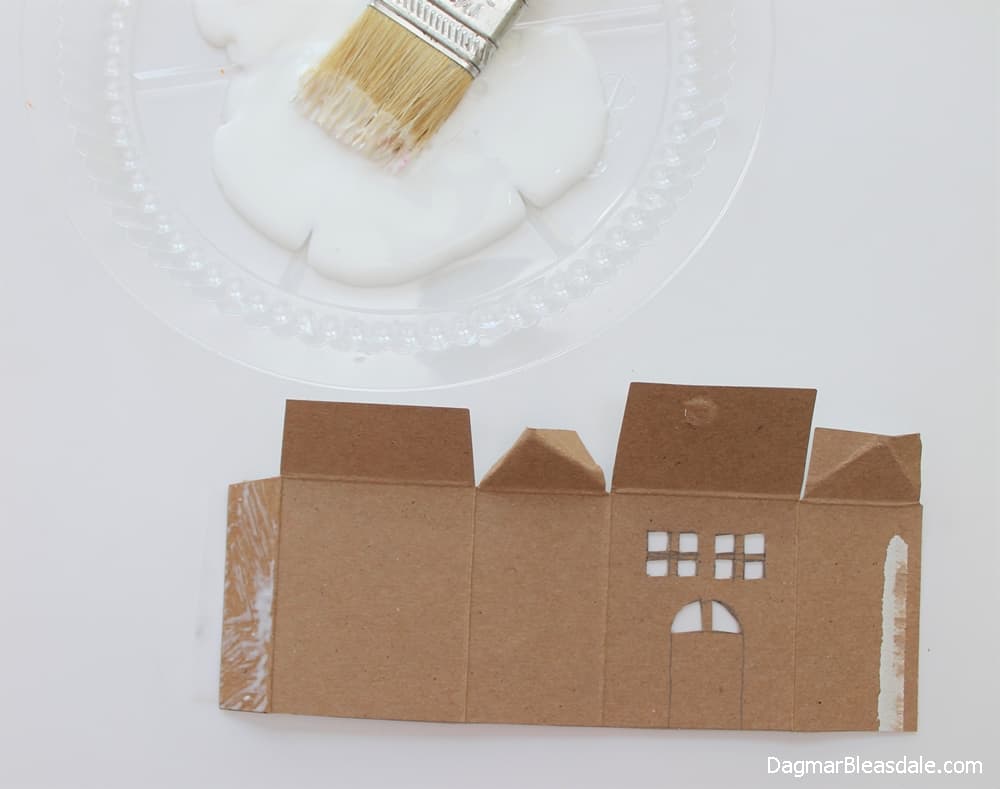
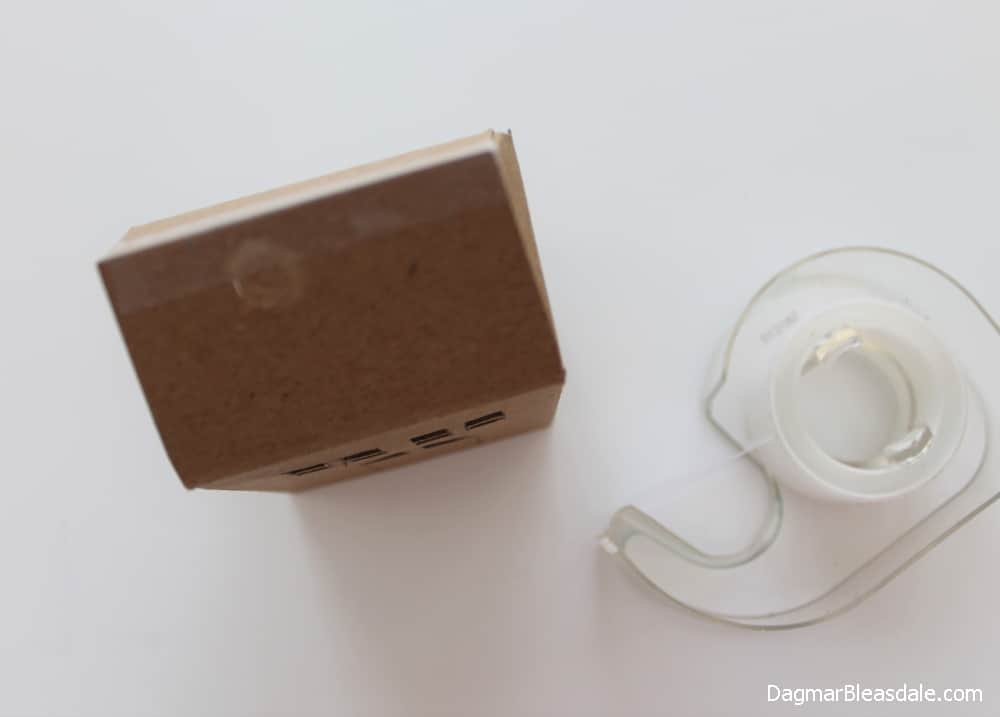
Bend the small tabs on the top into triangles – they will be pushed under the roof when the two larger tabs get taped together. Then put glue onto the side tab and glue the box back together – inside out. I also added a piece of tape on the inside to hold the box together.
As you can see, the writing of the toothpaste box shows through the windows, so I decided to cover it with white cardboard that I glued over it, but you don’t have to.
Now push the triangle tabs toward the middle of the box while you tape the top together to form the roof.
Cut a roof out of cardstock or reuse another box. Make it wider than the house so it hangs over the house a bit. I happened to have scissors with scalloped edges, but they are not necessary.
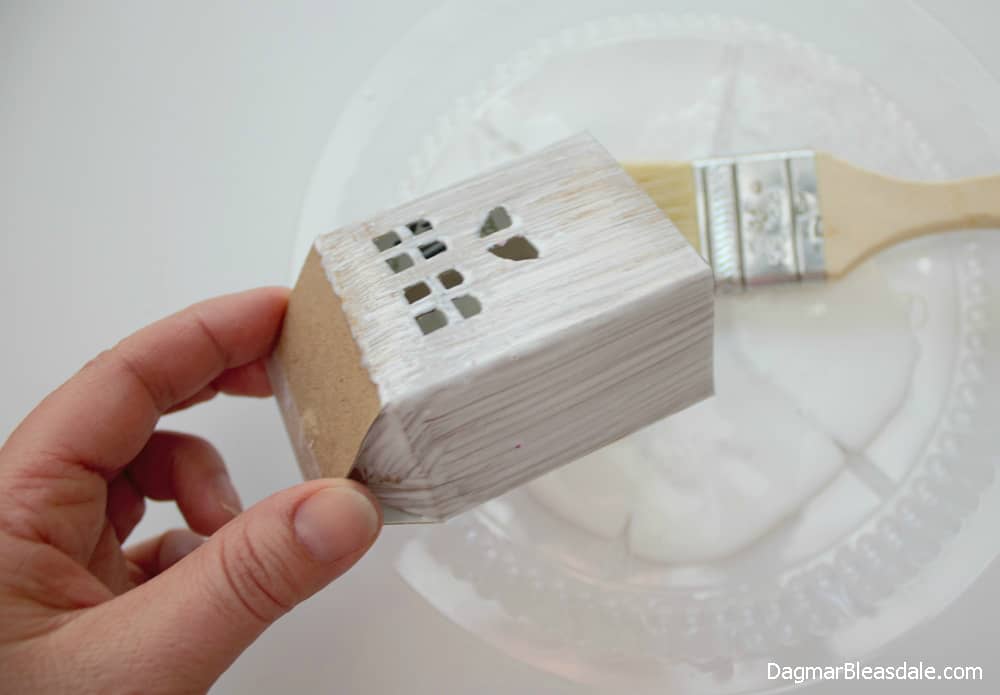
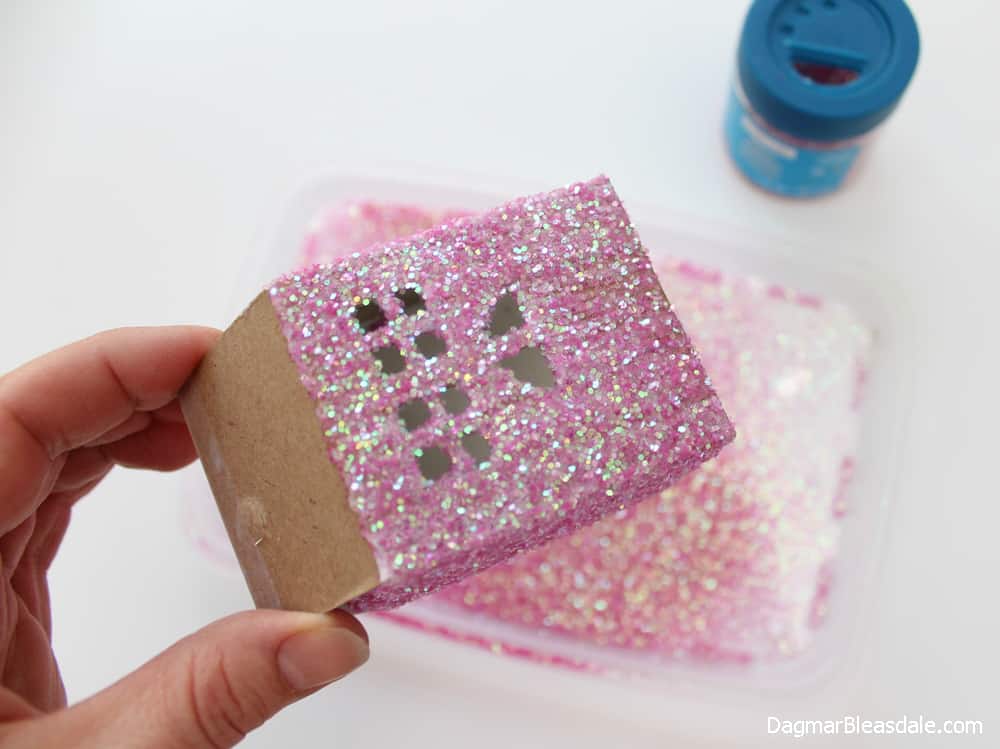
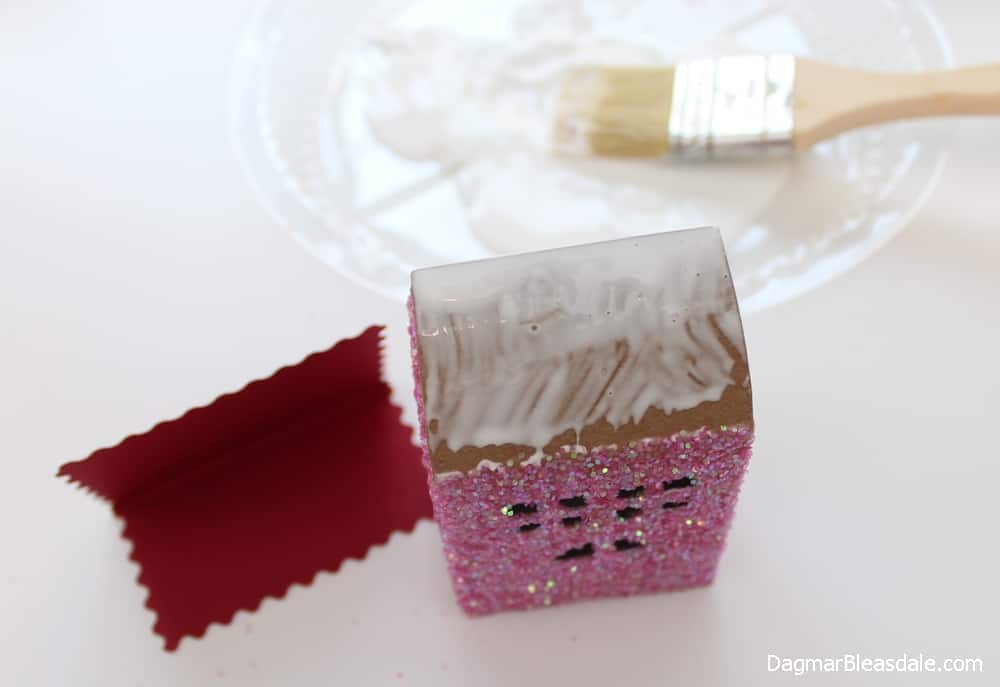
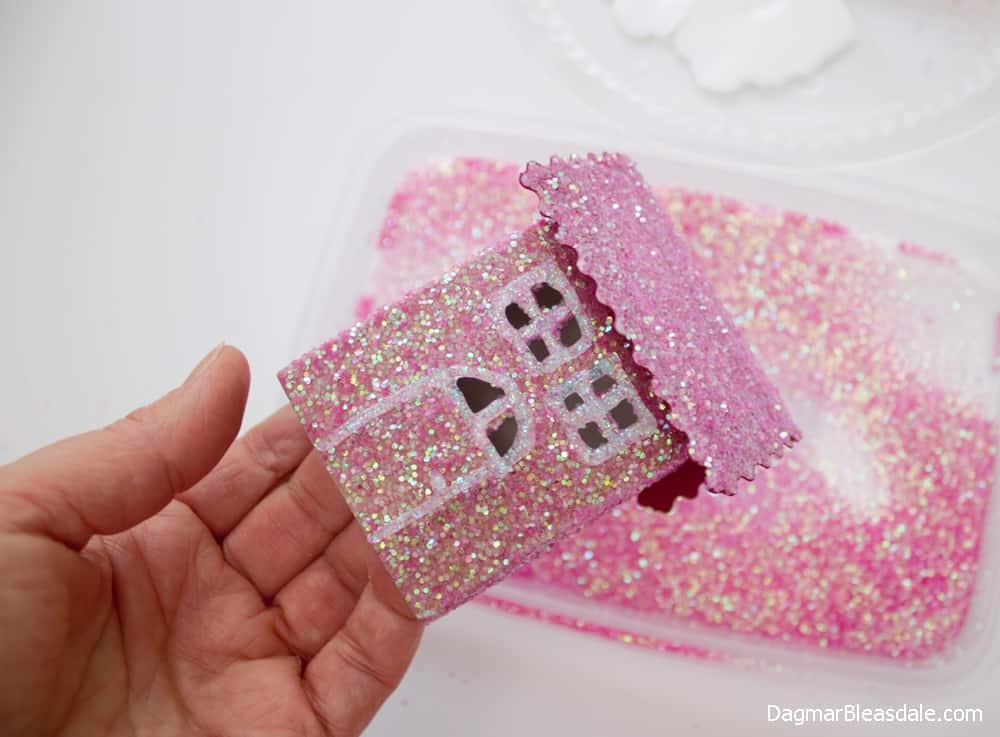
Next, hold the house by the roof, paint glue on the house, and add the glitter.
Shake off the excess glitter.
Glue the roof onto the house and let it dry for a minute.
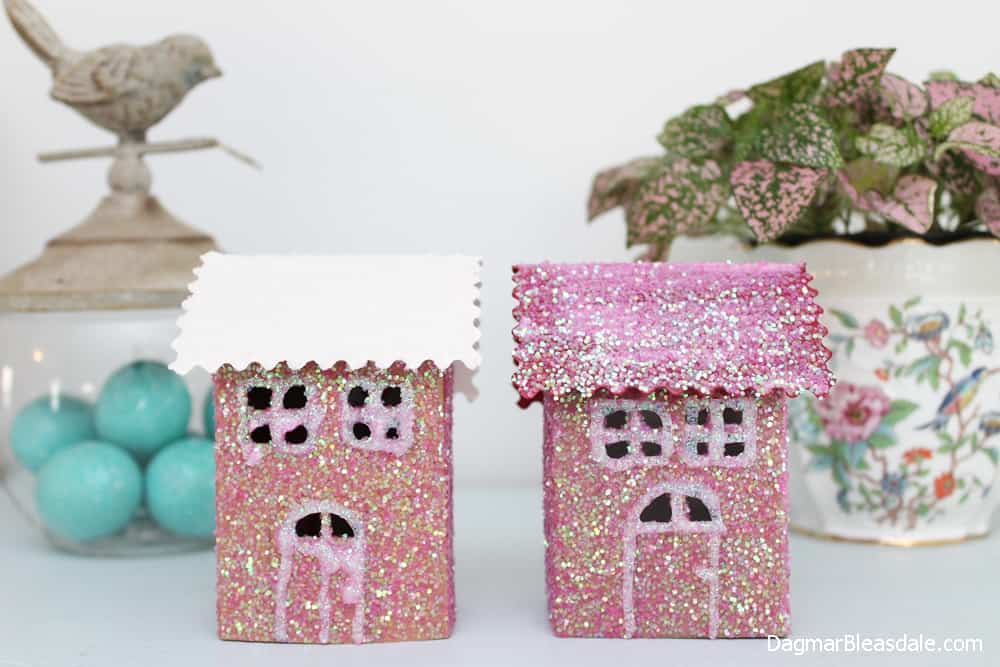
Finally, put glue over the roof and add glitter. Instead of cutting out little window frames and a door, which you could add, I made things easy by tracing the windows and door with white glitter glue.
And there you go: easy DIY glitter houses that started out as a toothpaste box!
We can all help to keep waste out of landfills and make the world a better place for future generations. Even a little DIY upcycling project helps out.
May I suggest a little upcycling project? You can make so many amazing things with reused packaging material.

