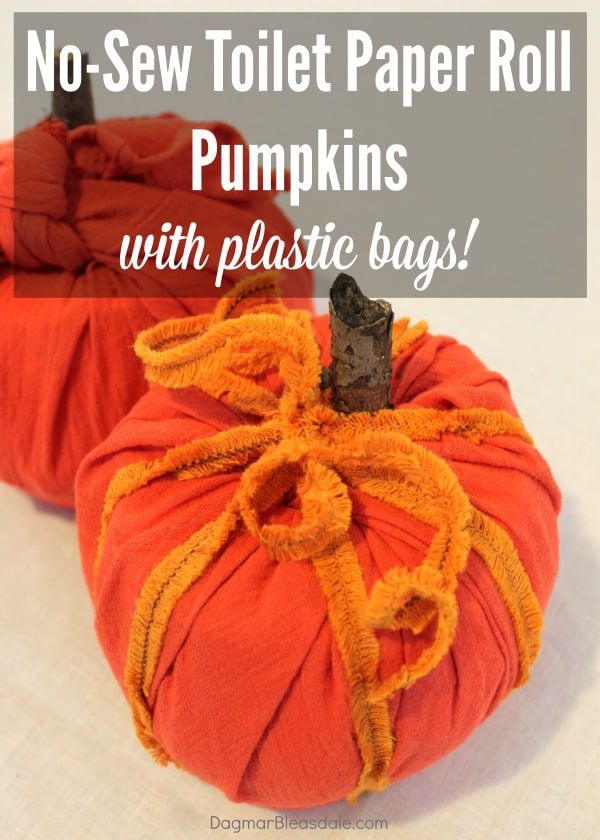
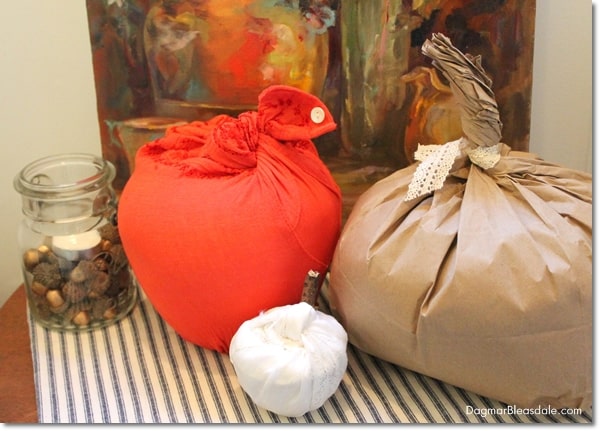
Make these toilet paper roll pumpkins in just minutes to decorate your home for fall! It doesn’t get any easier and inexpensive, just use some old T-shirt or fabric to wrap them with. Check out the tutorial.
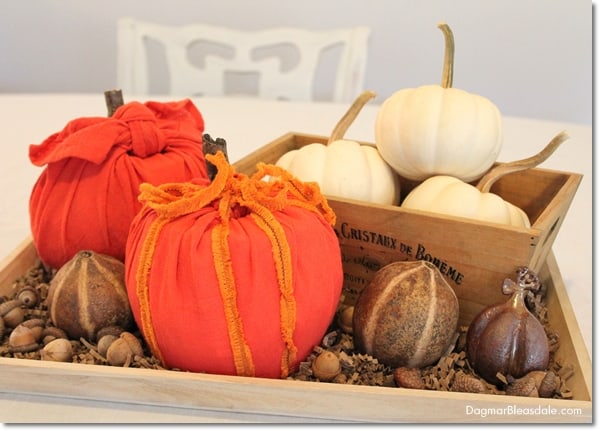
Toilet Paper Roll Pumpkin
Oh, yes — it’s time. The stores are filling up with fall decor, and there is a telling nip in the air here in New York: fall is just around the corner!
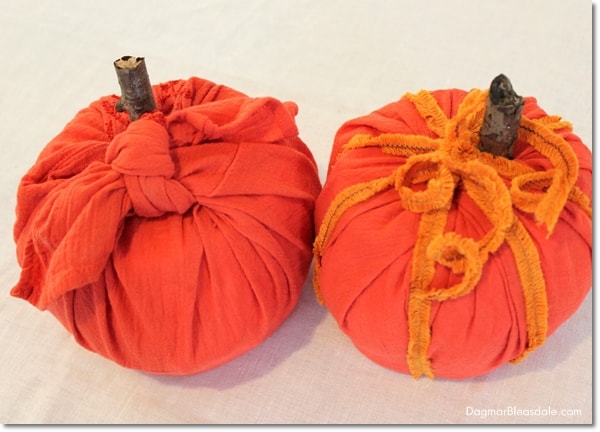
If you checked out my fall home tour, you saw these no-sew fabric pumpkins I made.
I promised you the easy tutorial for them.
Maybe you don’t have the budget to buy fall decor, or you love to make easy DIY projects — then this one is perfect for you!
These cute DIY pumpkins take five minutes to create, and they are made with toilet paper rolls!
As an Amazon Associate I earn from qualifying purchases.
A couple of days ago I wanted to make fabric pumpkins, but I don’t sew, so I had to come up with something easier.
I saw toilet paper roll pumpkins on Pinterest, but I didn’t like how boxy they looked.
The hole in the middle of the roll is perfect to just tuck in the fabric, but I wanted to add something to the width of the pumpkin to make it rounder.
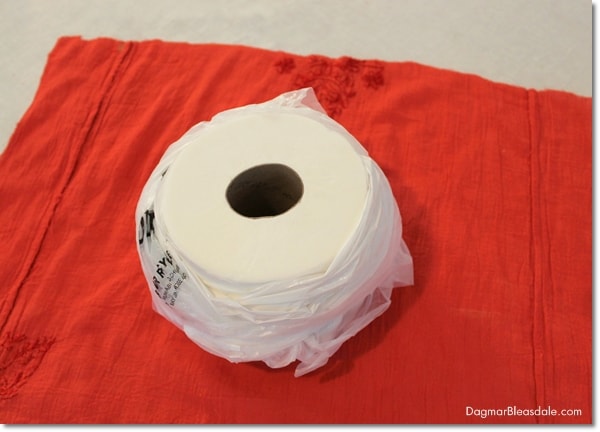
I decided to upcycle plastic bags, and that worked perfectly!
Toilet Paper Roll Pumpkin – No Sewing Needed
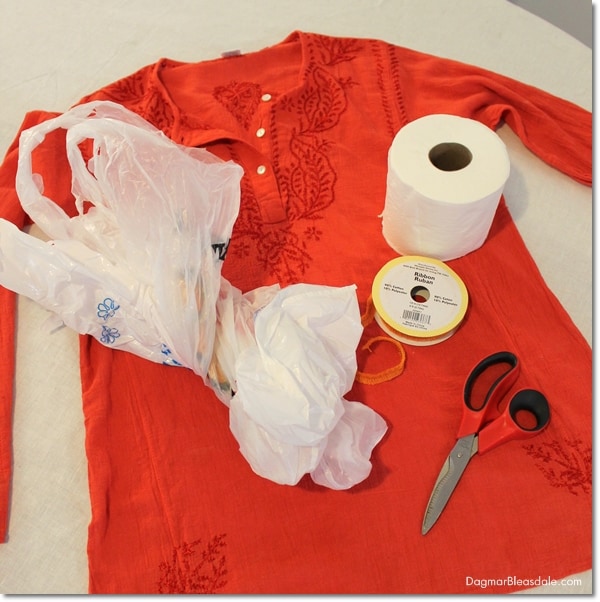
Toilet Paper Roll Pumpkins Supplies:
- toilet paper rolls
- orange fabric or burlap, or an upcycled T-shirt or blouse (adult size)
- ribbon or twine
- upcycle plastic bags or remnant fabric
- scissors
- tape
- stick or pine cone
Toilet Paper Roll Pumpkin Tutorial:
I didn’t buy anything for these pumpkins — I had everything I needed already at home.
I used a cotton blouse I was going to donate — the orange color was perfect for these pumpkins.
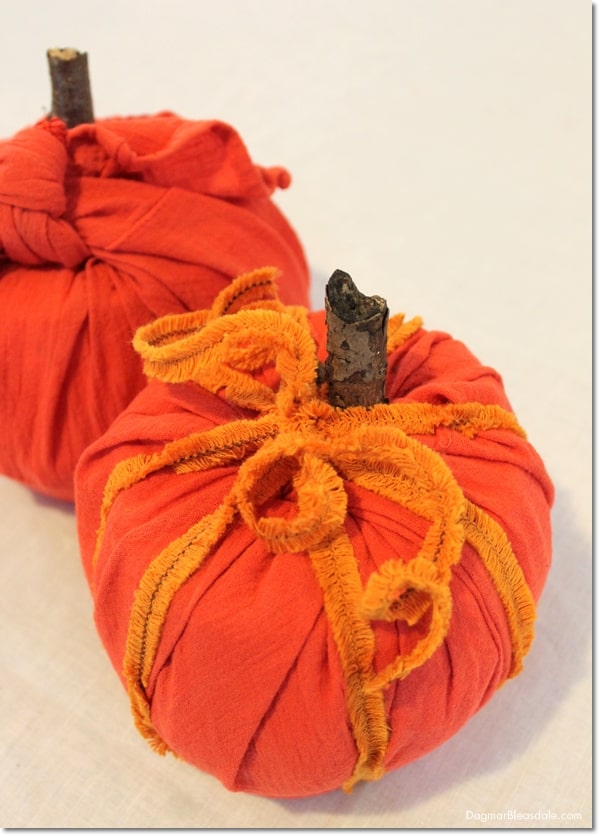
I planned to use twine to make the ridges of the pumpkin but happened to have orange fabric ribbon that worked even better.
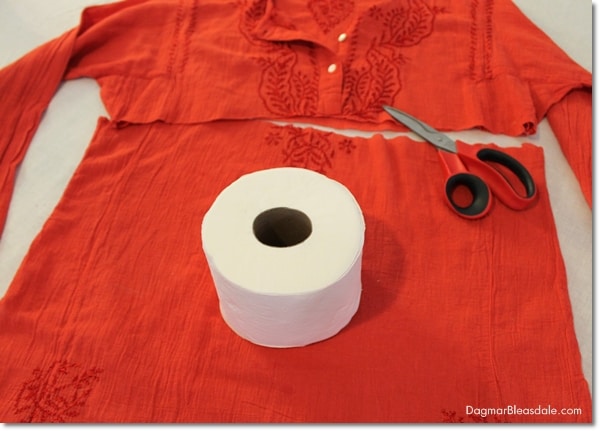
Cut the fabric. I just cut the top off the blouse, and then cut it into two pieces (the front and the back).
If you are using remnant fabric or burlap, just make sure you cut out enough fabric that will cover the toilet paper roll, plus more to push into the center.
Wrap a few plastic bags around the toilet paper roll and secure the ends with tape.
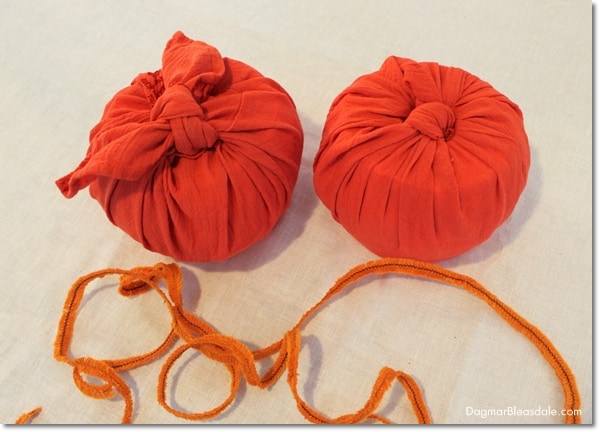
You could cut your fabric into a circle, but I found that the square size worked nicely — it gave me two corners I could make a knot with.
For the first pumpkin, that created “leaves” for the pumpkin, and for the second one, it gave me two corners to tuck into the inside of the toilet paper roll.
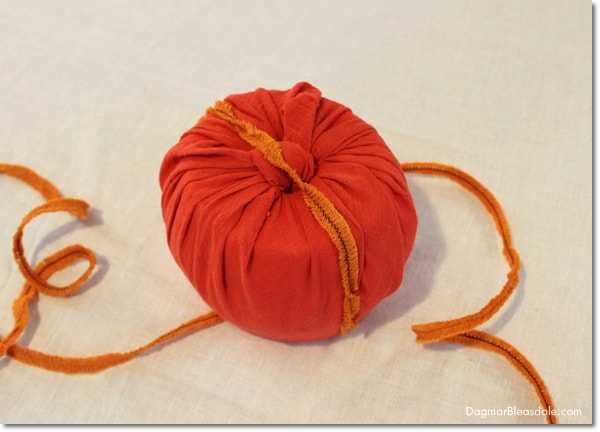
Then, wrap the ribbon or twine around your pumpkin — as if you were wrapping a gift.
Find the center of the ribbon and put it on the top of the pumpkin.
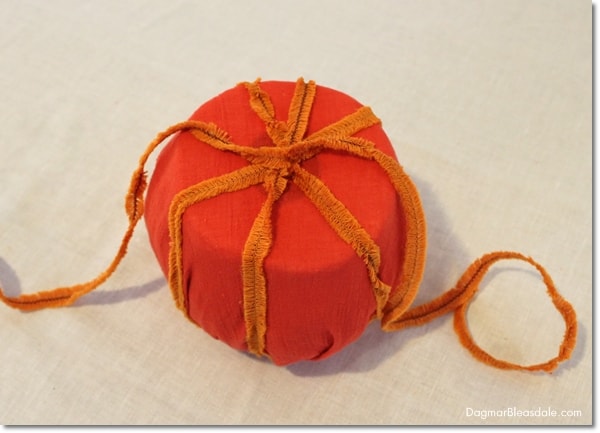
Then wrap both ends around the roll, cross them on the bottom, and wrap them again to the top.
Cross the ribbon on the top again, then on the bottom again, and finally secure the ends on the top with a knot to create eight sections on the pumpkin.
Finally, find a short stick and push it into the center of the pumpkin.
Didn’t these turn out so cute? I love how easy these pumpkins are to make — and that they are made with upcycled plastic bags.
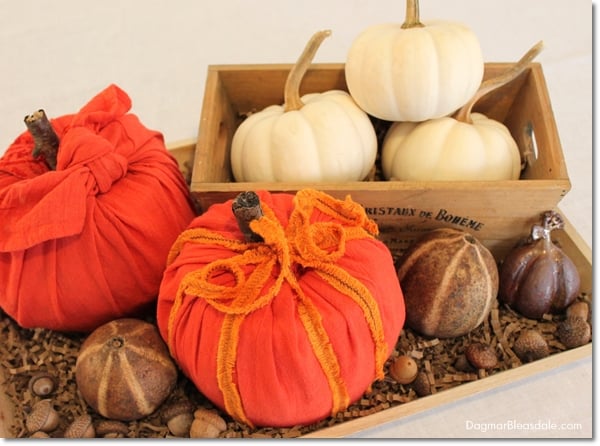
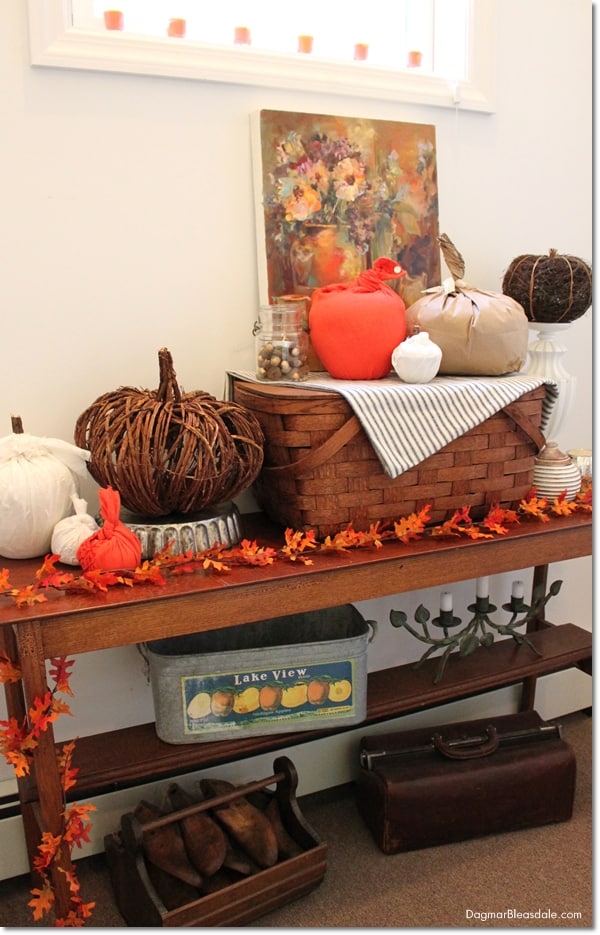
I loved making these so much, I created many more DIY pumpkins that evening — I covered ceramic apples I had with the left-over fabric from the blouse and a white vintage tablecloth, and made some with vintage Jello molds.
For those, I just knotted the fabric on the top and used one end as the “stem,” or I tucked both ends in and used a little stick for the stem.
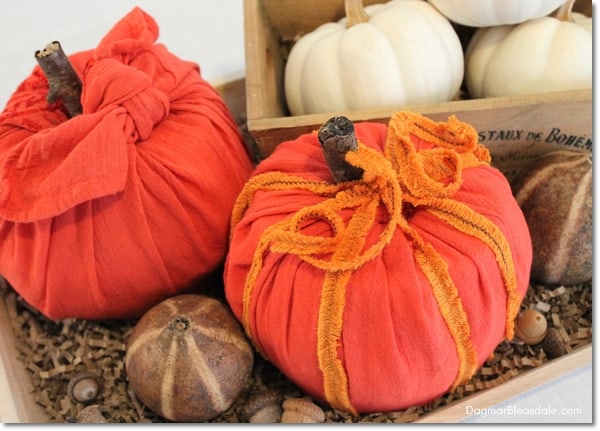
I decorated a whole table with them:
How adorable is it that the blouse corner with the button ended up being the “leaf” of this orange pumpkin?
If you are reusing clothing for your pumpkins, just have fun and experiment with the fabric to create the shape and look you want.
Think of what you have at home that is kind of round and has a hole in the middle you can tuck the fabric into — that way you don’t have to sew to make fabric pumpkins.
I could think of many more things that we have that would work for more pumpkins — like jars, upcycled cans, and candle holders.
If they are too skinny initially, like a can, simply add a ton of plastic bags to create round pumpkins.
My brown paper bag pumpkins are the absolute easiest DIY pumpkins you could ever make: simply stuff paper bags with plastic bags and twist the top of the bag into a stem – done!
Are you inspired to make your own no-sew toilet paper roll pumpkin? It’s a super-easy project you could also do with your kids for the fall.
Pin this for later!
You would also enjoy these fall posts:

