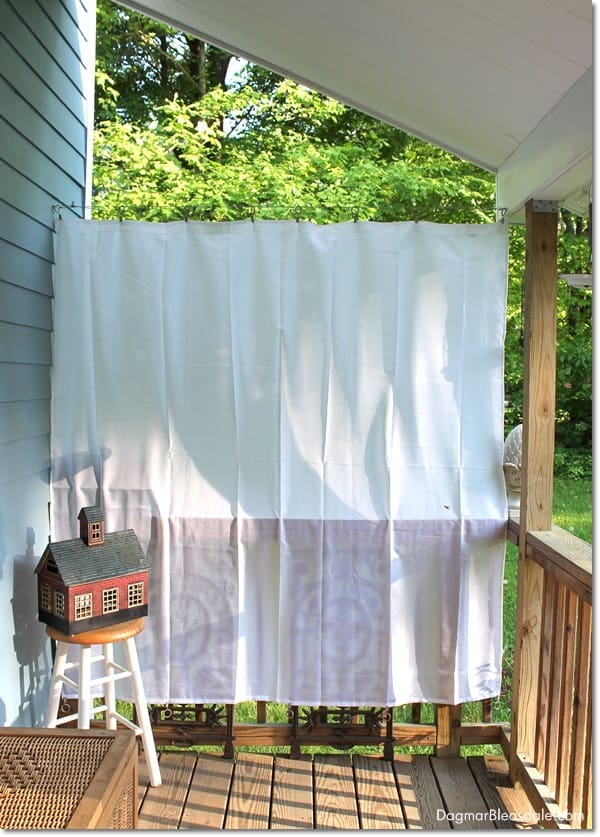
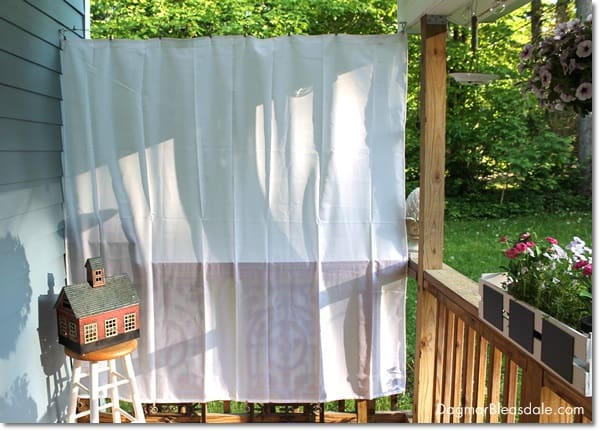
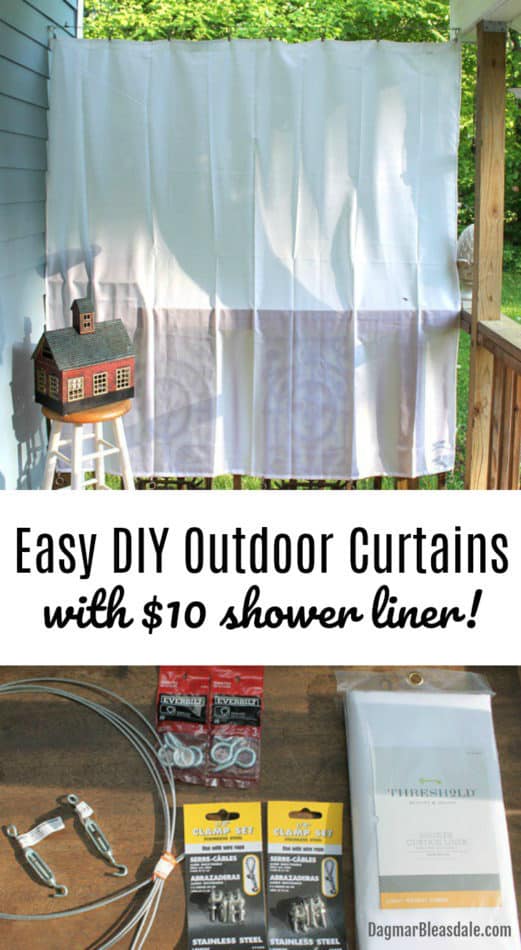
DIY Porch curtains made out of shower curtain liners are a super easy way to keep rain or sun off your porch or patio! In this post I’ll show you how I easily installed porch curtains on our porch.

I added these curtains to the Blue Cottage a few years ago, before I painted all the railing white, and they are still one of my favorite practical DIY project I’ve done for our house.
I’ve since replaced them twice because they were dirty and they are so inexpensive, it makes more sense to add new ones and reuse the old one to cover the floor for paint projects, but you could also just wash the curtains and rehang them.
After writing the blog post about stunning cottage gardens, I was inspired to work on our own cottage.
DIY Porch Curtains With Shower Liners
I did work on our garden a bit, but I’m even more excited to show you that I finished another project on our porch: we added DIY porch curtains to it!
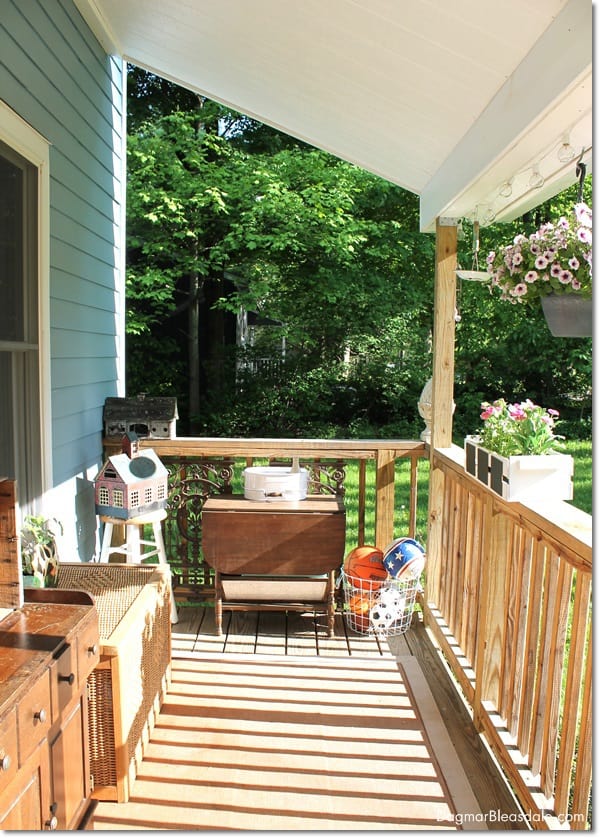
I love our porch. It’s one of my favorite features of our Blue Cottage, but since we moved in almost two years ago, we haven’t really been able to use it much at all.
As an Amazon Associate I earn from qualifying purchases.
There is always so much stuff on the porch because we are short on space. We don’t have a garage, a shed, or a basement, so we usually have a lot of extra stuff on our porch that really doesn’t belong there.
And every time it rains, I have to move the wood furniture to the center of the porch and cover them with plastic tarps or they’ll get ruined.
That not only doesn’t look nice, it’s also just annoying.
I’m not able to enjoy the porch like I would like because I’m constantly moving things.
So I came up with a plan to add curtains on the sides of the porch that I can pull out when it’s raining. This way, I can leave the furniture in one spot.
I got busy searching for DIY porch curtains on Pinterest and found a lot of posts — but they all featured curtains made out of drop cloth or burlap or bed sheets.
They are inexpensive and look pretty, but after reading several posts, I learned that those porch curtains get:
- very heavy from the rain
- need to be treated with water repellent spray
- get moldy after a while
Hmm.
Then it hit me: why not use fabric shower curtain liners?
- they would keep the rain off the furniture
- they don’t cost much
- they give you privacy but let the light through
- and they won’t get heavy from the rain
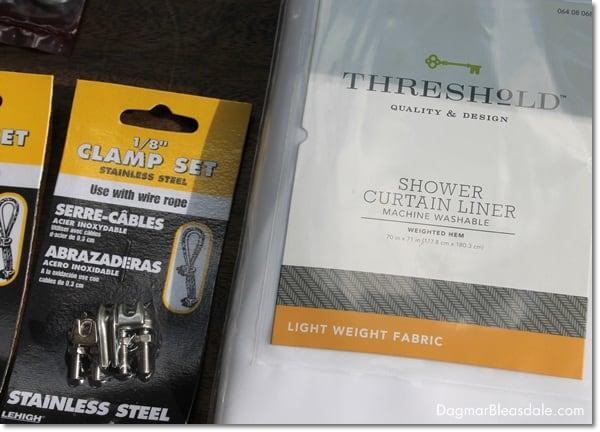
I found a $10 shower curtains liners that feel like fabric and are even machine washable!
You can also find them on Amazon.
I also researched the best way to hang the shower curtain liner.
I could have used a rod, or piping, and add eyelets and many hooks to our porch, but I found the easiest way to hang these DIY porch curtains.
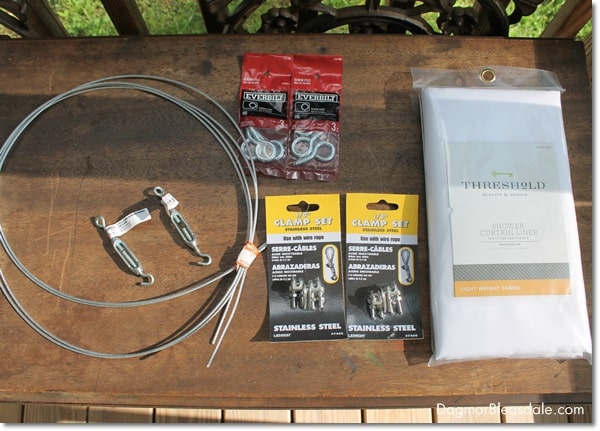
DIY Porch Curtain Supplies:
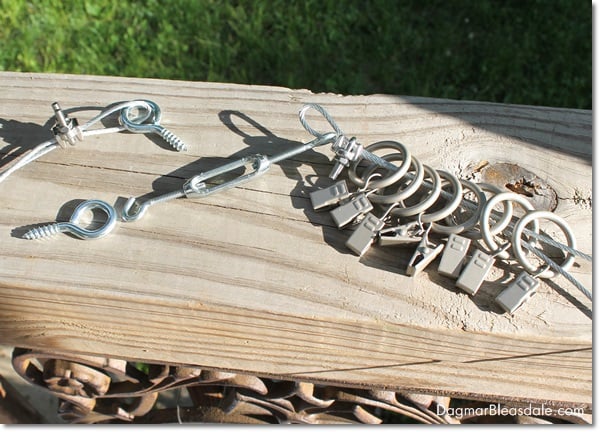
- 2 thin wire ropes
- 2 turnbuckles
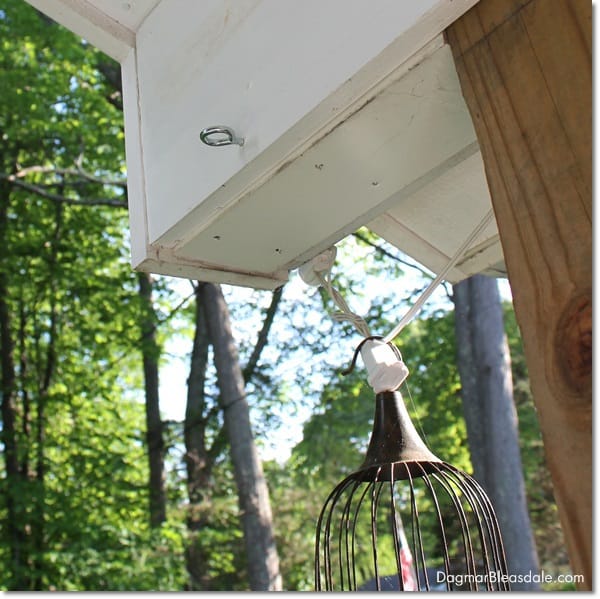
- 4 screw eyes or C hooks
- 2 1/8″ wire clamp set
- 2 sets of curtain clips
- drill
- wire cutter
All of the hardware only costs about $15 for both curtains.
This is seriously the easiest tutorial to hang DIY porch curtains — much faster and cheaper than any other tutorial I’ve found!
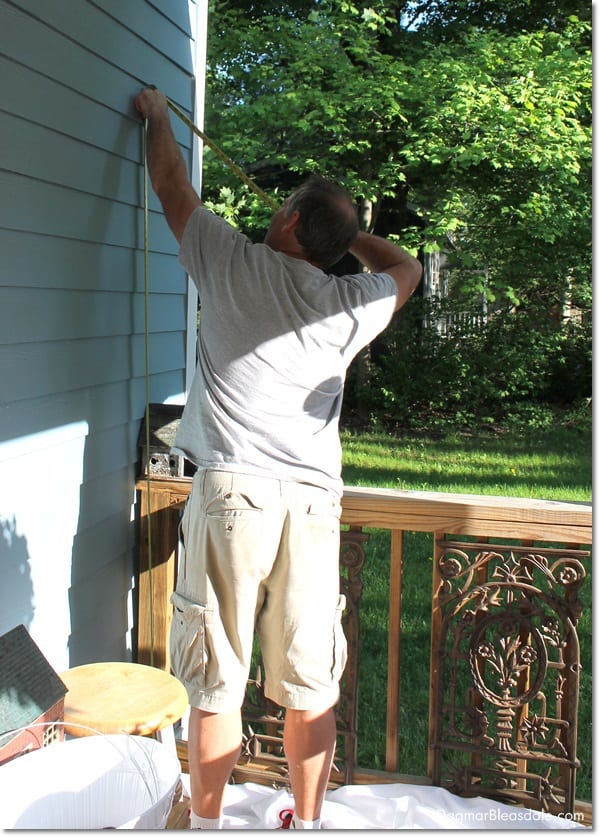
Don helped me with drilling the holes for the hooks while I put together all the parts, which only took a few minutes.
DIY Porch Curtains Tutorial
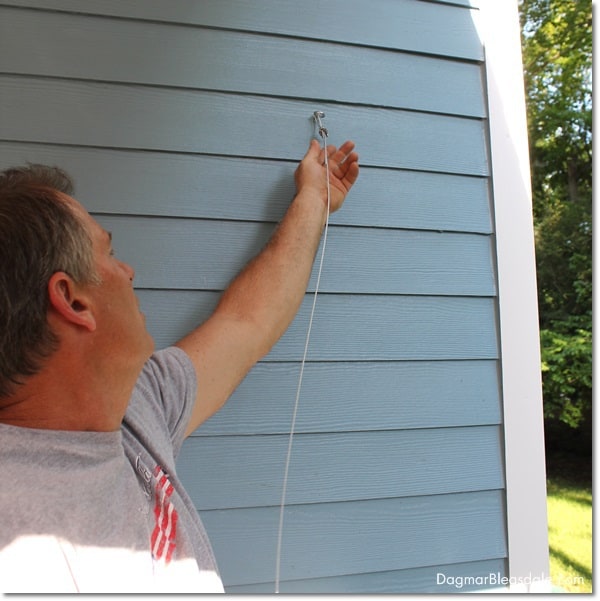
1. Decide at what height you want to anchor the rope and mark two level holes for the hooks on either side of the porch.
2. Pre-drill the two holes for the screw eyes and screw in one on one side.
3. Put one end of the wire through one screw eye, make a loop, and secure it with a wire clamp.
4. Put the other end of the wire though the turnbuckle, make a loop, and secure it with a wire clamp.
5. Then slide the curtain clip rings over one end of the wire. This is what your end product should look like before you hang it.
I decided to use 8 clips, but then nice thing about using the turnbuckle is that you can easily take it off from the screw eye and add more clips to the wire if needed.
6. Now screw in the screw eye with the wire attached to it on the other side.
7. Hook the turnbuckle into the screw eye on the other side.
8. Tighten the turnbuckle until the cable is rigid.
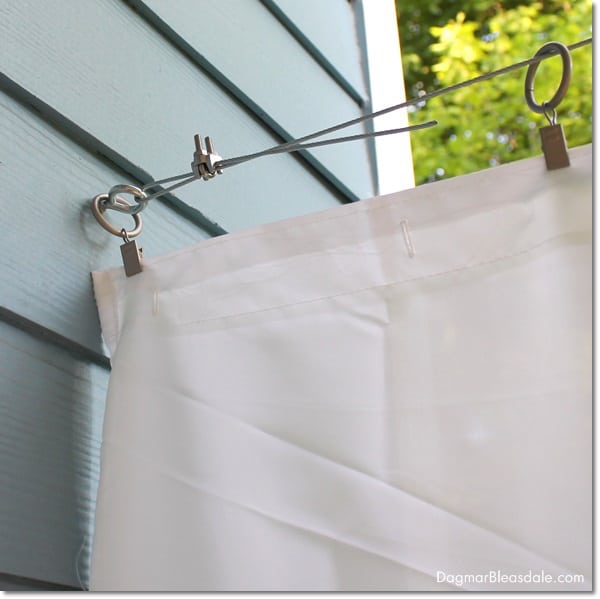
9. Now you’re ready to attach the shower curtain liner to the clips. One liner was perfect for our porch, but if yours is larger, you might want to add two liners on each side, and add another wire clamp to make sure the wire is secured for the extra weight.
There you go, my DIY porch curtains that cost less that $20 each and only took half an hour to put together!
As you can see, the liner doesn’t reach the floor, but that doesn’t bother me for now. I could add another piece of curtain liner with fabric glue later, but I think it will keep enough rain from the furniture like this. Update: I bought a longer set once these curtains needed to be replaced.
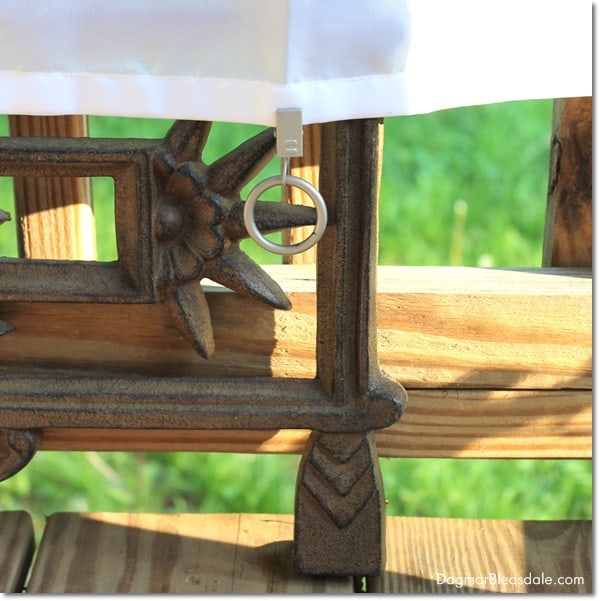
8. Add curtain ring clips to the bottom of the shower curtain liner to weigh it down so it doesn’t fly around when it’s windy.
You could also add something else to the rings that is heavier, or you could hang the whole liner upside down so that you can use the ring holes in the liner to attach something heavy with strings.
I’m going to buy more of these clips to weigh down the liner. If I find that the clips are not strong enough to hold the liner when it’s wet, I’m going to switch them with shower curtain rings and use the liner holes at the top of the liner.
I want to see how this setup works out first because I like how easy it is to detach the whole liner from the clips.
I’m really happy with the look of this, and that it not only keep the rain off the porch but gives us added privacy if we want it.
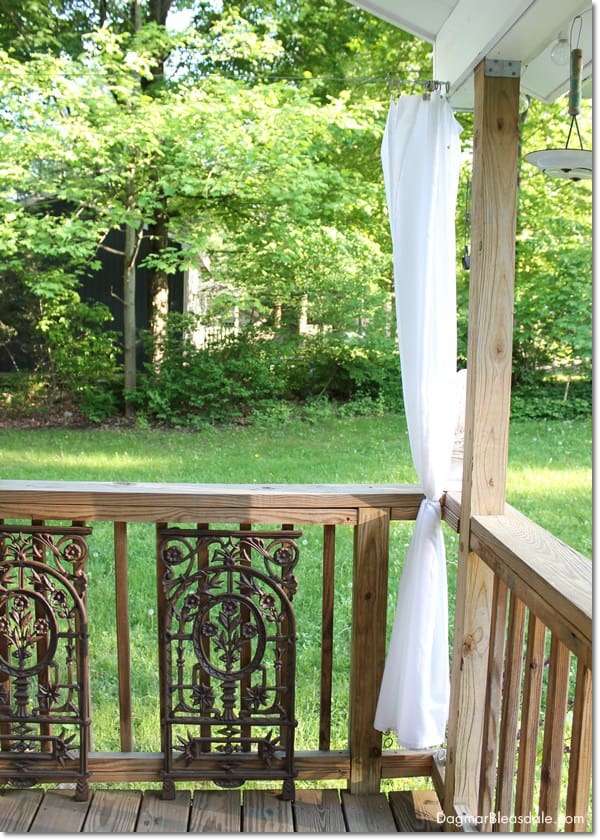
While not in use, the curtain looks like this, or you could take it down and just put it up when it’s about to rain.
What do you think of my cheap porch curtains?
Pin this for later!
DIY Porch Curtains With Shower Liner
You would also enjoy:

