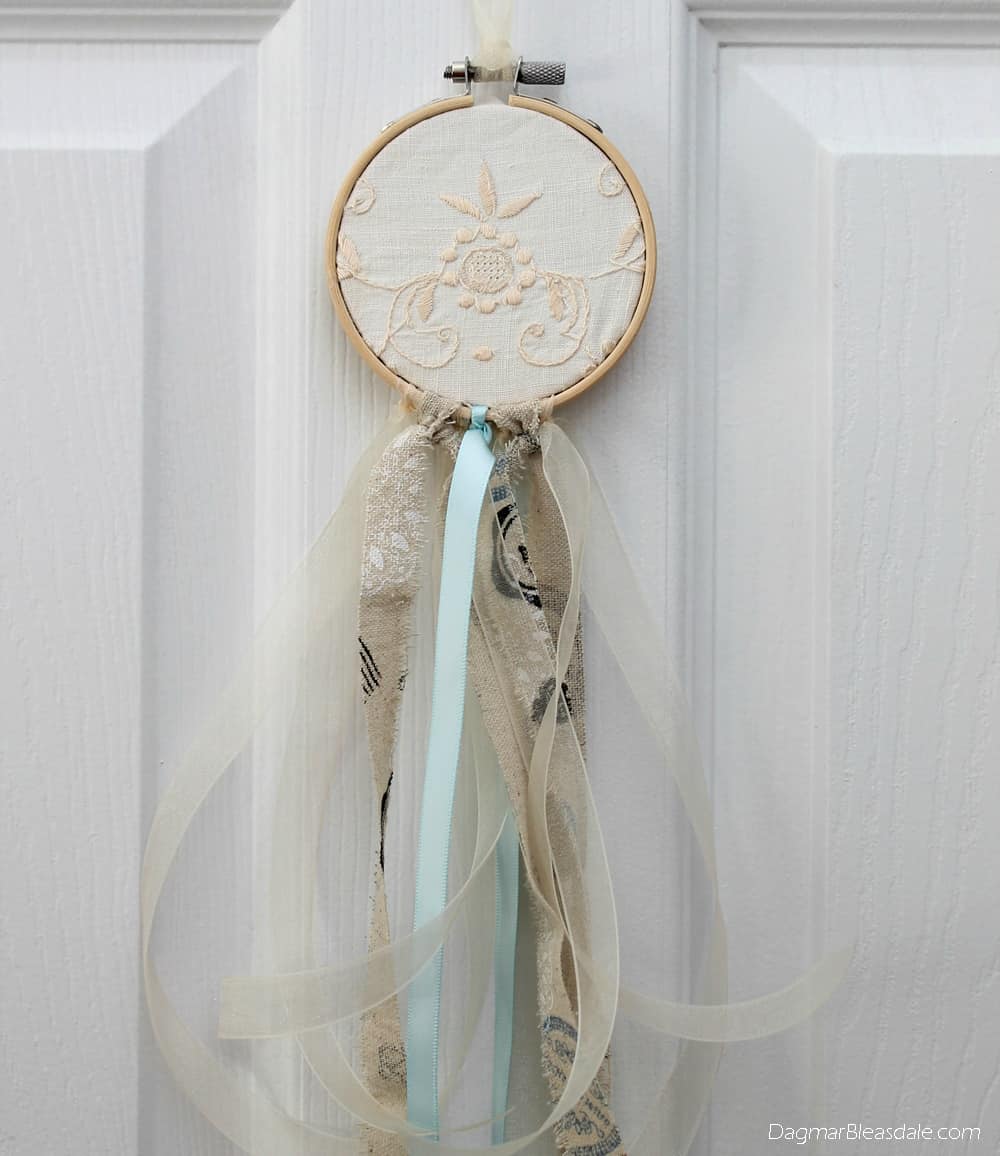
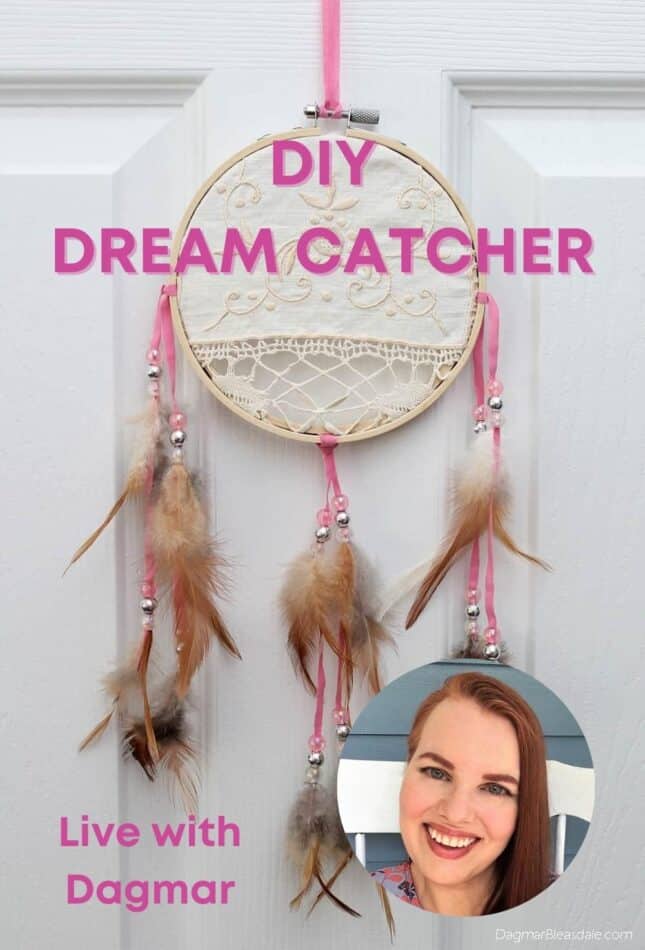
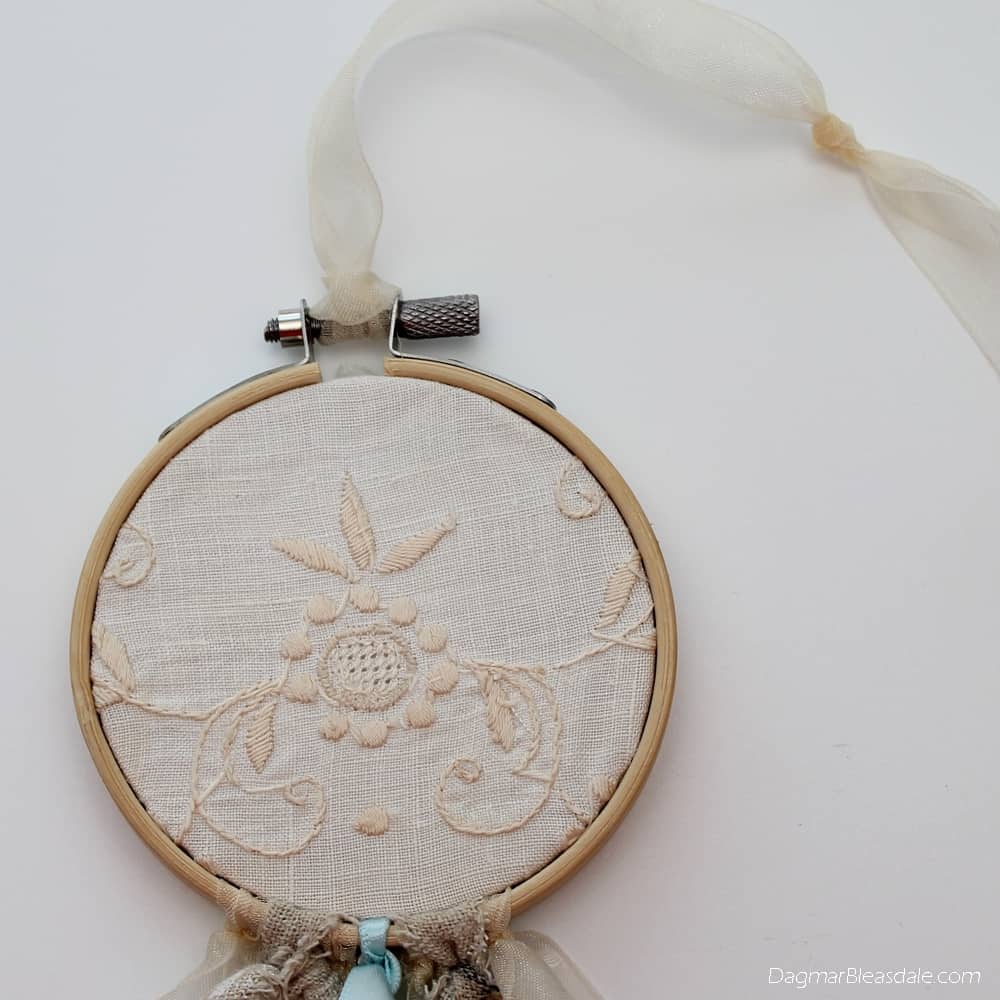
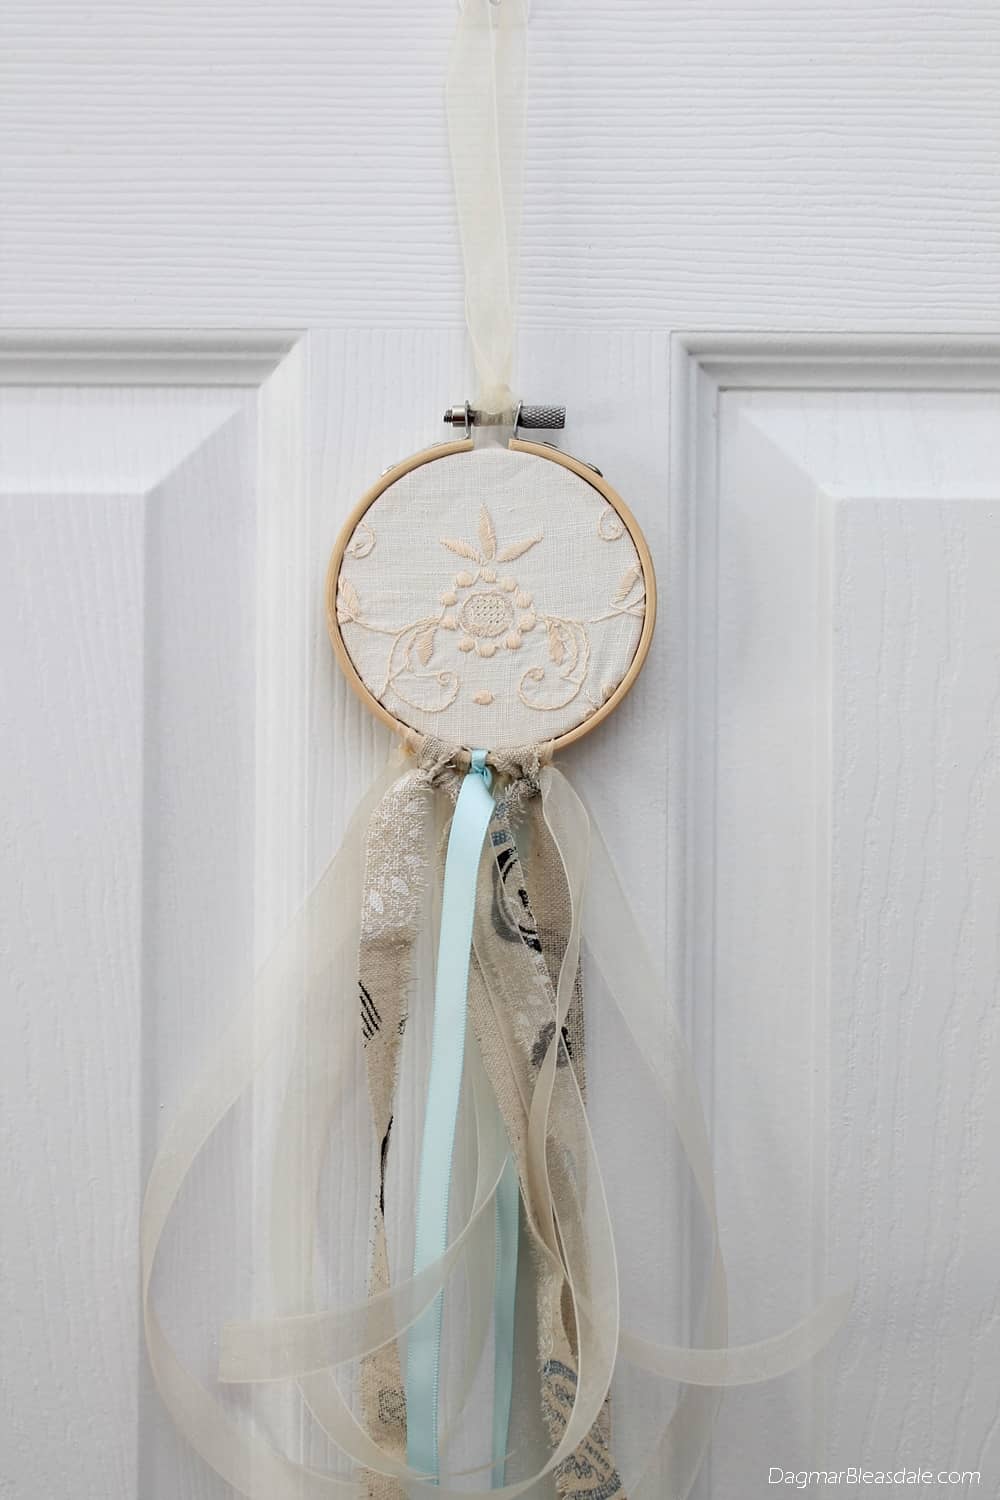
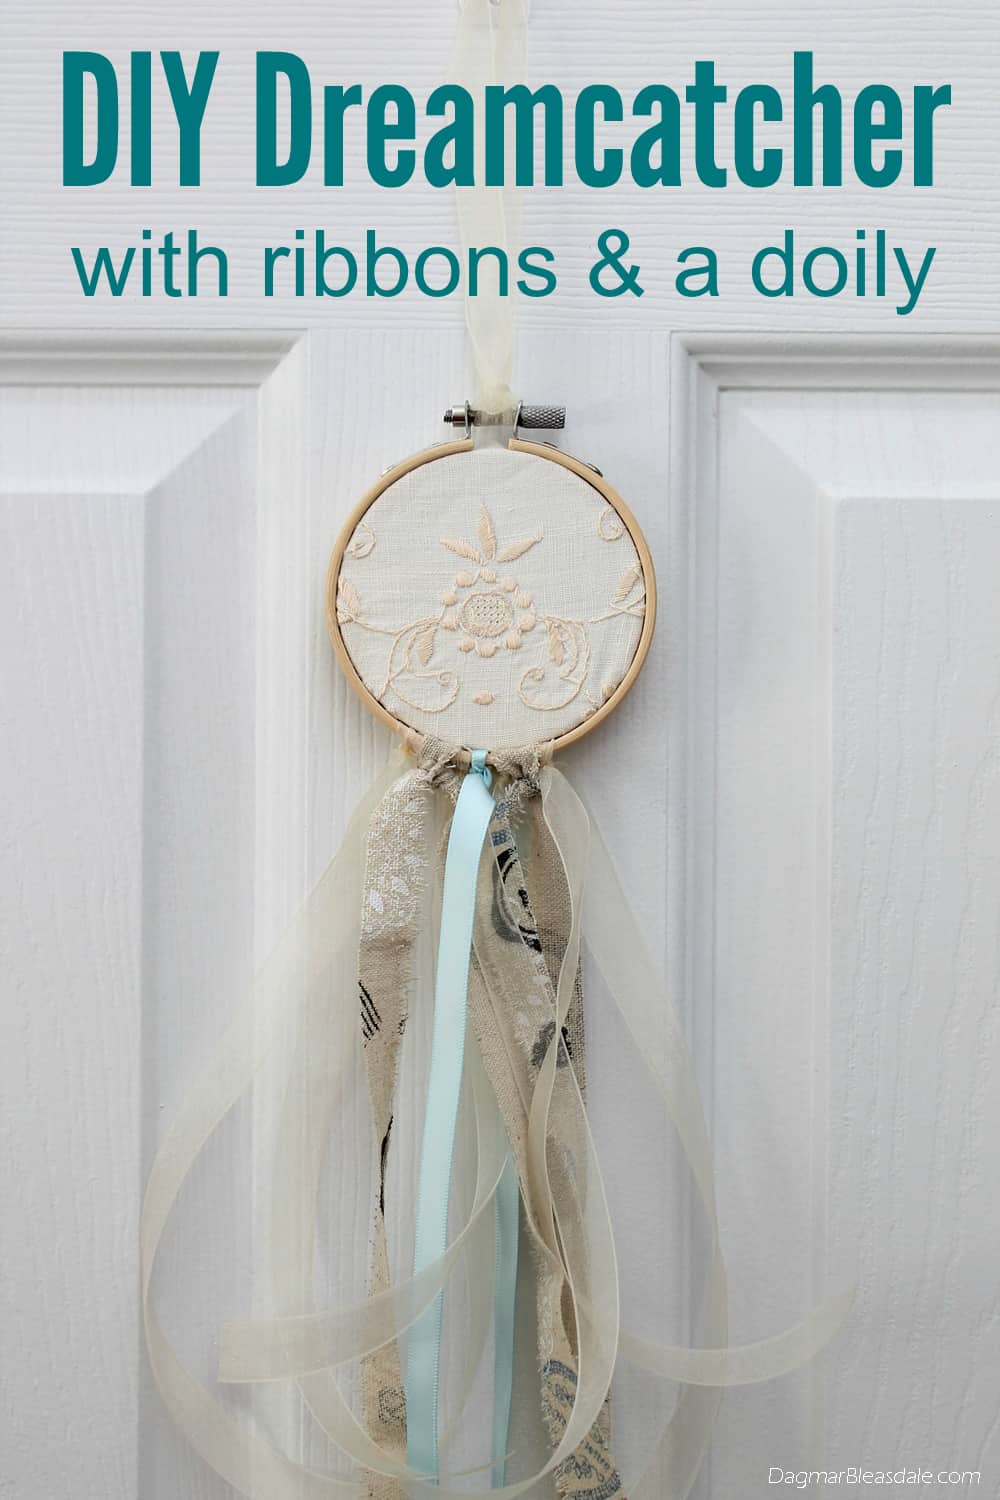
What can you make with an embroidery hoop, ribbons, and a doily or piece of lace? A beautiful, unique DIY dreamcatcher!
DIY Dreamcatcher
Since I have plenty of all of these supplies at home, I made some unique dreamcatchers recently.
Pinterest was so thrilled about them that they asked me to create a live show to show you how to make three easy dreamcatchers! Here is the link to that show!
Dreamcatchers were originally introduced by some Native American cultures. It is usually a handmade willow hoop with a woven web and may also include sacred items such as feathers or beads.
Here is a bit more info to honor the origin of these beautiful dream catchers:
My friend Lisa loves dreamcatchers, and I had this idea a while ago to make her one with a vintage doily for her birthday. Instead of a hoop, I wanted to use an embroidery hoop.
I’m glad that I took pictures while I made it so I can show you how easy it is to make a DIY dreamcatcher. It was so much fun that I ended up making three in the end.
The best thing is that you can totally personalize the dream catcher as you make it, depending on the supplies you have handy at the moment and how creative you want to be. You could make one in a few minutes, or spend more time on it if you like.
As an Amazon Associate I earn from qualifying purchases.
DIY Dreamcatcher Supplies:
- ribbon in your preferred colors
- optional: fabric scraps cut into long strips
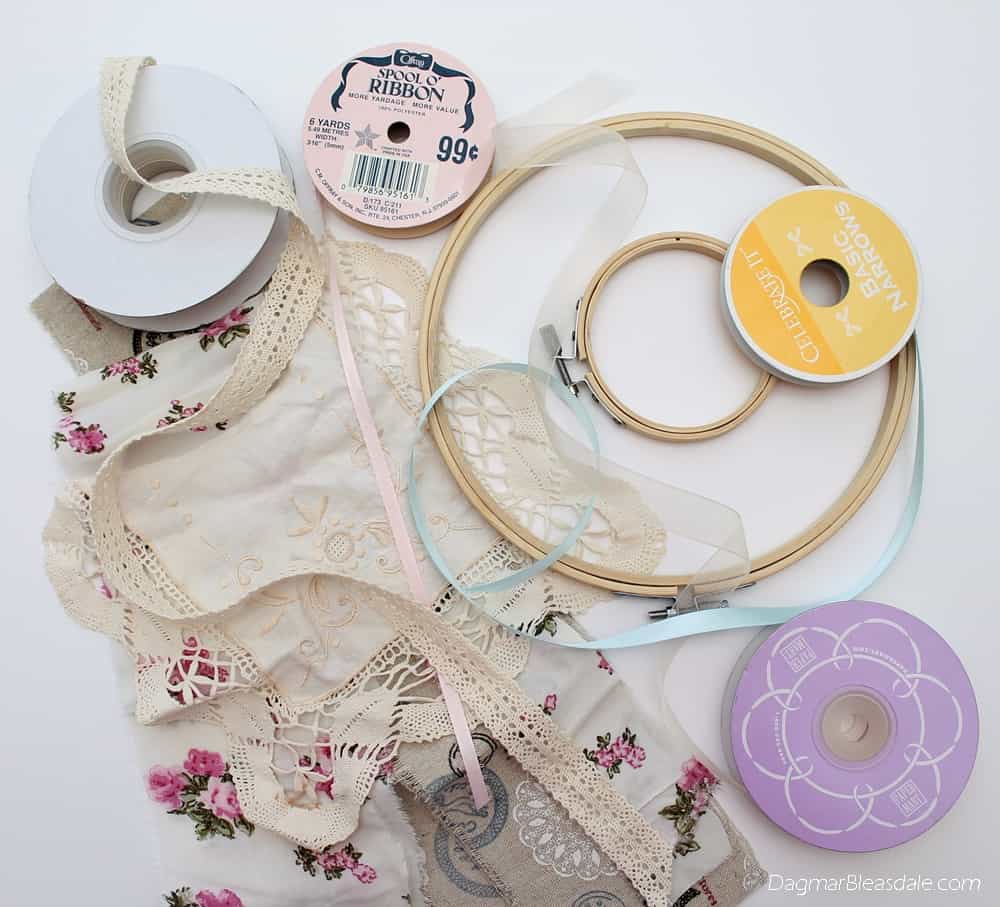
Here is my stash of materials I had and used to make my dreamcatchers:
DIY Dreamcatcher Tutorial:
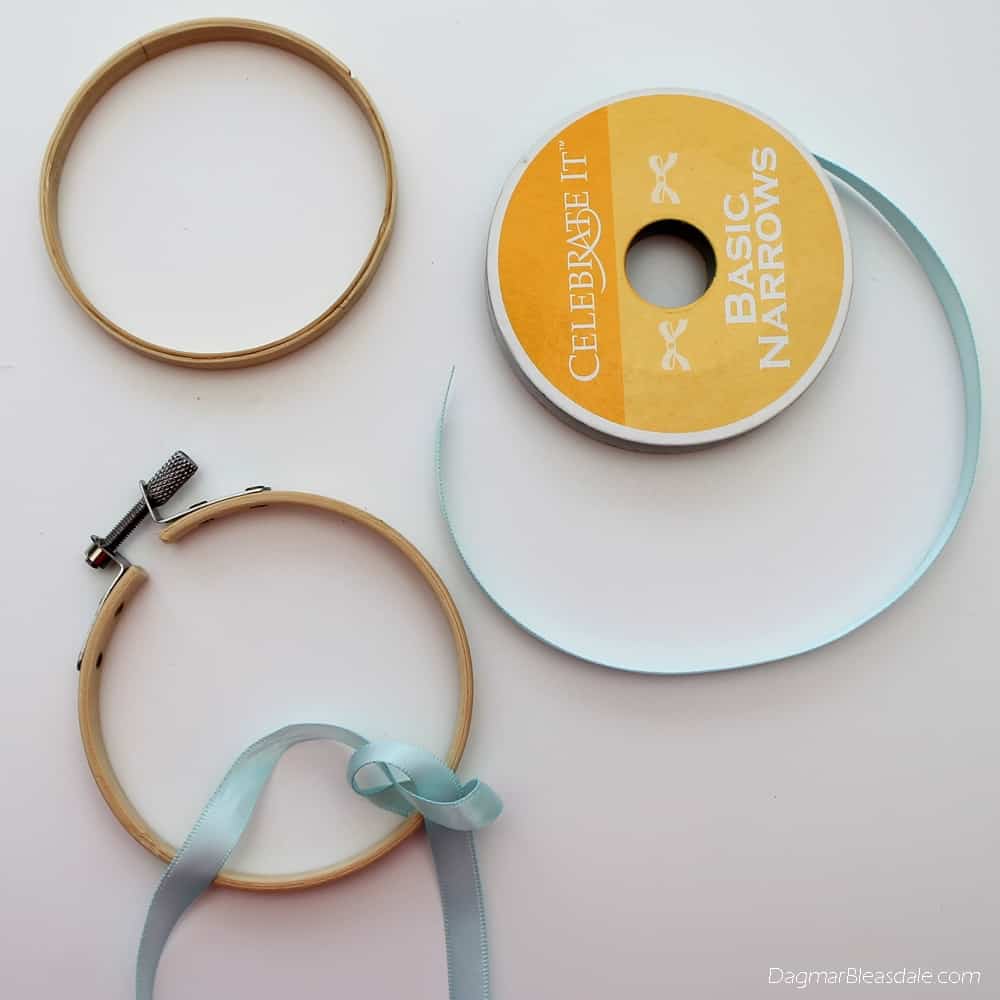
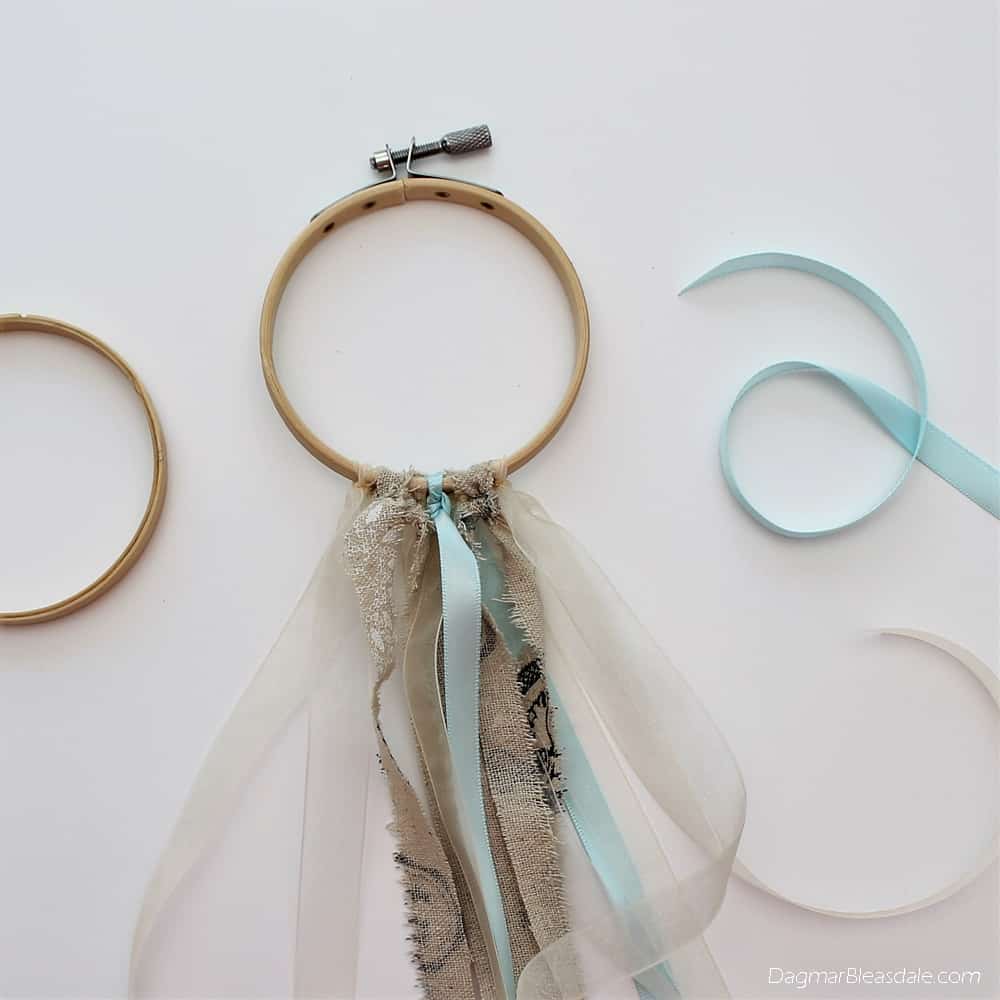
1: Take the two hoops apart. Cut ribbon into the length you prefer (double it) and attach them to the larger, outside hoop with a double knot in the middle of the fabric strip.
2: Just use ribbon or mix it up with fabric strips. Add fabric strips in the width you prefer (about 1 inch) and create a unique design you like or personalize it for the person you are making it for.
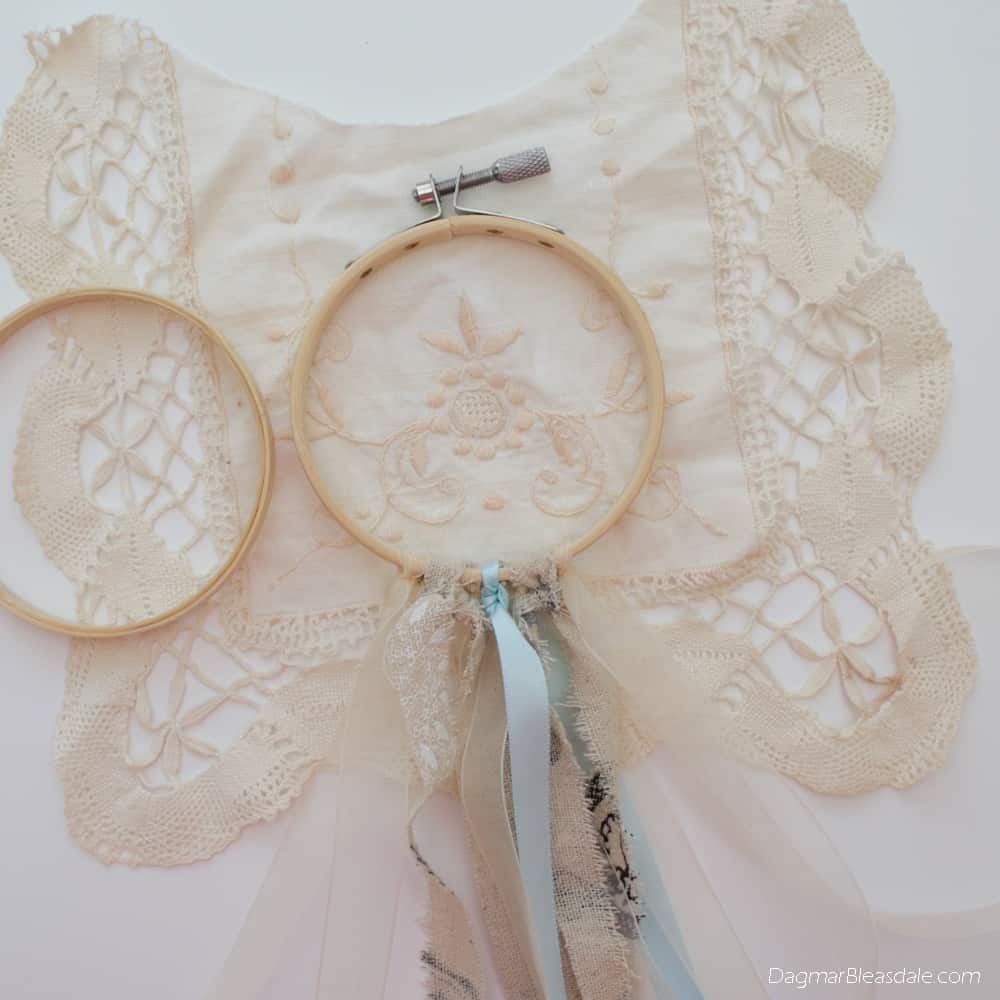
3: When you are happy with the amount of ribbons and fabric strips, put the bigger hoop over the doily and find the part of the doily you want to use. I used a vintage doily, but you don’t have to.
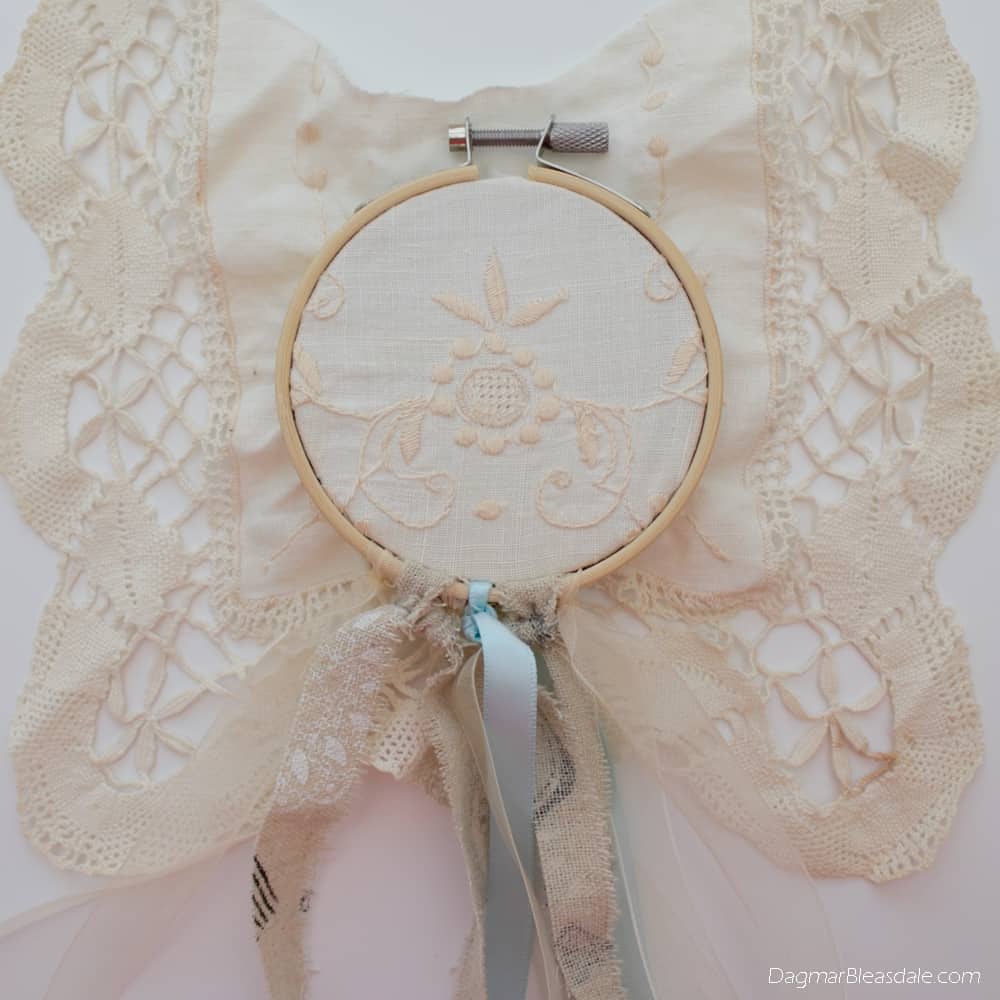
4: Then put the smaller hoop under the doily and push down the large one over it, with the doily in between the hoops.
5: Before you screw the outside hoop tight, you can pull on the doily a bit to put it into the position you want — then turn the screw tight on the outside of the hoop.
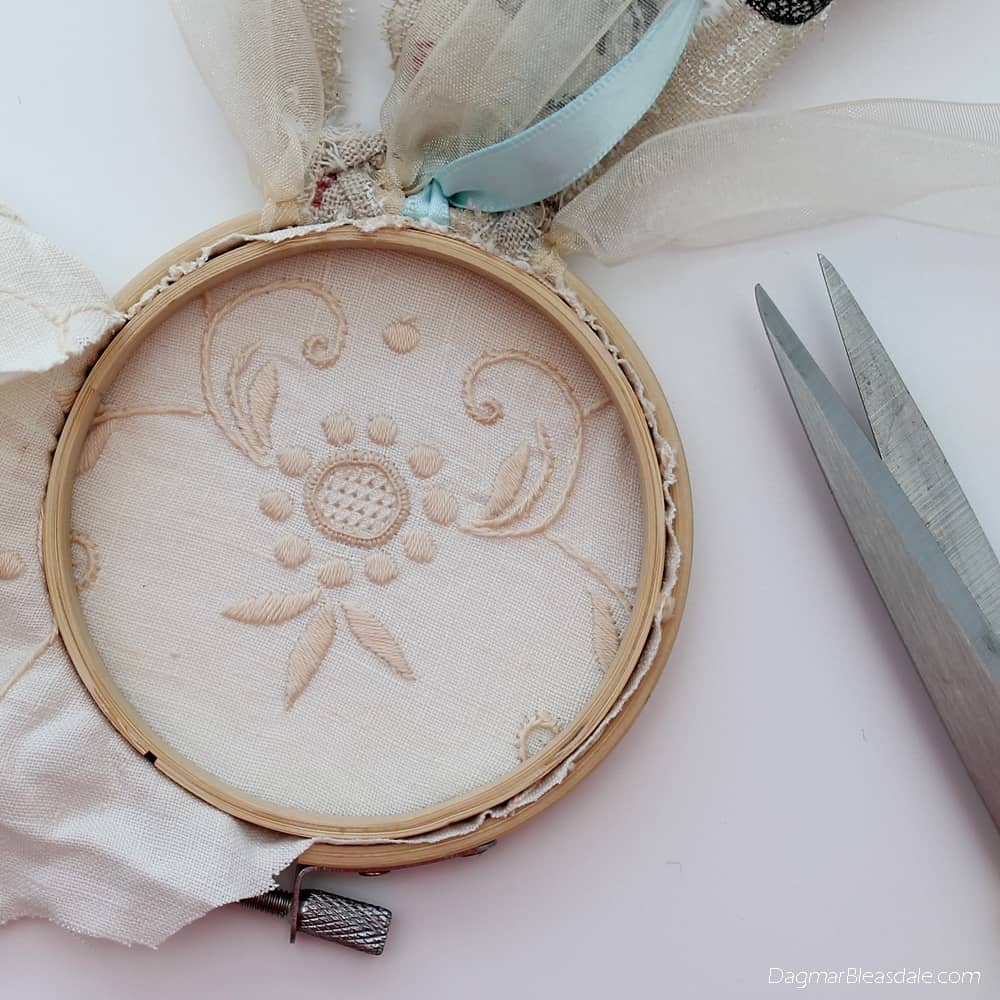
6: Next, turn the hoop around and cut off the excess doily fabric.
7: Then all that’s left to do is to choose one more ribbon, attach it to the top of the embroidery hoop, and you’ve got a handmade dreamcatcher.
You might want to cut a few of the ribbons or fabric strips a bit shorter, or have all the ends cut at an angle — or you could attach feathers to the ends.
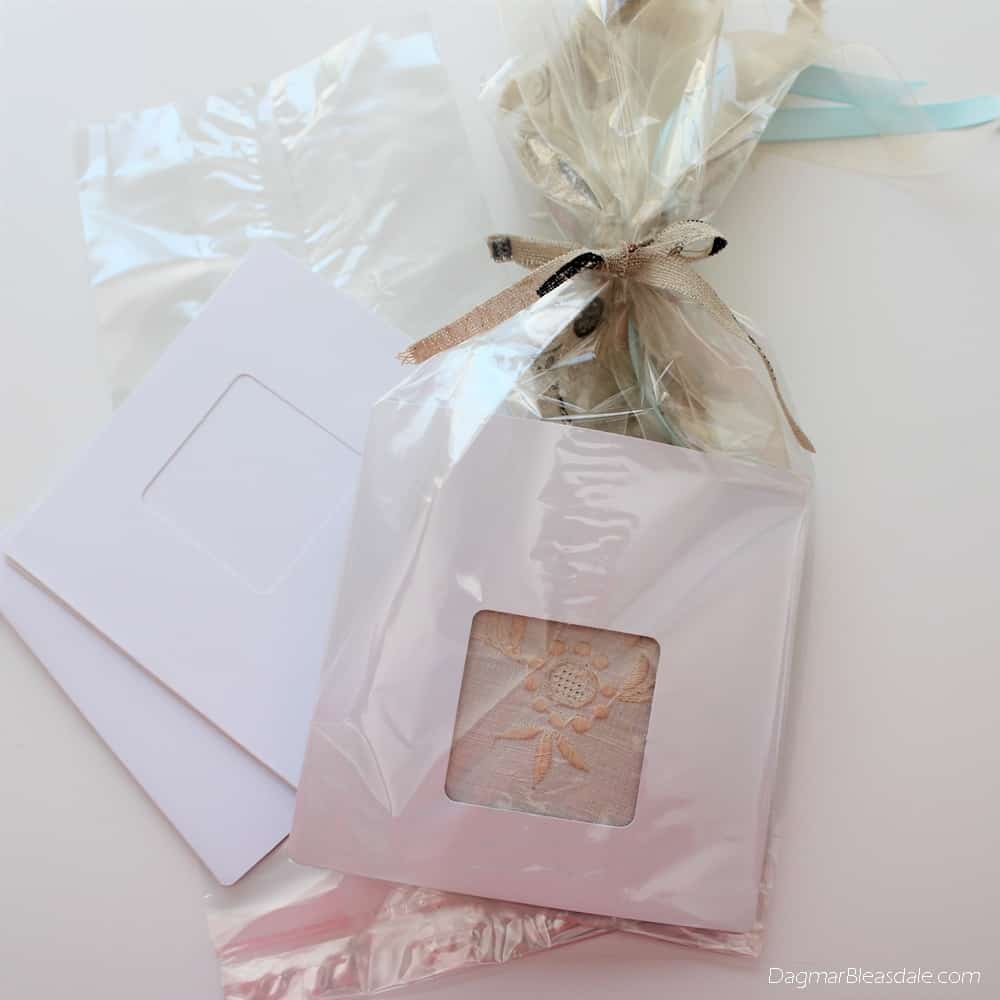
Here is a gift wrapping idea:
This works well if you use a small embroidery hoop for the dreamcatcher: I had a stack of cards like these that have a window, and I put the dreamcatcher into it so that just a little bit of it showed through the hole.
If you can’t find cards like this — I bought mine at a crafts store — you can obviously easily make your own by buying white cards and cutting a window into it.
I gathered the ribbons at the top of the bag and but another ribbon around it so at first glance you can’t see what this actually is, which is kind of fun for the person you are gifting this to.
Two more DIY dreamcatcher ideas:
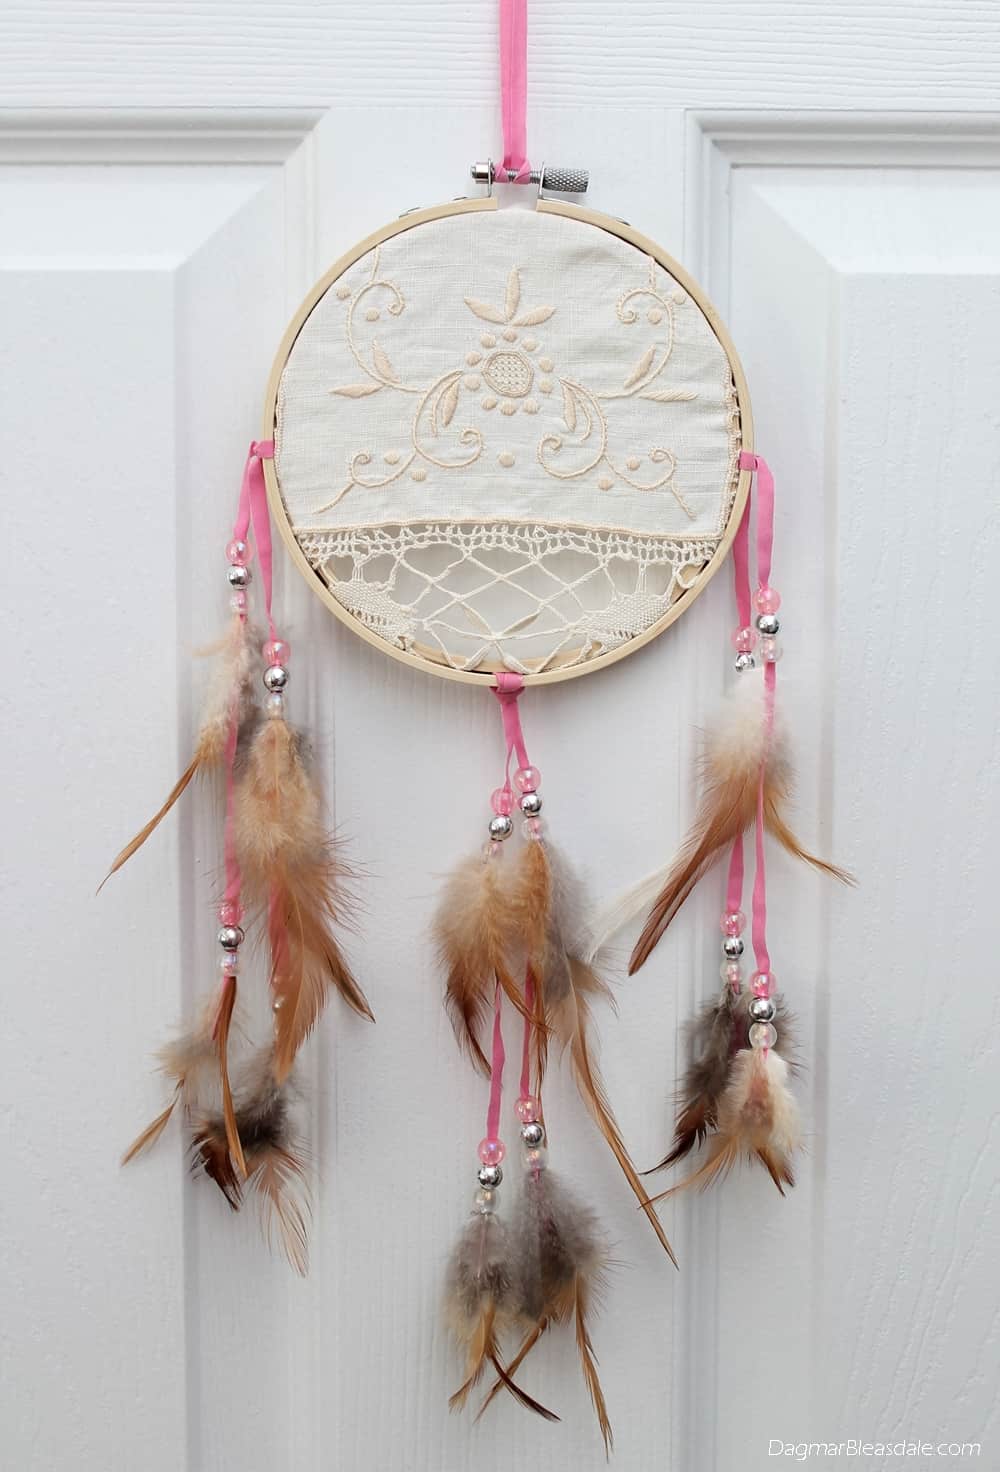
Here is another dreamcatcher, also made with a vintage doily, but for this one — and the following one — I decontructed a little dreamcatcher I bought. I found it for $3 at Five Below.
I reused the pink ribbons with the beads and feathers for this one…
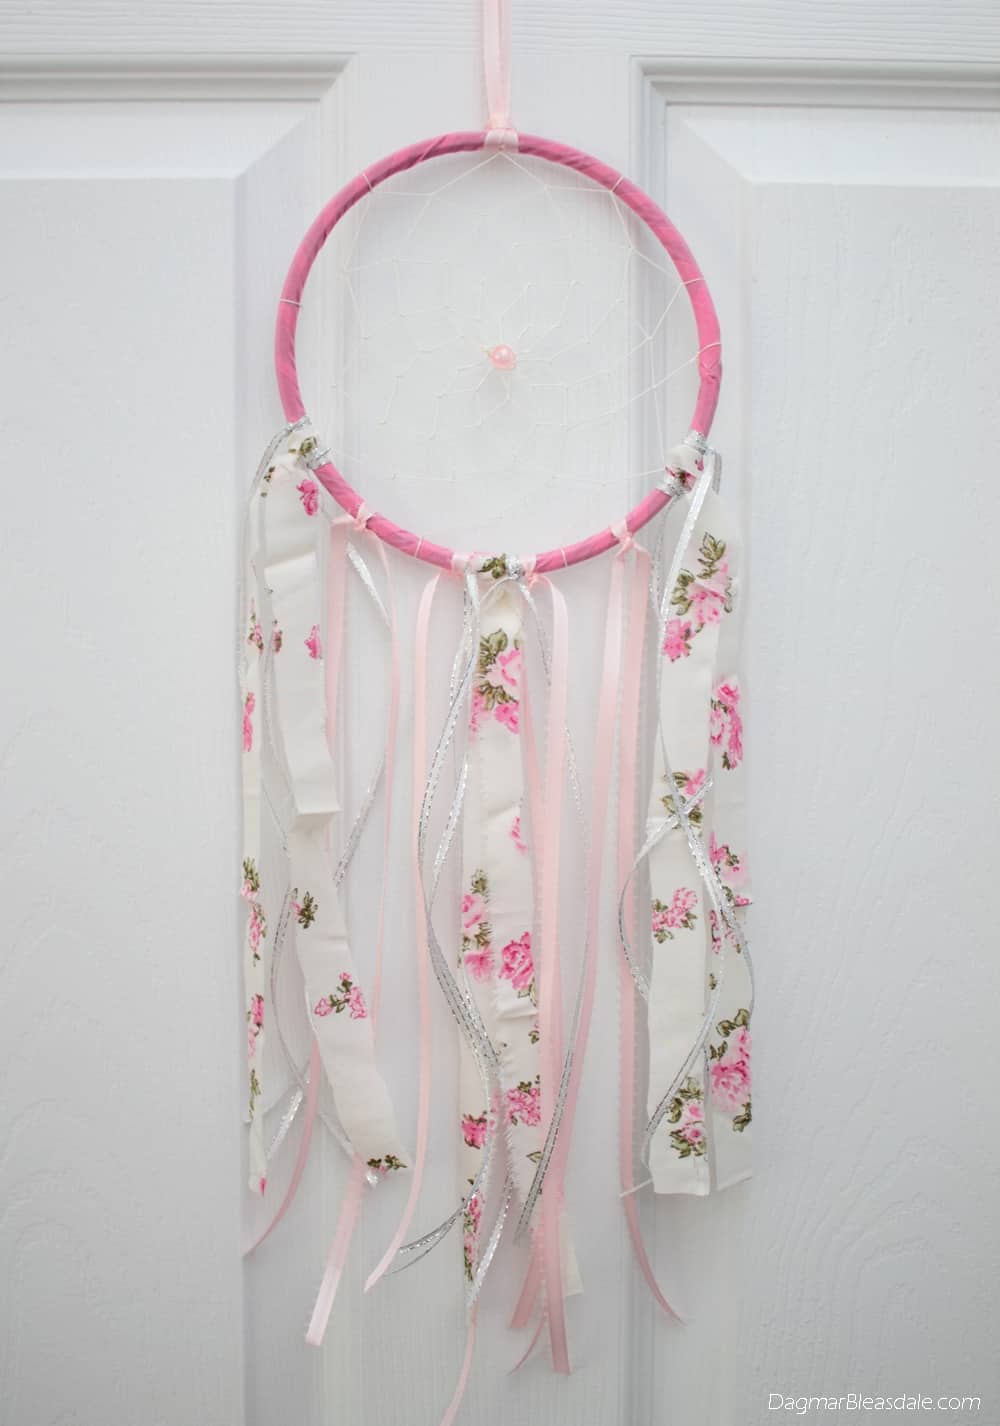
…and the pink hoop here: I just added fabric remnants and ribbons to this one.
Making dreamcatchers is a lot of fun, and I also get to reuse bits of ribbons, vintage doilies, and fabric scraps I have plenty of. As a hoarder of everything vintage, it feels good to make something pretty out of my supplies.
I already went to the craft store and stocked up on additional embroidery hoops to make more.
The next time you have extra ribbons lying around and a few minutes, maybe you’ll make one of these for yourself or as a gift.
Pin this for later!

