You can make DIY brown paper bag pumpkins in minutes — making them couldn’t be easier! I added them to my fall decor this year. Here is the whole tour.
Welcome to the Blue Cottage Fall Home Tour
I finally took pictures of our porch a few days ago!
I’ll show you how I decorate my home on a budget this year for fall — and how I created a few easy fabric and paper bag pumpkins anyone can make in minutes.
I wanted to post my fall home tour much earlier, but I needed to finish a certain project first: can you tell what I’ve done?
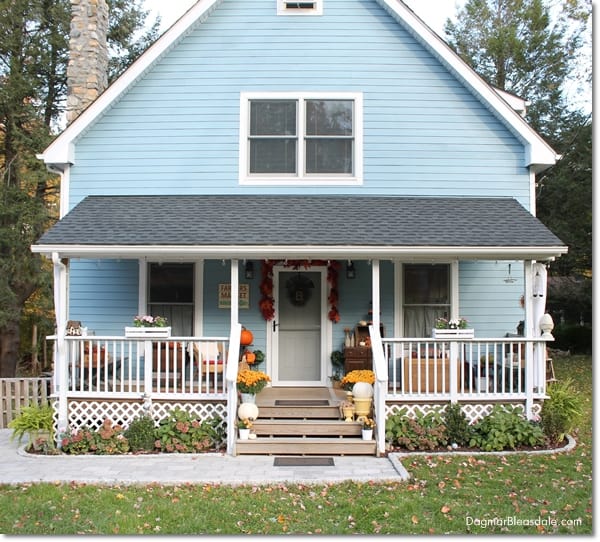
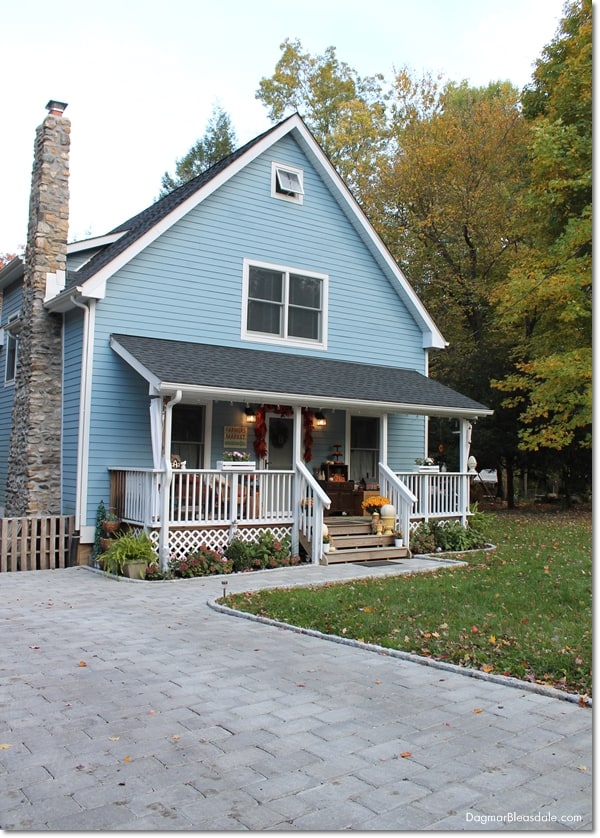
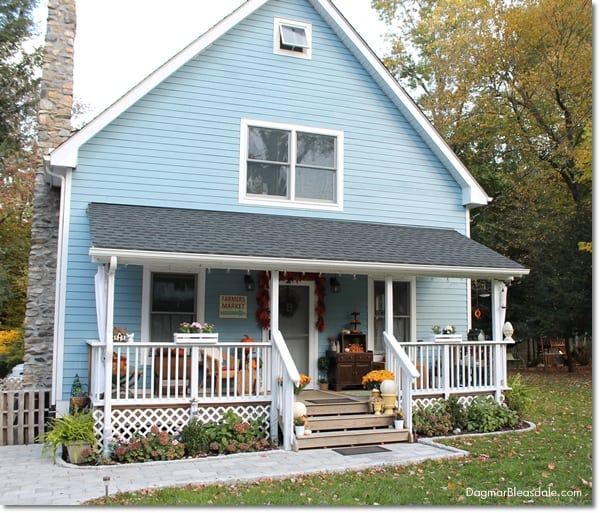
I finally painted the porch railing white!
It took me about four hours so far, and I still have another hour or so to go, but I’m so thrilled with the change. I never liked the look of that weathered pressure-treated wood.
Also new to you: meet our finished driveway. We had Belgian blocks added to the edge of it, and the walkway, and around the flower beds.
The first contractor had just added concrete to the sides to keep the stones in place — to keep the costs down — but that was breaking and shifting after just a few months from the weight of my car on it.
It was expensive to add the Belgian blocks but had to be done, and now we don’t have to worry about the winter weather destroying the driveway.
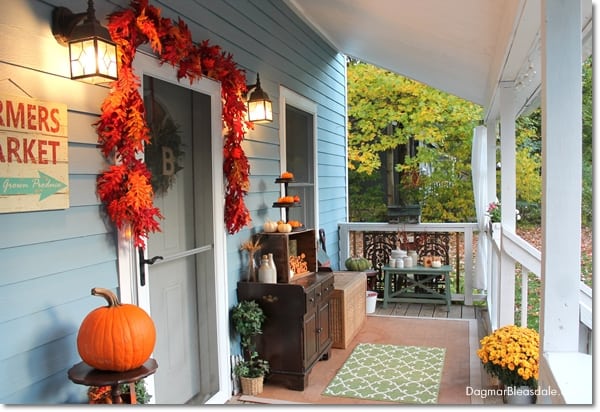
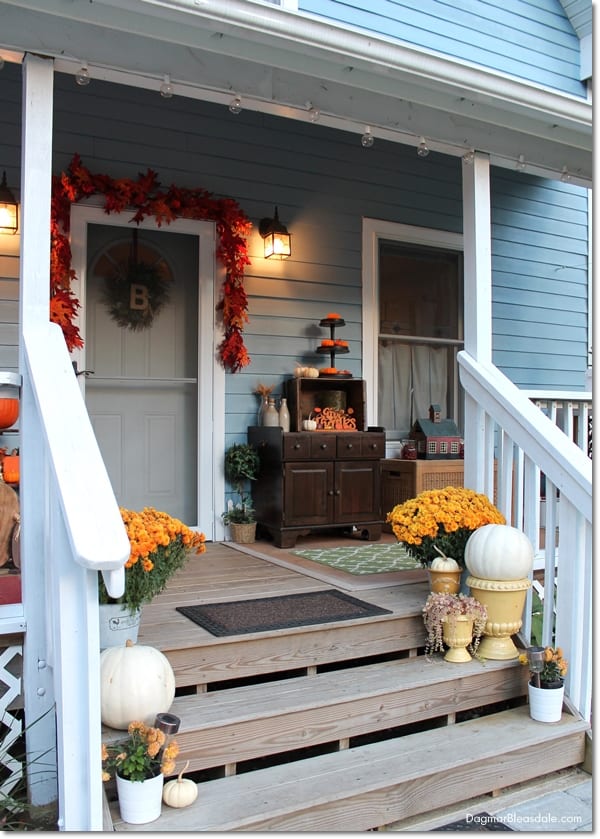
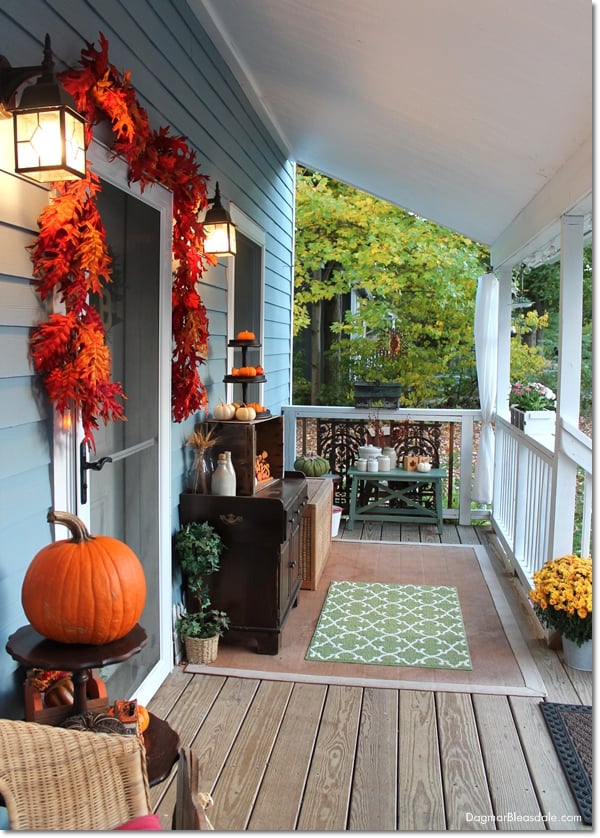
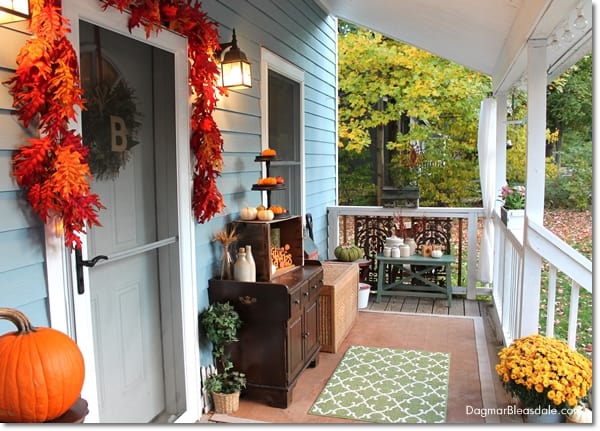
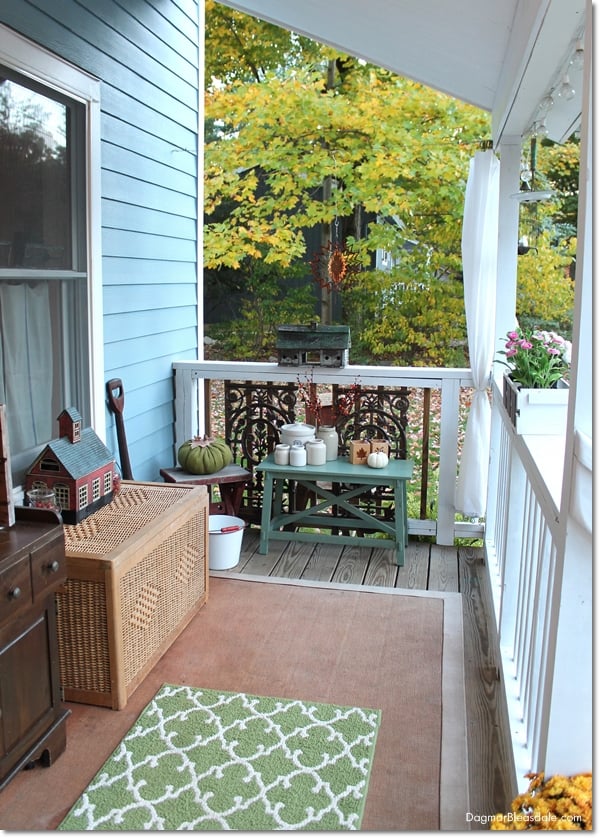
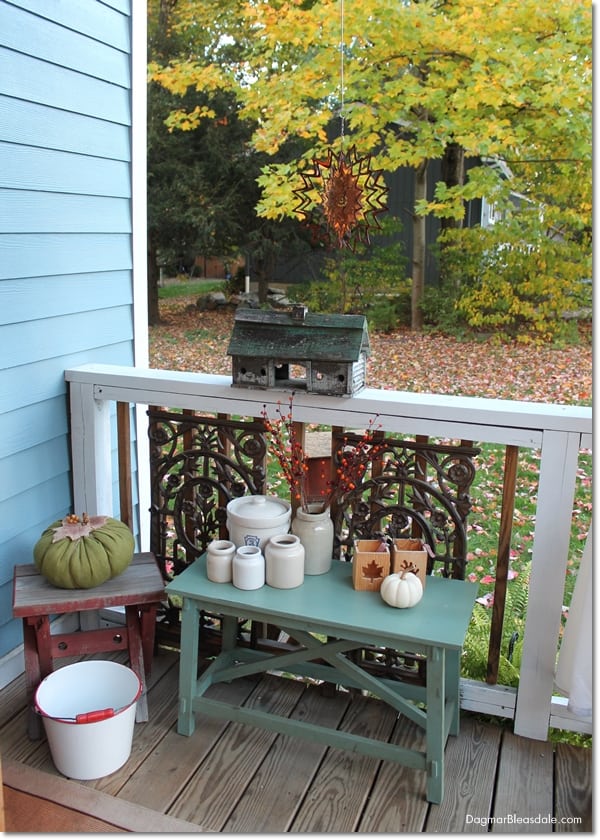
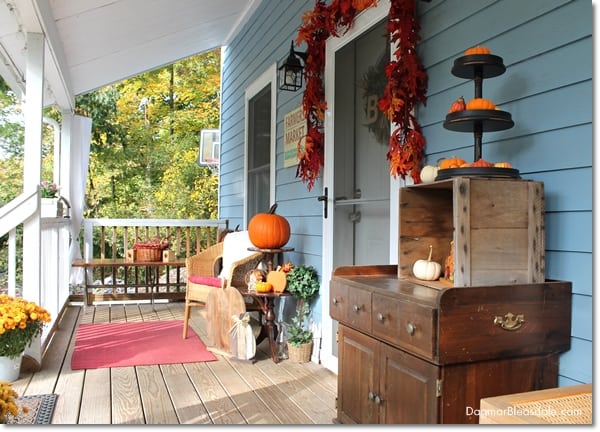
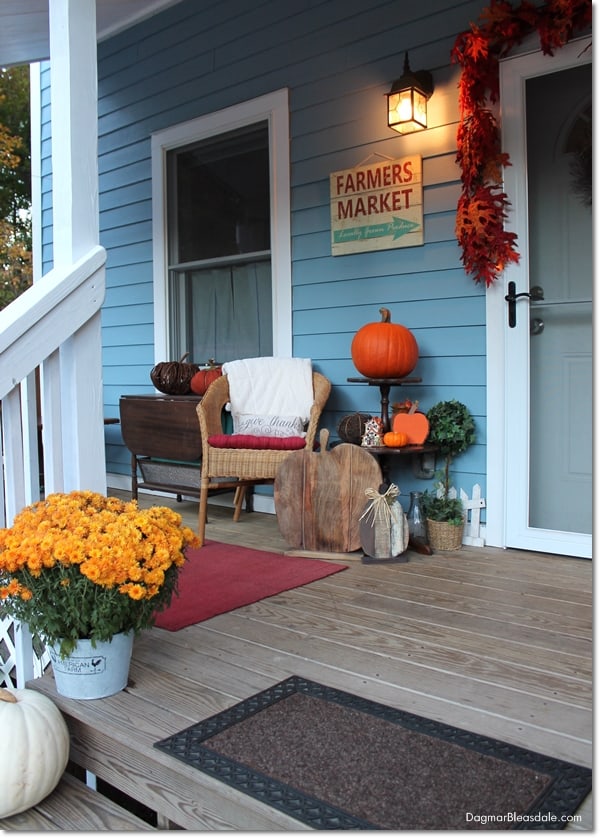
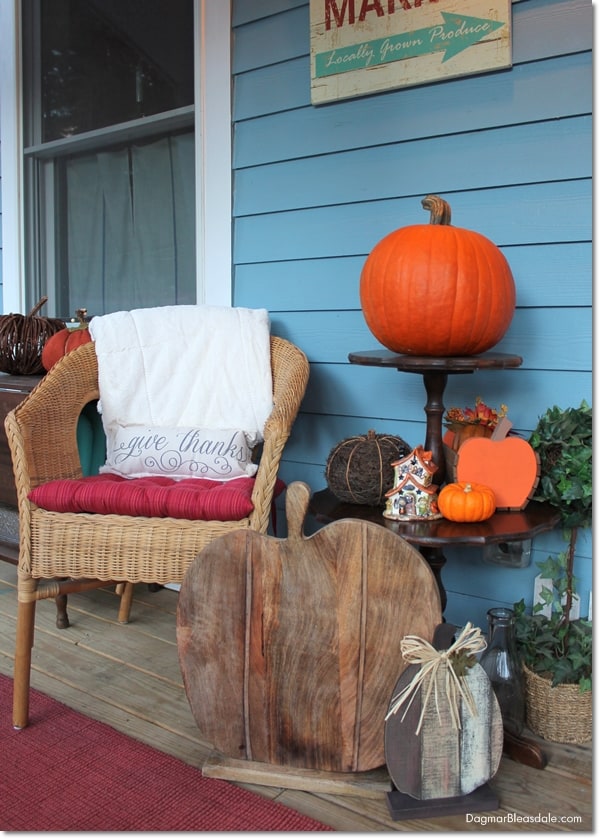
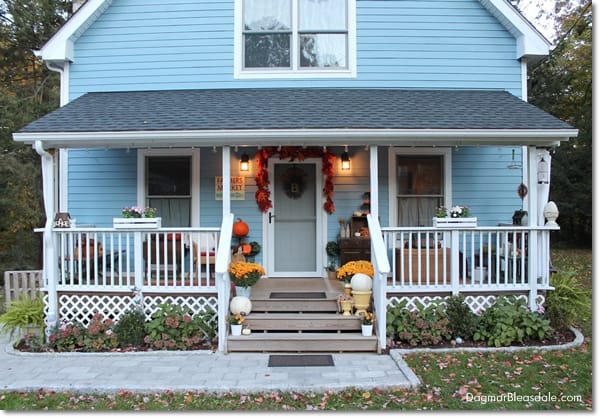
This is how I decorated the right side of our porch.
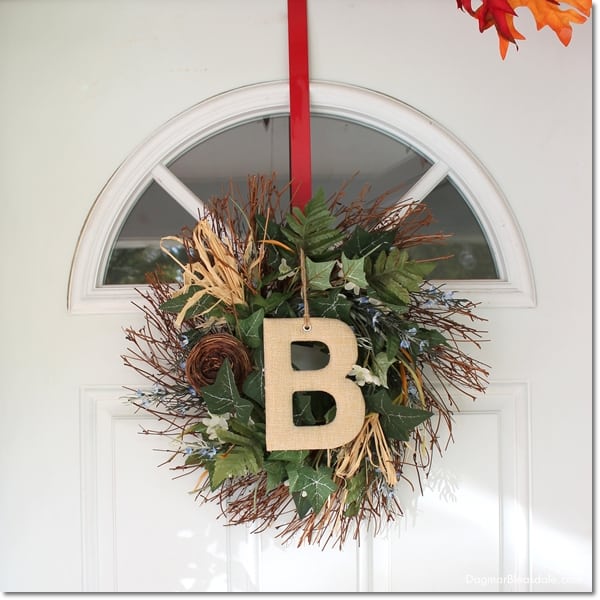
I added two strands of fake leaves I found at HomeGoods to our door, and added a few pumpkin decorating items from HomeGoods, Target, and Michael’s.
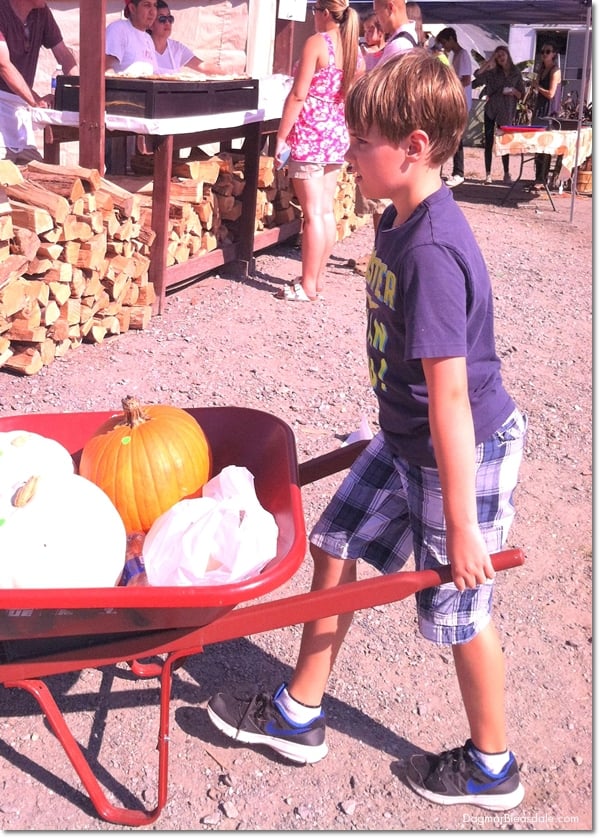
We picked up the real pumpkins from Harvest Moon Farm.
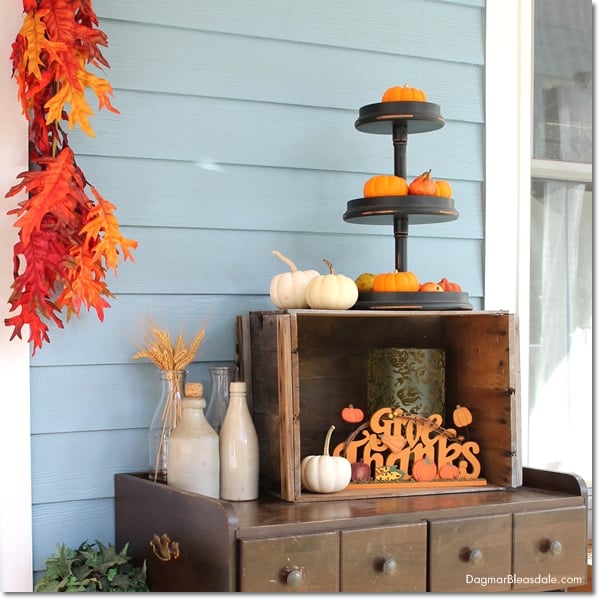
That black tiered stand with the small pumpkins was another thrifty find, as well as the “Give Thanks” sign.
I simply added a $1 burlap letter I found at Target to update the wreath for this fall.
We installed a screen door in the summer and need to change the screen for the glass door soon.
That gray little table cost me only a dollar at a recent tag sale, and the green bench was $10 at Goodwill.
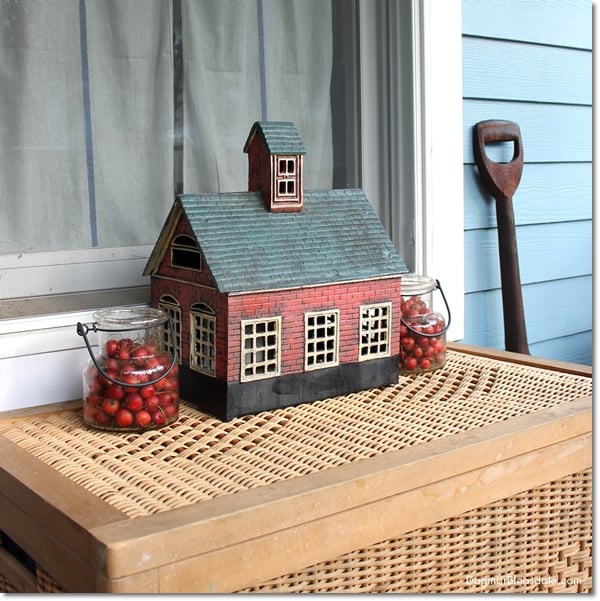
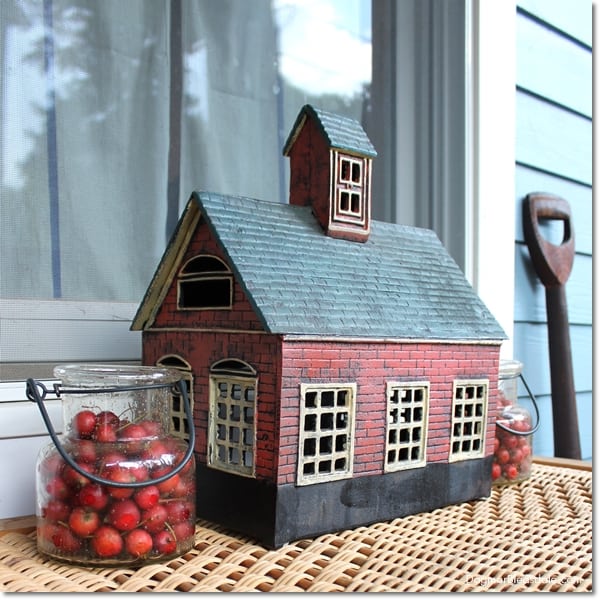
Yesterday, I noticed a tree full of these little cherry-looking things in our backyard. They are hard like hazelnuts, and about the same size, and I thought they would add a cute pop of color to my fall decor!
I picked half a bucket full, washed them, and fill three large mason jars with them — one is sitting in our living room.
On the left side of the porch sits a large coffee table we are either going to give away soon, or I’ll paint it white eventually.
It does provide extra seating and storage underneath, and since I added the porch (shower) curtains that I can pull close when it rains and snows, I don’t have to worry so much anymore about furniture on the porch getting wet and ruined.
I would’ve liked to decorate our porch with even more things, but I had to get it all done on Sunday, before the first frost here killed all of our flowers. The ferns and hydrangeas look very sad now.
I hope our hydrangeas will grow much taller next year. I just love having fresh flowers to cut, and drying hydrangeas is so much fun.
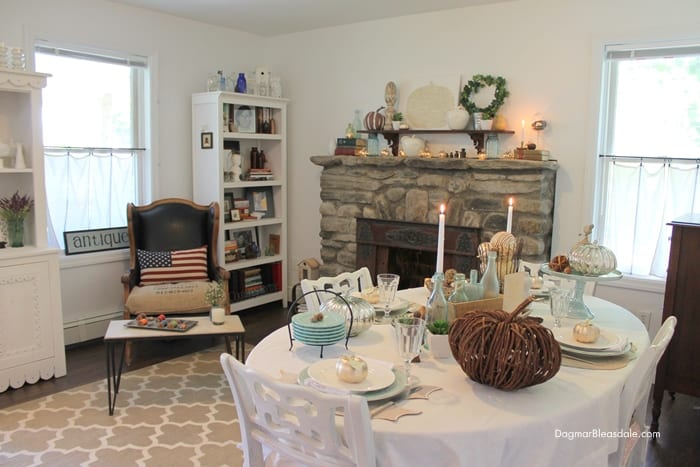
Now, come on in for my fall home tour of the inside of the Blue Cottage.
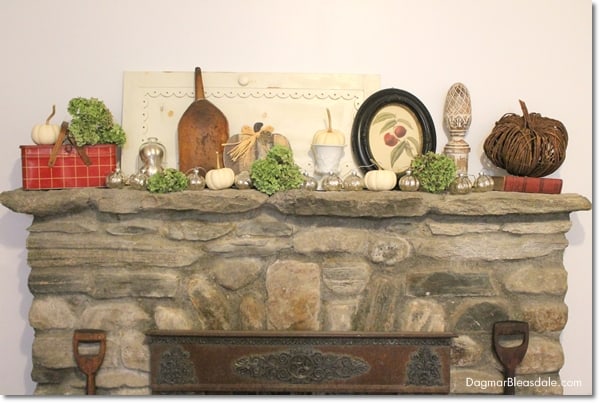
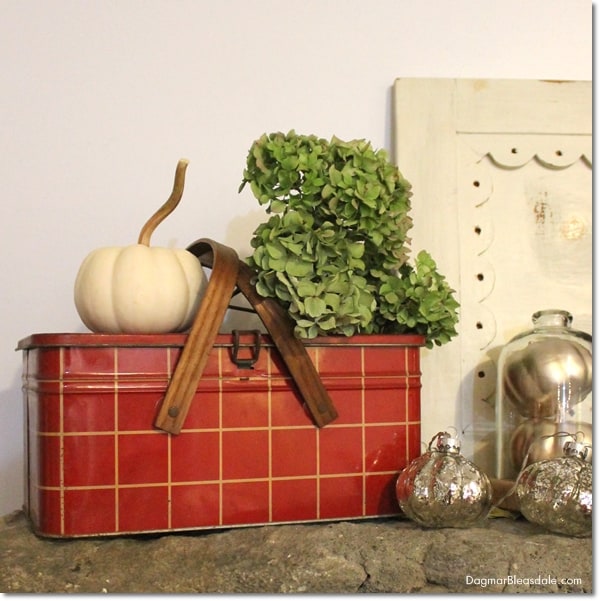
I already showed you how I decorated our mantel in another post, with the dried hydrangeas. That door is from our white hutch I recently repainted with chalk paint.
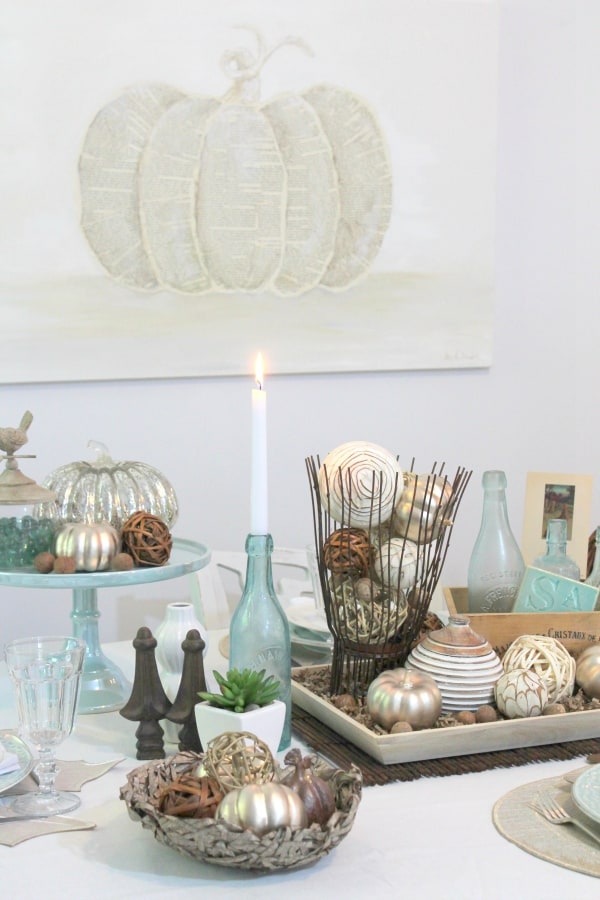
And after I decorated our table with a chic coastal fall tablescape for HomeGoods…
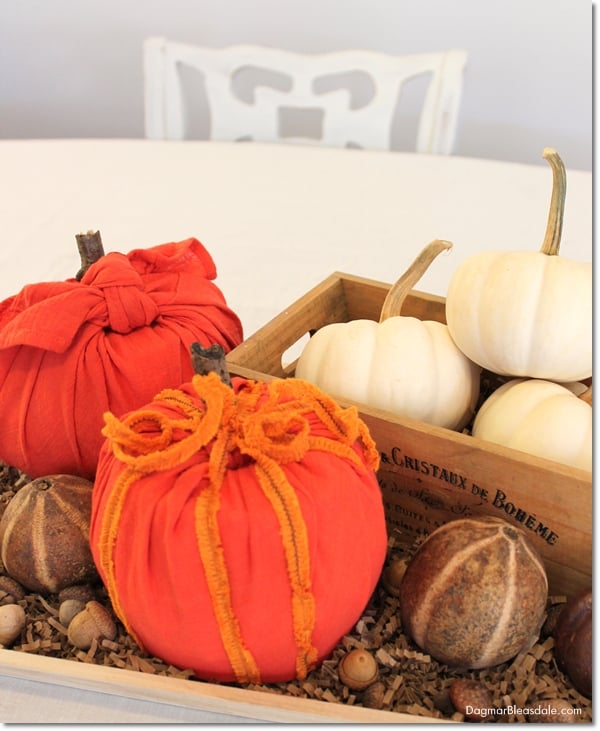
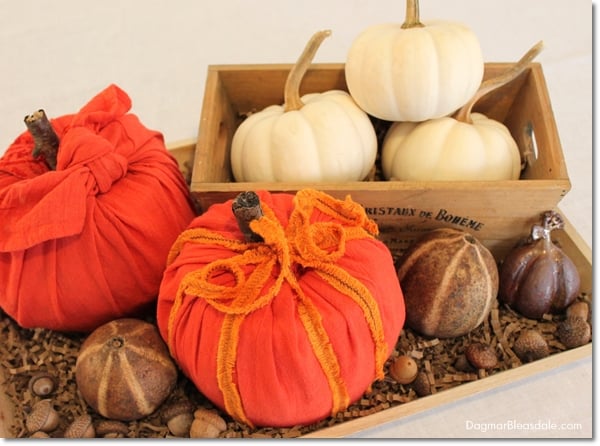
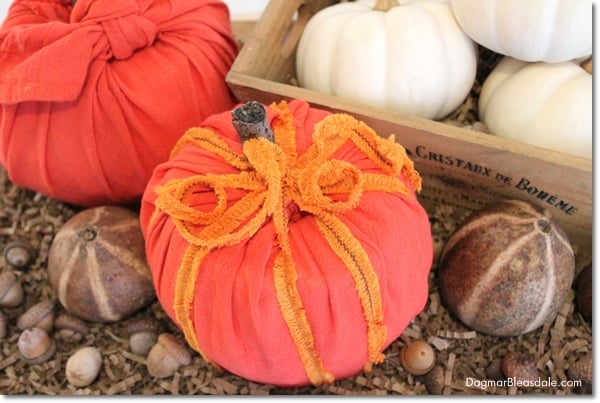
…it’s now decorated like this centerpiece:
Can you guess what I used to make these upcycled pumpkins?
Yes — toilet paper rolls! Here is the complete tutorial for toilet paper pumpkins.
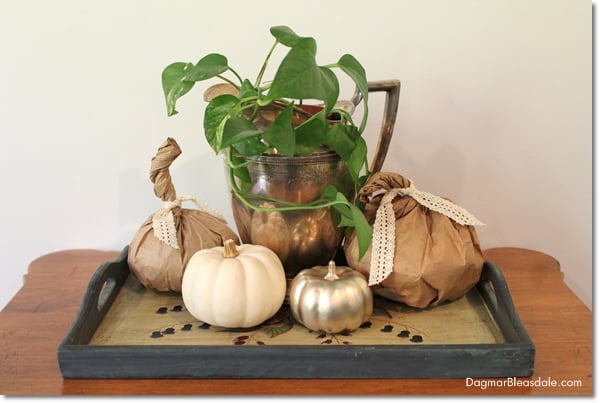
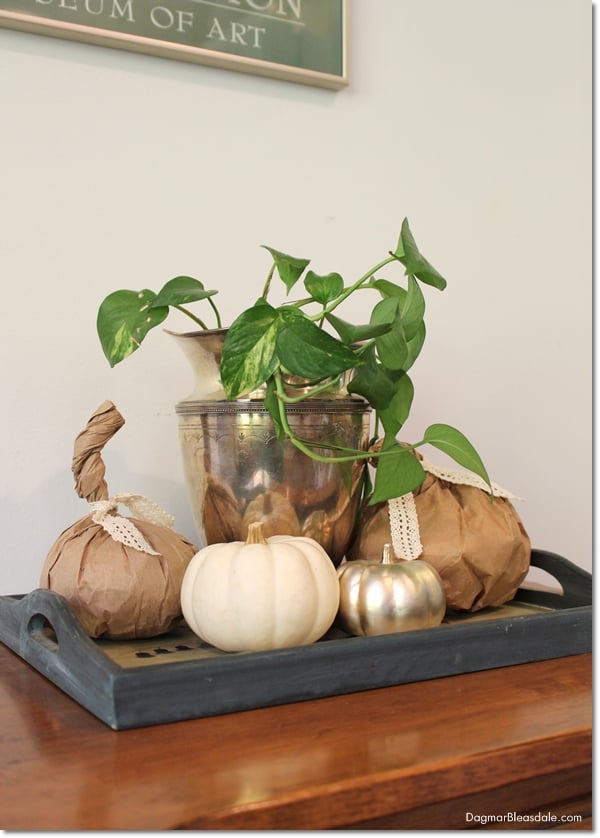
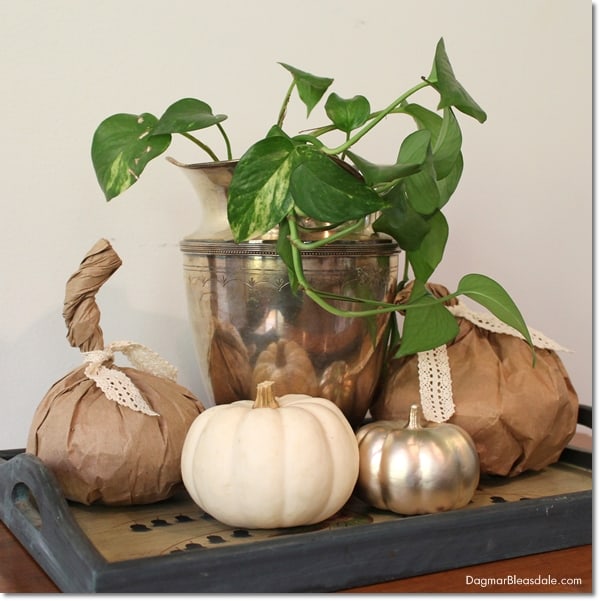
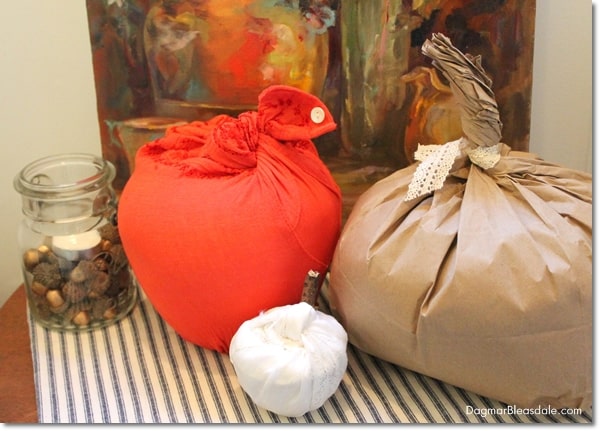
It too even less time to make these paper bag pumpkins! I used them to decorate the little table in our kitchen.
These brown paper bag pumpkins are so easy to make:
- Simply fill brown paper bags with extra plastic bags
- Grab the top of the bag and twist it into a stem
- Shape the bottom of the paper bag pumpkin be more round by taping the four corners of the bottom of the bag to the underside of the bag.
- Add ribbon to the stem, make two knots so the stem stays in place, and you are done!
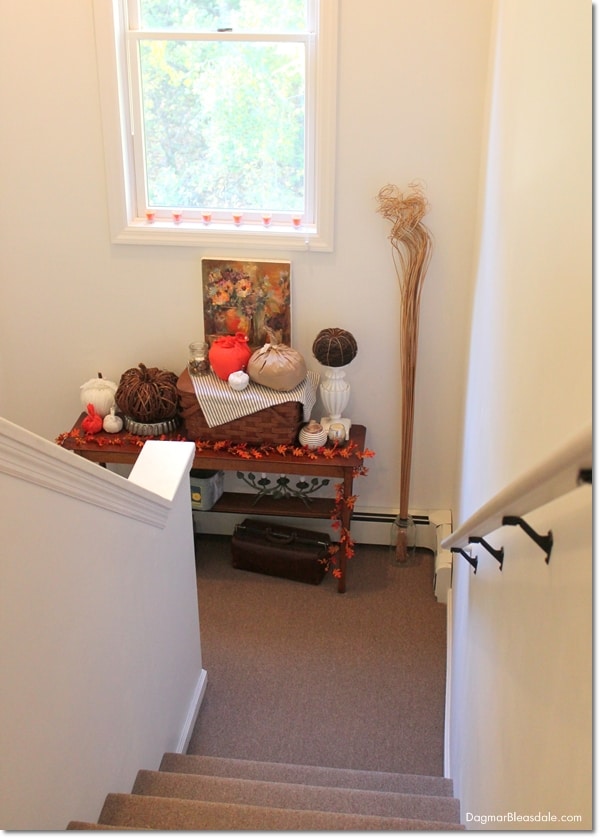
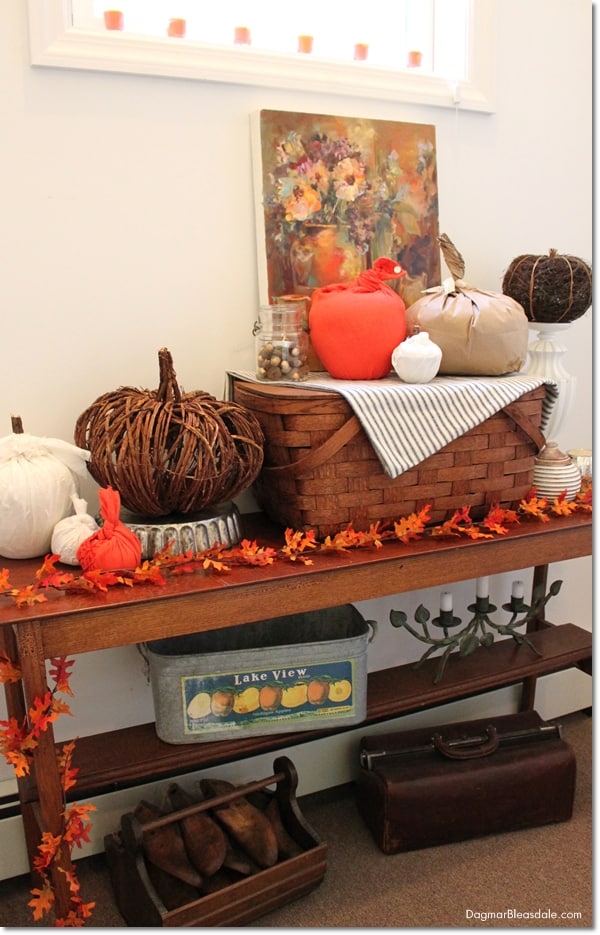
And this is how I decorated our table on the stairs for fall, again with more DIY pumpkins.
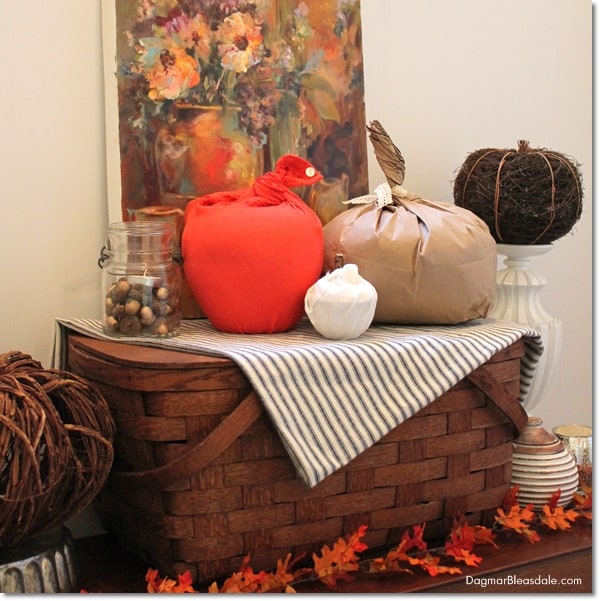
A family member painted that pretty oil painting and gave it to me years ago, and it fits perfectly with the fall colors.
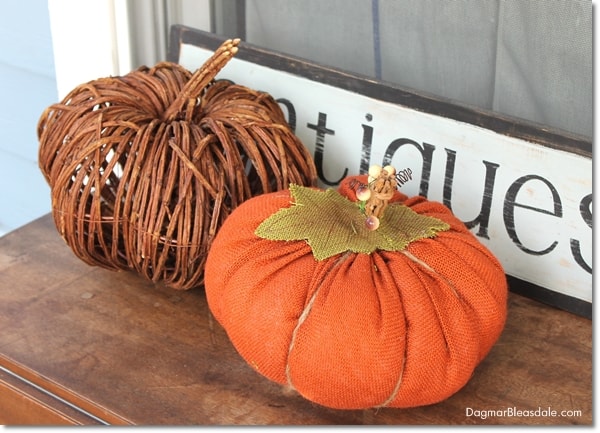
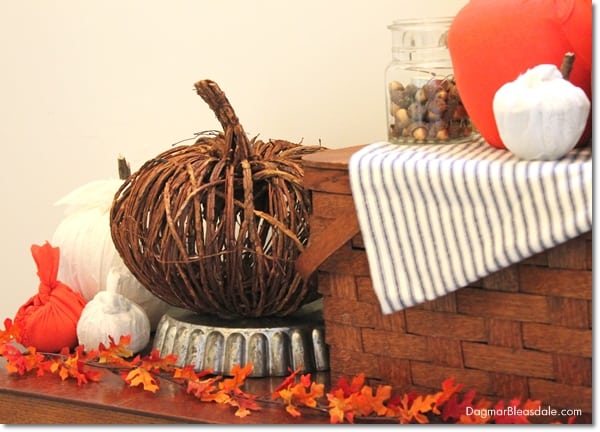
I covered white ceramic apples with left-over fabric, and used a vintage tablecloth to make the white pumpkins.
Can you tell that there is a vintage Jello mold hiding under the fabric? Once I started, I couldn’t stop making a bunch more of these no-sew fabric pumpkins.
I hope you enjoyed my fall home tour! Autumn is such a beautiful season — enjoy it!
What is your favorite fall decorating idea?

