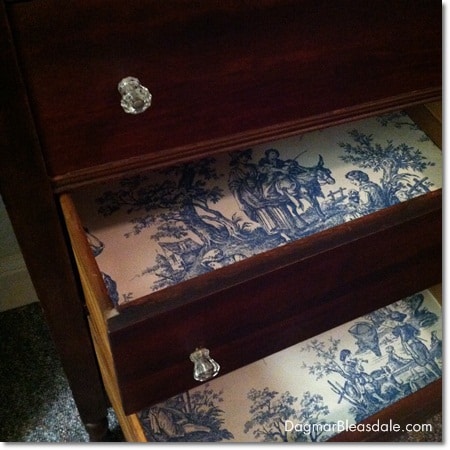
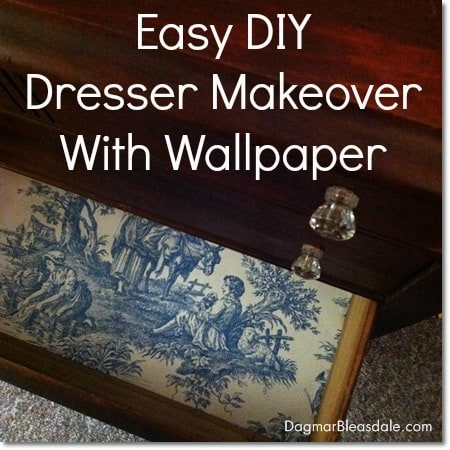
Dresser Makeover With Wallpaper and Glue Dots
After simply dusting off my new little dresser and giving it a coat of wood spray, the outside looked wonderful. But there was one more thing I wanted to do.
On the day I scored the dresser at the tag sale, I also picked up these rolls of pretty Waverly toile wallpaper for only $5. One of these can run as much as $35 in the store.
When I brought both home, something just clicked and I decided to use the wallpaper as drawer liners.
Step-by-step tutorial of how I attached the wallpaper to the drawers:
All you need is
- wallpaper
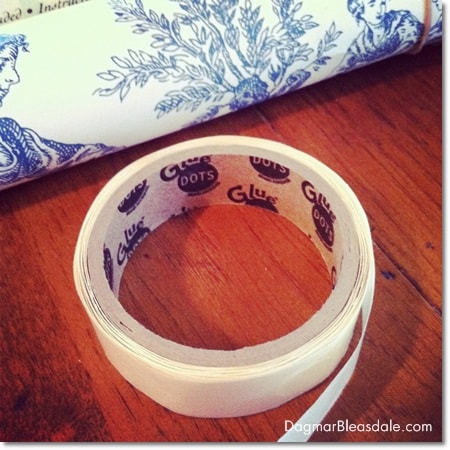
- glue dots
- a pencil or crayon
- scissors
I took out one drawer and put it on the wallpaper. Then I lined up two corners on the edge of the paper and traced around the other two sides.
Then I cut out the first drawer liner and put it into the drawer, knowing that it would be a bit too big.
After trimming off the excess, I made sure it fit well and then used that piece as template for the other three liners.
I added some glue dots to the upper edge of one liner and started gluing it down in the first drawer.
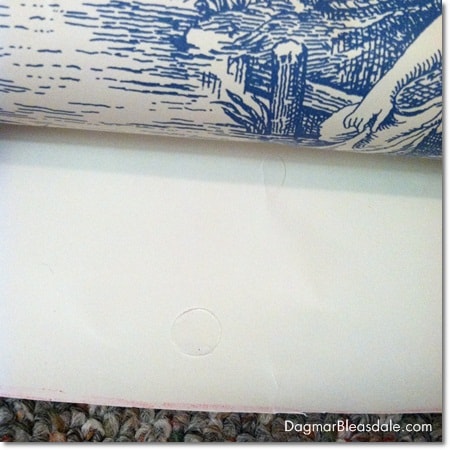
Then I added a few in the middle of the paper, pushed those in place, and then did the last edge. Don’t try to put on all the dots beforehand; doing it in rows is easier.
You’ll never guess what I decided to store in this dresser.
Since Don has been complaining that he feels like he’s living in a storage facility lately, with candle-making and gift basket supplies everywhere — he’s right, but I’m gearing up for three craft shows — I decided to store my finished candles in it for now.
Do you have some old wallpaper lying around? Lining the drawers took me only about 15 minutes, and I’m really pleased with the outcome of this little DIY project.